
That cabinet gathering dust in your garage after your kitchen remodel? It’s not landfill material—it’s your next $200 bathroom vanity, $75 coffee table, or neighborhood book library. With 25% more homeowners renovating kitchens since 2020 (per the 2022 U.S. Houzz Study), millions of quality cabinets face destruction while you could build custom furniture for 75% less than retail. Stop staring at wasted potential. In the next 15 minutes, you’ll learn exactly how to turn yesterday’s kitchen eyesore into tomorrow’s conversation piece—no woodworking degree required.
Forget generic “repurposing ideas.” This guide delivers battle-tested transformations proven in real homes: the Habitat ReStore wall cabinet that became a shoe storage bench, the vintage wood cabinet hiding a cat litter box (with coffee station!), and the upper cabinet doubling as a window seat with electronics storage. Every step comes from documented projects—like sanding with 120-grit before 220-grit to prevent paint flaws—and avoids the “red spider pest incident” horror stories. Let’s rescue your cabinets before they meet the dumpster.
Why Your $800 Bathroom Vanity Costs $205 Repurposed
Ditch the big-box store markup. Repurposed lower cabinets outperform new vanities with solid wood construction missing from today’s particleboard units. The key? Strategic plumbing prep and waterproofing.
Cut Perfect Sink Holes Without Regrets

Measure your vessel sink’s base diameter twice before drilling. Position the cabinet on sawhorses and mark hole centers 2 inches from the front edge. Use a hole saw attachment at slow speed with water spray to prevent burning. Critical mistake: Skipping the water spray creates splintered edges requiring 30+ minutes of filler work. For undermount sinks, cut a 1-inch recessed ledge using a jigsaw—this supports the sink weight without visible brackets.
Marine-Grade Sealant: Non-Negotiable for Wet Zones
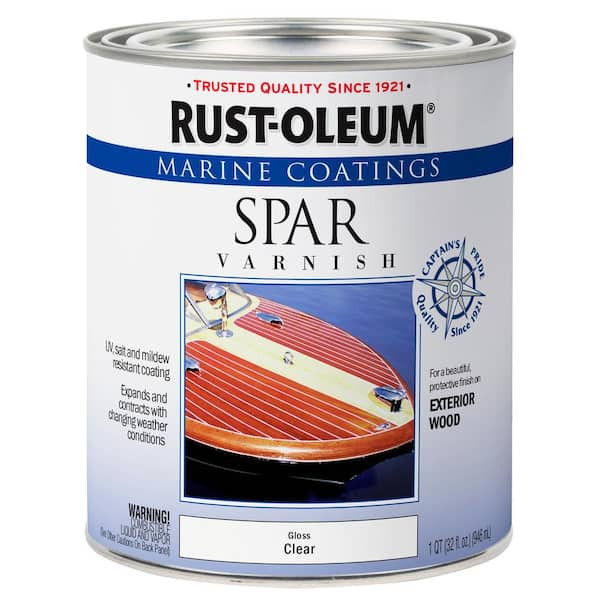
Skip regular polyurethane—it bubbles when exposed to constant moisture. Instead, apply two coats of marine spar urethane to all cabinet surfaces before plumbing installation. Pay special attention to the cut sink hole edges: dip a small brush directly into the sealant and work it into the wood fibers. Pro tip: Let the final coat cure 72 hours (not 24) before installing plumbing—rushing causes hairline cracks when pipes vibrate.
Coffee Table Magic: From Upper Cabinet to Party Centerpiece
That narrow wall cabinet? It’s a coffee table waiting to happen. Upper cabinets work perfectly because their standard 12-14 inch depth matches ideal coffee table proportions.
Build a Sturdy Base in 20 Minutes
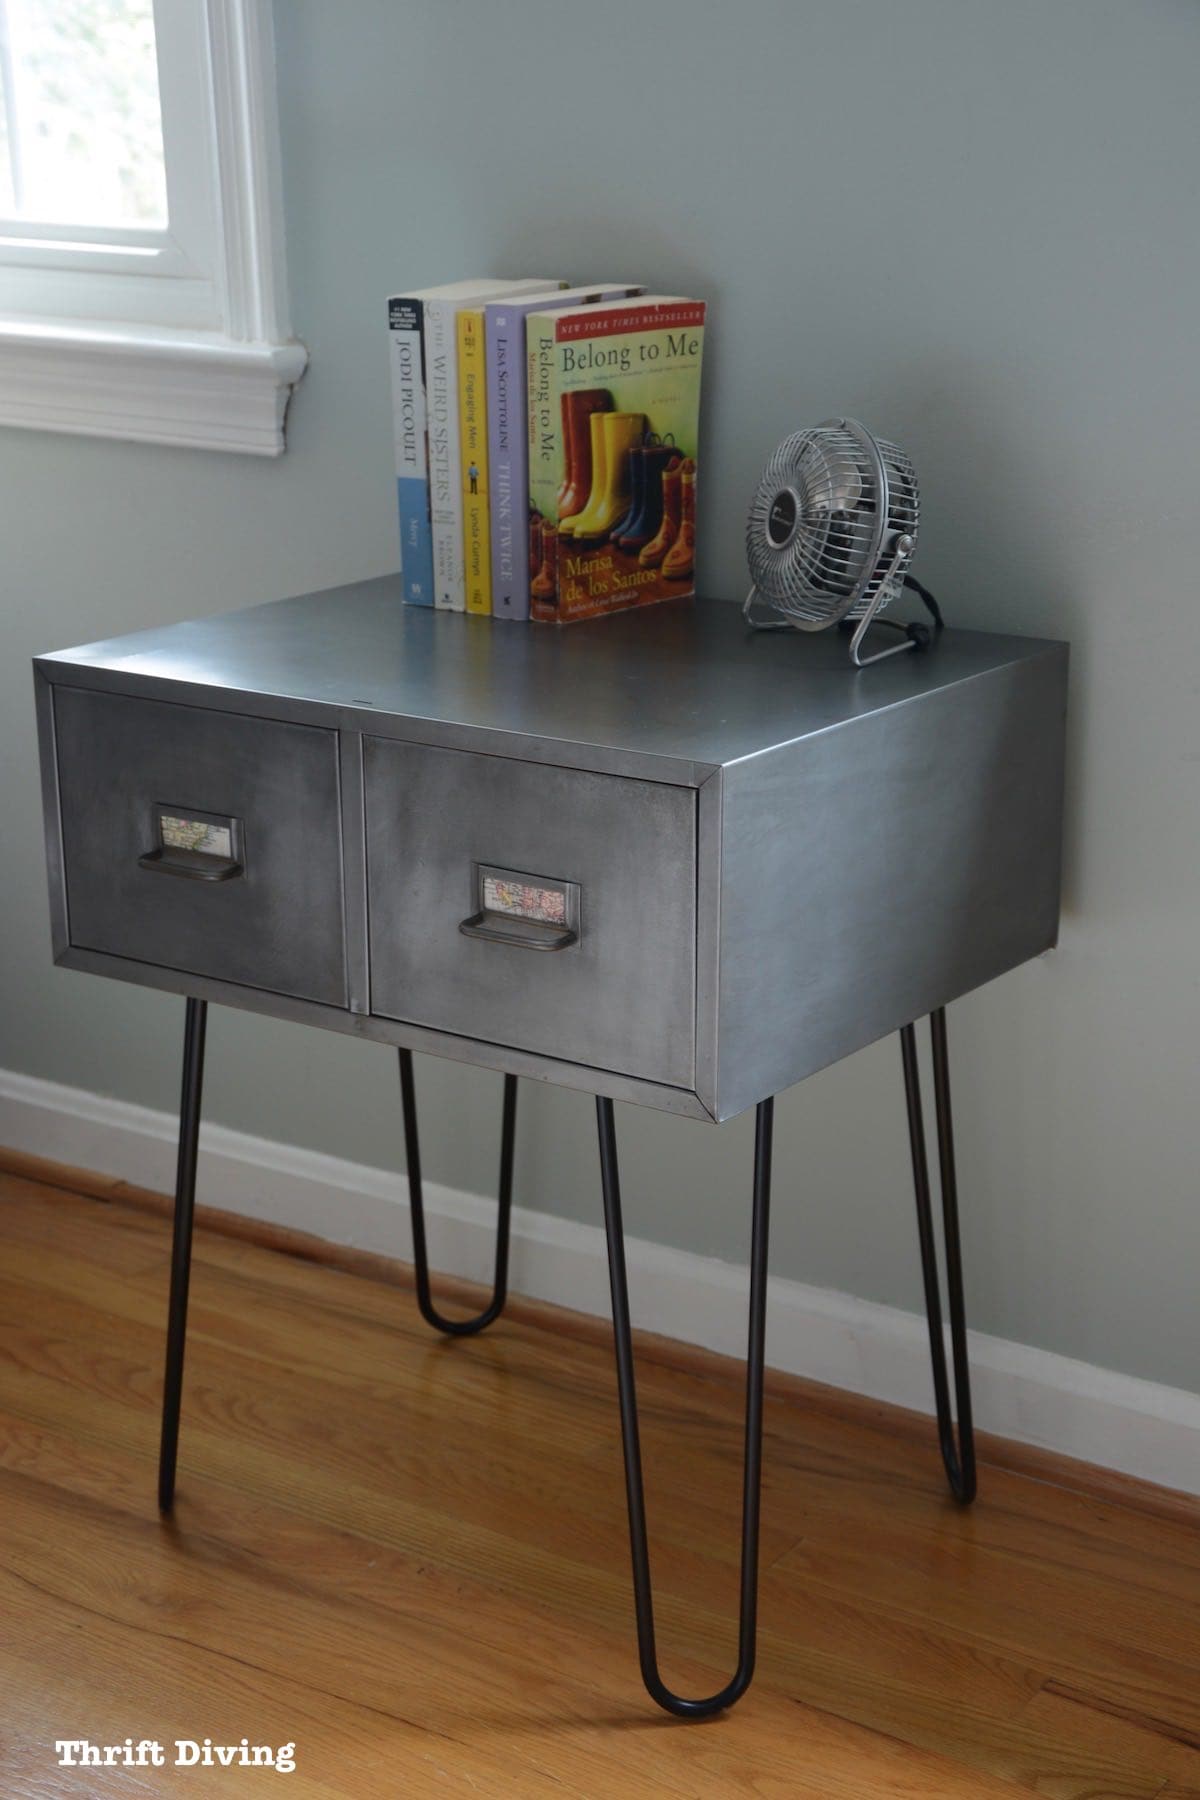
Remove all interior shelves and hardware. Attach black metal hairpin legs ($12 each from Amazon) to the cabinet bottom using 2-inch wood screws—not the included short bolts. Position legs 2 inches inward from each corner to prevent wobbling when someone leans on the edge. Visual cue: If the cabinet rocks on a flat floor, add felt pads to the shorter leg before painting.
Hidden Storage Upgrade That Actually Gets Used
Install soft-close hinges on the cabinet door so kids won’t slam it. Line the interior with removable fabric bins sized for board games (standard 12″x9″ bins fit most upper cabinets). Genius hack: Paint the cabinet’s back panel with chalkboard paint—solves the “where do we keep the score?” problem during game night.
Shoe Storage Bench: End Entryway Chaos in One Weekend
Habitat ReStore wall cabinets (typically $15-$25) become family shoe headquarters when mounted horizontally at sitting height.
Mounting Height That Prevents Back Strain
Position the cabinet base 18 inches above the floor—this allows comfortable seating while putting on boots. Use a stud finder to locate two wall studs, then secure the cabinet with 3-inch lag screws through the back panel. Red flag: If studs don’t align, install a 1×4 pine ledger board screwed into studs first—never rely solely on wall anchors for seating weight.
Cushion That Survives Kid Traffic
Cut 2-inch thick outdoor foam to the cabinet top dimensions. Wrap tightly with Sunbrella fabric (stain-resistant and $10/yard at Joann Fabrics) using a staple gun. Staple every 2 inches along the underside edge—skimping here causes fabric sagging within months. Pro tip: Add 1/2-inch rubber bumpers to the cushion underside corners to prevent sliding.
Pet Litter Cabinet: The Unconventional Winner (With Caveats)
That 60-year-old cabinet in your basement? It’s ideal for hiding cat litter—but skip the impractical coffee station combo documented in early attempts.
Side Entry Design Cats Actually Use
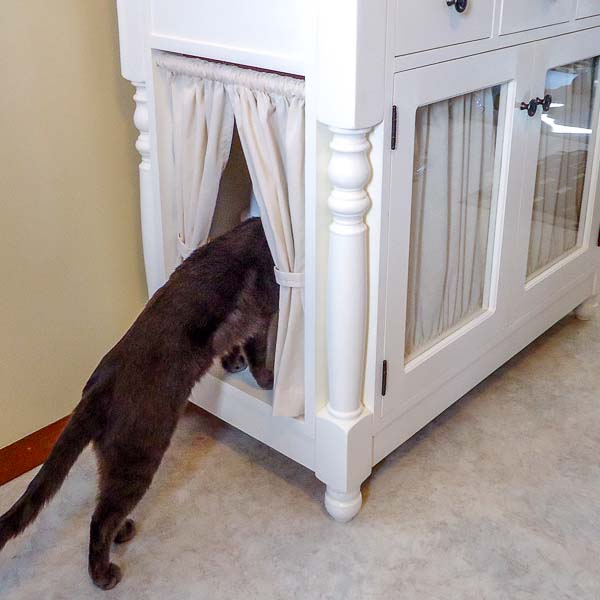
Remove the cabinet’s front panel entirely. Cut a 10×12 inch access hole in the side wall (not the front) 4 inches above the base. Sand edges smooth to prevent claw snags. Critical detail: Angle the hole slightly downward toward the cabinet interior—this contains litter scatter better than straight cuts.
Odor-Blocking Paint System
Prime all interior surfaces with Zinsser B-I-N shellac primer (blocks urine odors). Apply two coats of semi-gloss latex paint in charcoal gray—darker colors hide tracked litter better than white. Warning: Never use porous chalk paint here; it absorbs odors permanently. Replace the cabinet’s original door with a solid wood panel cut to size for maximum containment.
Surface Prep Secrets That Prevent $50 Paint Disasters
Skipping proper prep causes 90% of repurposing fails. Follow this exact sequence or risk peeling paint within months.
The Sanding Sequence You’re Getting Wrong
Start with 120-grit sandpaper using horizontal strokes across cabinet doors to remove the existing finish. Switch to 220-grit with vertical strokes—this cross-hatching creates optimal tooth for paint adhesion. Pro technique: Wrap sandpaper around a 1-inch dowel to reach inside corners without gouging. Visual test: Run your palm over the surface; if it feels smooth but slightly rough (like fine sandpaper), you’re ready for primer.
Tack Cloth: The $3 Step Everyone Skips
After sanding, wipe every surface with a tack cloth—not a microfiber rag. Regular cloths push dust into wood pores instead of lifting it. Fold the tack cloth into quarters and use a fresh section for each cabinet face. Critical check: Hold the cabinet under bright light at a 45-degree angle. If you see any dust particles, repeat the tack cloth step.
Paint & Hardware Hacks for Professional Results
Amateur paint jobs scream “DIY disaster.” These pro moves cost nothing extra but deliver custom-furniture quality.
Primer That Sticks to Laminate (Yes, Really)
Laminate cabinets repel paint without proper prep. Use Zinsser Bulls Eye 1-2-3 Bonding Primer—it chemically bonds to slick surfaces. Apply with a mini foam roller for smooth coverage, then immediately back-brush with a high-quality angled brush to eliminate roller stipple. Drying hack: Place a box fan 6 feet away on low speed; cuts drying time by 50% without blowing dust onto wet paint.
Hardware Template That Guarantees Perfect Alignment
Cut a cardboard strip 3 inches wide and the height of your cabinet door. Mark pull positions 2.5 inches from the top and bottom edges. Tape the template to the first door, drill pilot holes, then use those holes as guides for all remaining doors. Pro tip: Drill holes from the front side using a scrap wood backing board to prevent splintering on the exit side.
Cost Breakdown: Why $75 Beats $300 New
Repurposing isn’t just eco-friendly—it’s wallet-friendly. Compare real project costs:
| Project | Repurposed Cost | New Equivalent | Savings |
|---|---|---|---|
| Coffee Table | $75 (legs $25, paint $35, hardware $15) | $299 (Wayfair) | $224 |
| Bathroom Vanity | $205 (cabinet $40, sink $80, plumbing $25) | $850 (IKEA) | $645 |
| Shoe Storage Bench | $42 (cabinet $22, foam $12, fabric $8) | $199 (Target) | $157 |
Hidden savings: Avoid $75+ dumpster fees for cabinet disposal. ReStore donations earn tax deductions—keep receipts!
Pest Prevention: The Quarantine Protocol Nobody Mentions
Used cabinets risk introducing pests like the documented “red spider” infestation. Always:
- Inspect thoroughly: Check for sawdust trails, tiny exit holes, or live insects in joints
- Quarantine: Store cabinets outside for 48+ hours before bringing indoors
- Treat: For small infestations, freeze cabinet parts for 72 hours in sealed bins
Never skip step 2—bringing infested wood inside spreads pests instantly. If you spot active bugs, discard the cabinet; no amount of repurposing saves infested wood.
Your unwanted kitchen cabinets aren’t trash—they’re pre-cut, pre-assembled furniture skeletons begging for new life. Start small: transform one upper cabinet into a coffee table this weekend using the sanding sequence and hardware template techniques. You’ll spend under $100 but gain a custom piece that sparks “Where did you GET that?!” conversations for years. Share your first transformation photo online—your project might inspire neighbors to rescue cabinets instead of filling landfills. That vintage cabinet in your garage? It’s not yesterday’s problem. It’s tomorrow’s treasure chest. Now go open it.

