
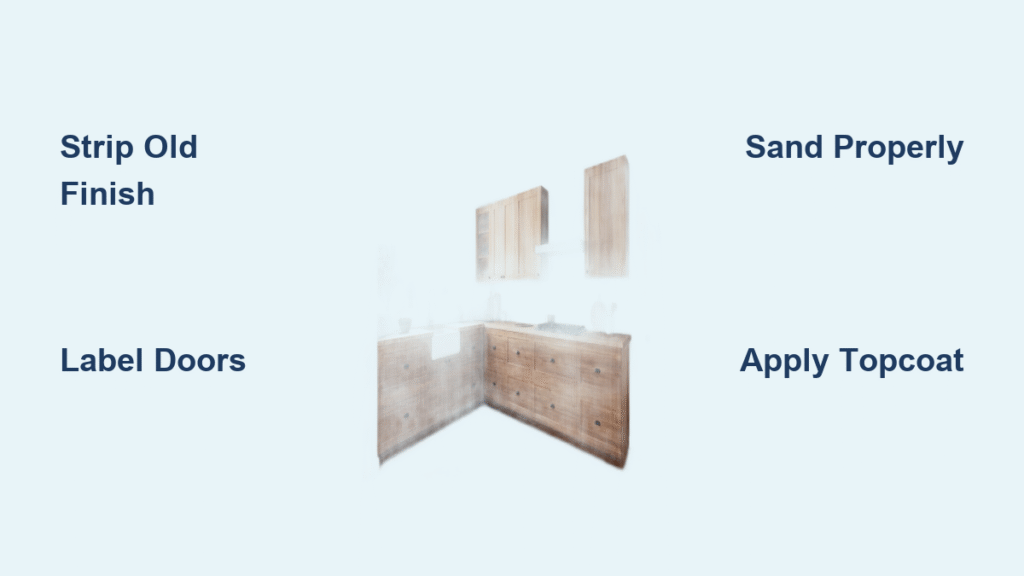
Tired of staring at dated oak cabinets that scream 1990s every time you make coffee? You’re not alone. While replacing kitchen cabinets averages $12,000, refinishing wood kitchen cabinets delivers a jaw-dropping transformation for just $183–$200 in supplies. This isn’t a cosmetic band-aid—it’s the exact process professionals use to revive solid wood cabinets from the golden oak era. By the end of this guide, you’ll know precisely how to strip, prep, and apply finishes that last 10+ years, skipping the contractor markup.
The secret lies in ruthless preparation and strategic material choices. Forget weekend-warrior shortcuts: skipping the labeling system or using hardware-store paint guarantees peeling within months. Instead, follow these battle-tested steps to achieve a seamless, factory-quality finish that fools even kitchen designers. Let’s turn your tired cabinets into the centerpiece of your home—without draining your savings account.
Cost Breakdown: Why Refinishing Beats Replacement
DIY refinishing costs 98% less than new cabinets while delivering comparable visual impact. Your $200 investment covers:
– Premium paint/stain and stain-blocking primer ($80–$120)
– Professional-grade brushes, rollers, and sanding supplies ($40–$60)
– Degreasers, liquid sanders, and tack cloths ($25–$35)
– Optional hardware upgrades ($38–$200 total)
Compare this to professional refinishing ($900–$3,000) or new custom cabinets (starting at $12,000). Crucially, 1980s-90s oak cabinets often outperform modern “five-year” installations in construction quality—making refinishing a smart preservation move, not a compromise.
Is Your Kitchen a Candidate?
Before buying supplies, assess cabinet viability:
– ✅ Proceed if: Solid wood construction, minimal warping, hinges hold firmly
– ❌ Replace if: Water-damaged near sinks, veneer sanding through, or major cracks
– Pro tip: Shaker-style doors modernize beautifully; cathedral/arch styles rarely succeed regardless of finish.
Restaining vs. Painting: The Decisive Factors
Choose restaining ONLY when:
– You want darker modern tones (like espresso or charcoal)
– Cabinets are solid wood (not veneer)
– Preserving natural grain appeals to you
– Your vision avoids orange/yellow undertones
Painting wins when:
– Modernizing golden oak for resale (critical for buyers under 69)
– Eliminating heavy oak grain patterns completely
– Working with veneer or laminate surfaces
– Targeting crisp finishes like Benjamin Moore Simply White
Hybrid hack: Paint lower cabinets charcoal while keeping uppers natural oak creates instant luxury. Always test finishes on hidden areas first—oak’s porous grain absorbs stain unevenly.
Labeling System That Prevents Reinstallation Nightmares
Skip this step and you’ll regret it. Create four work zones:
1. Outdoor station for degreasing and stripping
2. Indoor studio (dust-controlled) for painting
3. Drying area with fans for airflow
4. Kitchen base for cabinet boxes (work in place)
Label like a pro:
– Score hinge outlines with a box cutter before removal
– Number every door/drawer on hidden edges
– Store hardware in zip-lock bags marked “Upper Left,” “Island,” etc.
– Photograph hinge placements for reassembly reference
Surface Prep: Where 90% of Projects Fail
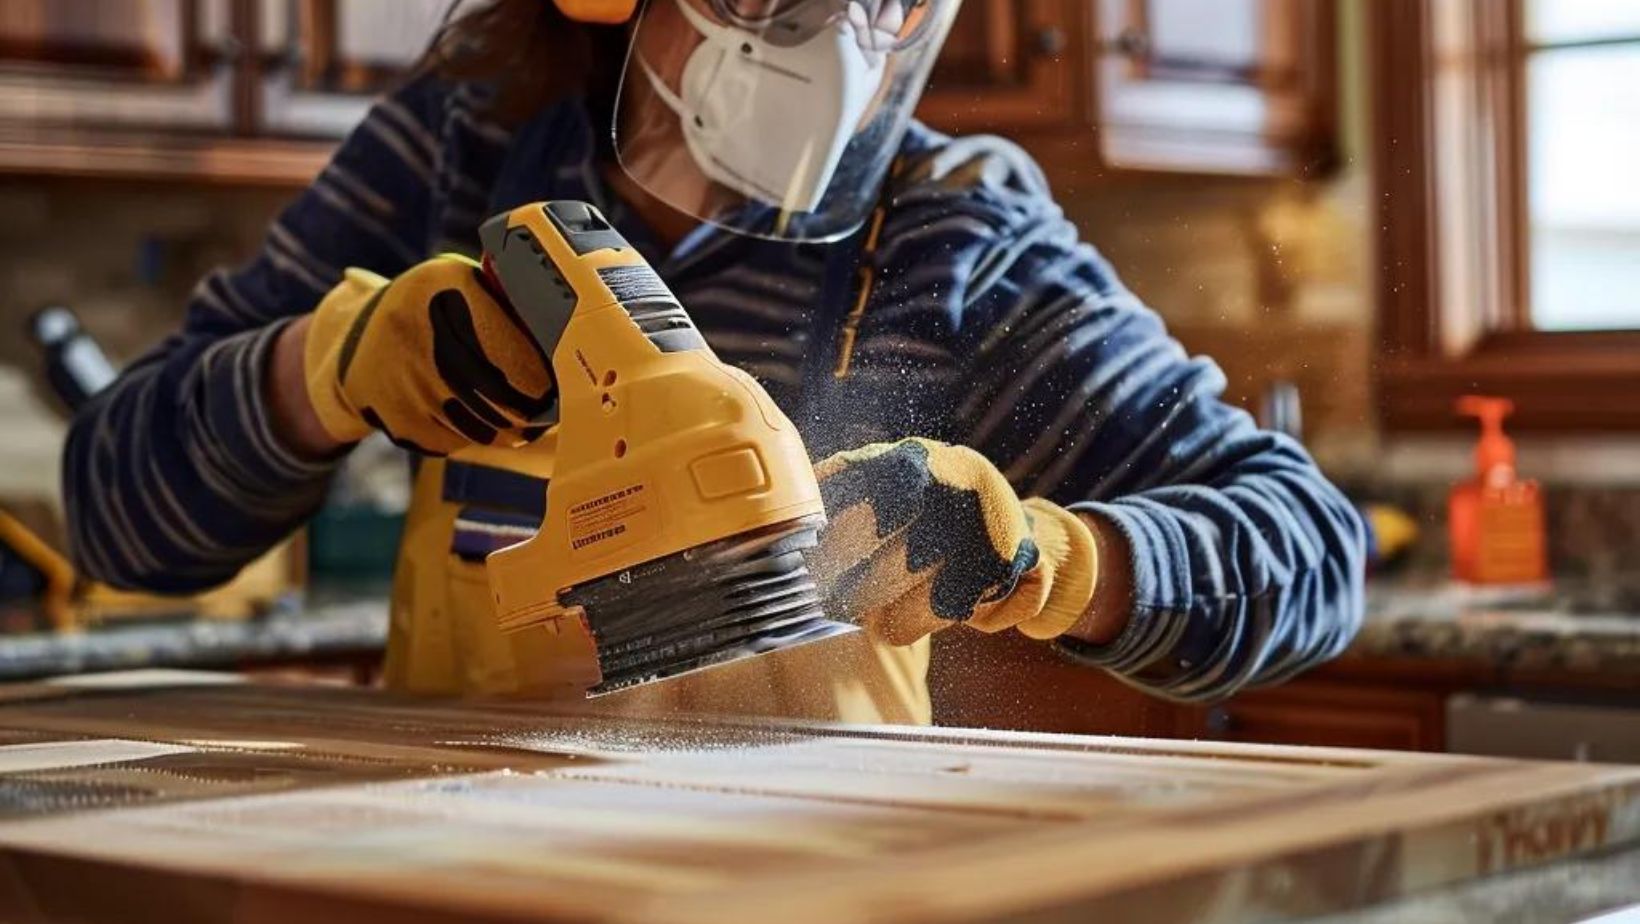
This isn’t optional—it’s non-negotiable. Follow this sequence:
1. Remove all hardware and empty cabinets
2. Degrease with TSP substitute (focus on cooking zones)
3. Apply liquid sander/de-glosser with 320-grit
4. Critical: Sand with 220-grit ONLY to dull the surface—never sand through veneer!
5. Wipe with tack cloths until no dust remains
Avoid these prep disasters:
– Skipping degreasing → paint peeling near stove
– Over-sanding veneer → irreversible damage
– Skipping liquid sander → poor paint adhesion
Paint Application Secrets for a Factory Finish
HVLP sprayers (rental: $100/day) beat brushes every time:
– Hold 8 inches from surface
– Apply thin, even coats with overlapping strokes
– Maintain constant motion to prevent drips
No sprayer? Use this brush method:
– Cut edges with Purdy XL brushes
– Roll flat surfaces with fine-nap rollers
– Pro sequence: Stain-blocking primer → light sanding → 2 thin paint coats → polyurethane topcoat
Paint fail-safes:
– Use Benjamin Moore Advance Paint (self-leveling formula)
– Tint primer to match your final color for coverage
– Sand between coats with 320-grit for adhesion
Staining Oak Without Orange Nightmare

Oak’s porous grain telegraphs uneven color—but not with this protocol:
1. Clean wood thoroughly with mineral spirits
2. Apply gel stain (not liquid) with a rag, working with the grain
3. Wipe excess after 7 minutes for deep, even tone
4. Build 2 thin coats for richness—never flood the surface
Dark stain = instant modernization. Espresso or charcoal neutralizes orange undertones while preserving grain texture. Avoid “lightening” oak—it leaves blotchy, pinkish results.
Solving Top Refinishing Disasters
Problem: Paint shows brush strokes
→ Fix: Sand with 320-grit between coats; apply thinner layers
Problem: Grain “bleeds” through paint
→ Fix: Apply grain filler before priming, or embrace texture with textured paint
Problem: Hardware misalignment
→ Fix: Use original hinge score marks; drill new holes 1/8″ offset if stripped
Problem: Veneer damage during sanding
→ Fix: Patch with veneer tape—never sand through!
Hardware Upgrades That Elevate Your Finish
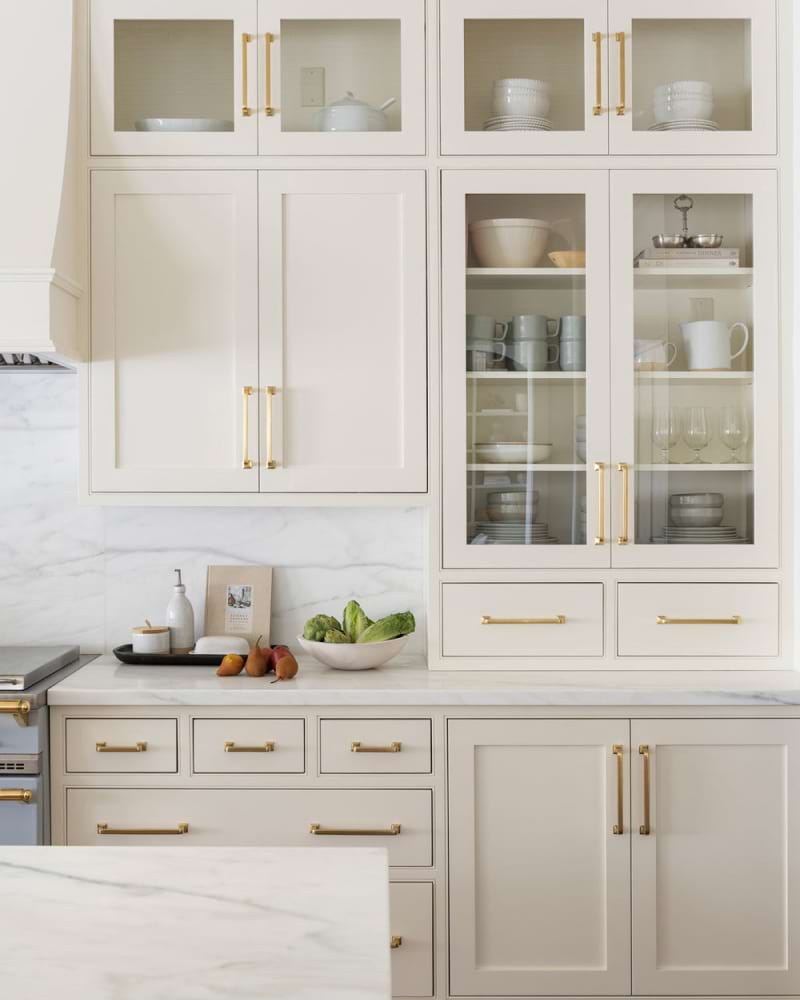
Match hardware style to door profiles:
– Shaker doors: Sleek bar pulls (3″ for doors, 7″ for drawers)
– Ornate doors: Soft-curve knobs in satin brass
Critical finish coordination:
– Polished nickel for contemporary kitchens
– Matte black for dramatic contrast
– Never mix finishes—consistency is key
Maintenance for 10-Year Results
Protect your investment:
– Install felt door dampers to prevent chip damage
– Clean only with mild soap/water (no ammonia!)
– Keep touch-up paint for quick repairs
– Tighten hardware quarterly
Durability reality check:
– Painted finishes last 5-10 years with proper prep
– Stained finishes last 10-15 years with polyurethane topcoat
– Cooking zones need annual touch-ups
Two-Tone Strategy for Maximum Impact
Transform your kitchen with color psychology:
– Paint lowers navy and uppers white for coastal elegance
– Reserve bold colors (like forest green) for islands only
– Coordinate cabinet colors with wall paint—never clash
Architectural upgrades under $50:
– Add 2″ valance strips under uppers to hide lighting
– Fill bulkhead gaps with matching wood for seamless ceilings
– Convert one upper cabinet to open shelving for visual interest
Refinishing wood kitchen cabinets isn’t just affordable—it’s the smartest upgrade for resale value and daily joy. By investing two focused weekends in meticulous prep and professional techniques, you’ll achieve results contractors charge $3,000 for. Remember: the magic happens in the sanding and labeling. Skip those, and you’re repainting, not refinishing. Take before photos—you’ll be stunned how $200 and smart execution can make your kitchen feel brand new. Grab your degreaser and get started; your dream kitchen is closer than you think.

