
Your kitchen chairs endure daily abuse—from coffee spills to homework sessions and family dinners. When those seats start showing their age, covering them isn’t just about aesthetics; it’s about extending their life and refreshing your entire kitchen’s look. Whether you’re dealing with worn fabric, outdated patterns, or simply want a seasonal refresh, knowing how to cover kitchen chair seats properly saves money and transforms your space. This guide walks you through every method to cover kitchen chair seats like a pro, with techniques that work whether you’re a complete beginner or looking to refine your skills.
You’ll discover three proven approaches, from simple slipcovers to full reupholstery, plus insider tips on fabric selection, cost-saving techniques, and maintenance strategies that keep your newly covered seats looking fresh for years. No more wobbly seats or mismatched patterns—just professional results that withstand daily kitchen life.
Choose Your Covering Method
Complete Reupholstery for Lasting Results
Reupholstery delivers the most professional, durable finish by replacing the existing fabric entirely. This method works best when your original fabric is severely damaged or outdated, you want maximum durability for daily use, or the foam padding needs replacement. For standard kitchen chairs, plan for 2-3 hours per chair if you’re new to the process.
Best fabrics for kitchen use:
– Crypton Home: Stain-resistant, liquid-repellent, perfect for families with kids
– Sunbrella: Fade-resistant, bleach-cleanable, ideal for sunny kitchens near windows
– Heavy-duty cotton twill: Affordable, washable, comes in endless patterns for seasonal updates
– Vinyl: Wipes clean easily, works great for modern or retro styles requiring zero maintenance
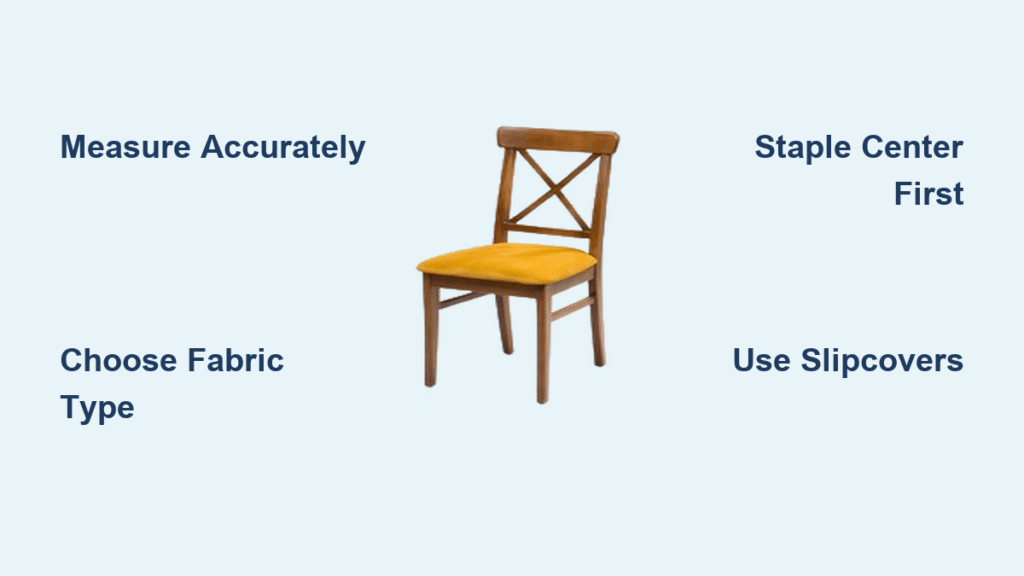
Quick Slipcover Solutions
Slipcovers offer instant transformation without permanent changes, making them perfect when you want seasonal flexibility or rent your home. They’re ideal for high-mess households needing washable options and require minimal time investment—just 30 minutes per chair for basic versions.
Most effective slipcover features:
– Elastic edges that grip chair seats tightly
– Machine-washable fabrics that withstand repeated cleaning
– Hidden ties or Velcro for secure attachment during meals
– Breathable materials that prevent moisture buildup beneath covers
Add Chair Cushions for Comfort
Cushions provide comfort while protecting existing seats, especially valuable when wood seats are uncomfortable but structurally intact. This approach works well when you want removable, washable comfort without permanent modifications. Budget-conscious homeowners appreciate this method since cushions cost less than full reupholstery while still protecting worn surfaces.
Cushion thickness guide:
– 1-1.5 inches: Light comfort for occasional use
– 2 inches: Optimal balance of comfort and durability for daily dining
– 3+ inches: Maximum comfort (best for rarely used formal dining chairs)
Calculate Fabric Requirements Accurately

Measure Like a Professional
Step 1: Remove the seat by flipping the chair and loosening the screws beneath. Keep screws in a labeled container—losing one means a wobbly chair. Use a Phillips head screwdriver for most standard kitchen chairs.
Step 2: Measure from staple point to staple point across the seat, then add 4 inches total (2 inches each side) for wrapping. For thicker foam replacements, add 6 inches instead to accommodate the extra depth without stretching your fabric.
Step 3: Measure the perpendicular direction using the same method. Most standard dining chairs measure between 16-18 inches square, but antique or specialty chairs may vary significantly.
Quick reference for standard chairs:
– 2 chairs: ¾ yard of 54″ wide fabric
– 4 chairs: 1½ yards
– 6 chairs: 2¼ yards
– 8 chairs: 3 yards
Account for Pattern Matching
Large patterns require careful planning. For florals or geometric patterns with repeats over 12 inches, add 20% more fabric to ensure proper alignment across multiple chairs. This prevents mismatched patterns that look haphazard and unprofessional.
Pattern direction matters: Stripes and plaids must run the same direction on all seats. Cut all fabric pieces in the same orientation—never rotate pieces—to maintain consistency. Place a marked “top” on your pattern pieces to avoid confusion during installation.
Gather Essential Tools and Materials
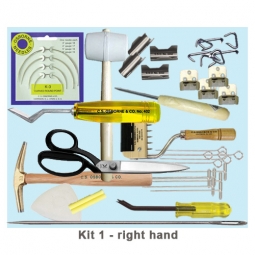
Must-Have Cutting Tools
- Professional fabric shears: 8″ dressmaker shears cut cleanly without fraying—never use paper scissors on fabric
- Electric carving knife: Surprisingly effective for cutting foam straight (the same type used for turkey carving)
- Rotary cutter and mat: Perfect for straight fabric cuts on large pieces
Stapling Equipment That Works
- Manual stapler: Spring-loaded type works for 1-2 chairs but becomes tiring for larger projects
- Pneumatic stapler: Rental option for larger projects (60-70 PSI) creates consistent, professional results
- Staple sizes: ¼” for thin fabrics, ⅜” for thick upholstery—always have both on hand
Safety and Prep Items
- Safety goggles: Flying staples cause serious eye injuries—never skip this protection
- Work gloves: Prevent blisters during staple removal and handling sharp tools
- Drop cloths: Protect floors from fabric dye transfer and staple damage
- Iron and ironing board: Wrinkle-free fabric creates professional results—iron before cutting
Remove Old Fabric Like a Pro
Fast Staple Removal Technique
Heat helps: Warm the old fabric with a hair dryer for 30 seconds—this softens adhesive and makes staples easier to remove without tearing the fabric. Work systematically around the seat, removing staples in a clockwise pattern.
Proper tool use: Slide the staple remover under each staple at a 45-degree angle, then rock back rather than pulling straight up. This prevents fabric tears that make pattern tracing difficult. For stubborn staples, tap the remover gently with a hammer.
Staple cleanup: Use needle-nose pliers for broken staples. Run a magnet over the work area when finished—missed staples damage new fabric during installation and could puncture cushions.
Install New Fabric Flawlessly
Foam Replacement Tips
Cutting perfect foam: Use an electric carving knife to slice foam smoothly. Mark your cutting line with a permanent marker, then cut slightly outside the line—you can always trim excess. For curved seats, work slowly and make multiple shallow cuts rather than one deep cut.
Attachment method: Spray adhesive creates permanent foam bonding. Apply light, even coats to both surfaces, wait 30 seconds until tacky, then press firmly. Weight with books for 10 minutes to ensure complete adhesion before adding fabric.
Professional Stapling Pattern
Start smart: Position your seat upside down on the fabric. Ensure pattern orientation matches your marked “front” direction—this avoids upside-down patterns that look amateurish.
The center-first method: Staple the center of each side first (front, back, left, right). This prevents fabric shifting and creates even tension. Then work toward the corners, adding staples every 1-2 inches.
Corner mastery:
1. Pull fabric straight toward the corner center
2. Create hospital corners like bed sheets
3. Fold excess fabric into neat pleats
4. Staple each fold separately for smooth finish
Never staple corners first—that’s the #1 mistake beginners make that causes puckering.
Create Custom Slipcovers Quickly
No-Sew Fabric Wraps
Simple square method: Cut 27″×27″ fabric squares for standard chairs. Center the fabric on the seat, then tie corners underneath using bias tape or ribbon. For a more polished look, fold and iron ½-inch hems before tying.
Grommet upgrade: Install small grommets at each corner, then use cord to secure under the seat. This creates a more finished look than simple ties and allows for easier removal when washing.
Protect Your New Covers
Professional Fabric Protection
Guardian-Crypton application: This commercial-grade protector creates an invisible barrier against stains. One bottle covers approximately 8 dining seats and works on all fabric types without altering appearance.
Application technique: Spray in light, even coats from 6 inches away. Allow 2 hours drying time between coats. Apply 2-3 coats for maximum protection—especially important for households with children or frequent entertaining.
Daily Maintenance Routine
Quick daily care: Shake out debris weekly, vacuum monthly using upholstery attachment. Address spills immediately—blot, never rub, to prevent spreading. For stubborn stains, use a microfiber cloth with mild soap and water.
Deep cleaning schedule: Professional cleaning every 12-18 months for heavily used chairs maintains fabric integrity. DIY steam cleaning works for removable slipcovers and cushions but avoid excessive moisture on reupholstered seats.
Budget Breakdown and Savings
DIY vs Professional Costs
DIY reupholstery per chair:
– Fabric: $15-40 (depending on quality and pattern)
– Foam: $15-25 (if needed)
– Supplies: $10-15 (staples, batting)
– Total: $40-80 per chair
Professional upholstery:
– Labor: $50-100 per chair
– Fabric: $20-60 (often limited selection)
– Total: $70-160 per chair
Slipcover option:
– Fabric: $8-20 per chair
– Notions: $5-10
– Total: $13-30 per chair
Money-Saving Tips
Bulk fabric purchase: Many online retailers offer 10-15% discounts for 3+ yard purchases. Coordinate with neighbors for group orders to get better pricing on premium fabrics.
Tool rental: Pneumatic staplers rent for $15-25 daily—much cheaper than $200 purchase for one-time use. Most hardware stores offer this service with minimal deposit.
End-of-bolt deals: Fabric stores sell remaining pieces at 50% off—perfect for single chair projects or accent pieces that don’t need matching patterns.
Start Small, Scale Smart
Beginner Project Sequence
Week 1: Reupholster one chair completely. This builds confidence and reveals any technique issues before tackling the full set. Choose the least visible chair for your first attempt—maybe a corner seat that guests rarely use.
Week 2: Create slipcovers for seasonal changes. These require less precision and offer immediate gratification while you perfect your reupholstery skills.
Week 3: Add cushions to wood seats for comfort testing. This helps determine if you prefer the cushion route long-term before investing in full reupholstery.
Your kitchen chairs transform your entire room’s atmosphere. Whether you choose professional-grade reupholstery, flexible slipcovers, or comfortable cushions, these seats will now withstand daily life while reflecting your personal style. Start with one chair this weekend—by next month, you’ll have a completely refreshed dining space that feels brand new, all for a fraction of replacement cost. Knowing how to cover kitchen chair seats properly ensures your dining area remains both beautiful and functional for years to come.

