
That 1940s checkerboard floor and original beadboard cabinets aren’t flaws—they’re your kitchen’s secret superpower. Instead of tearing out character-rich features, smart decorators know how to decorate an old kitchen by enhancing its vintage soul with strategic modern touches. You’ll spend less time with contractors and more time sipping coffee from that thrifted jadeite mug while creating a space that feels authentically yours. Forget “before and after” shock value; the real magic happens when you blend era-specific colors with functional upgrades that honor your kitchen’s history.
Whether you’re working with a tight rental budget or preserving a historic home, this guide delivers actionable solutions proven in real kitchens. No sledgehammers required—just clever paint techniques, thrifting strategies, and styling secrets that transform tired spaces into conversation starters. You’ll learn exactly where to source authentic materials for under £30 and which vintage pieces actually improve daily functionality.
Revive Original Features with Era-Perfect Palettes
Your kitchen’s existing bones hold the blueprint for its revival. Start by identifying period-appropriate colors already present in vintage dishware or hardware—jadeite green for 1940s spaces, butter yellow for 1950s charm, or ironstone white for farmhouse appeal. This approach creates instant cohesion without clashing with your home’s architectural story.
Extract Colors from Vintage Finds Instead of Guessing
Thrifted jadeite bowls or chrome-edged appliances aren’t just decor—they’re your color guide. Place a vintage mustard yellow teapot against your cabinets to test compatibility before committing to paint. This method prevents costly mismatches and ensures your how to decorate an old kitchen project feels intentionally layered rather than randomly decorated.
Budget-Friendly Authentic Materials That Wow
- Reclaimed tin panels ($25 from salvage yards) installed above your range instantly evoke 1940s industrial charm
- Salvaged marble offcuts become coffee station counters when mounted on reclaimed wood bases
- Vintage subway tiles found at architectural salvage yards cost 70% less than new reproductions
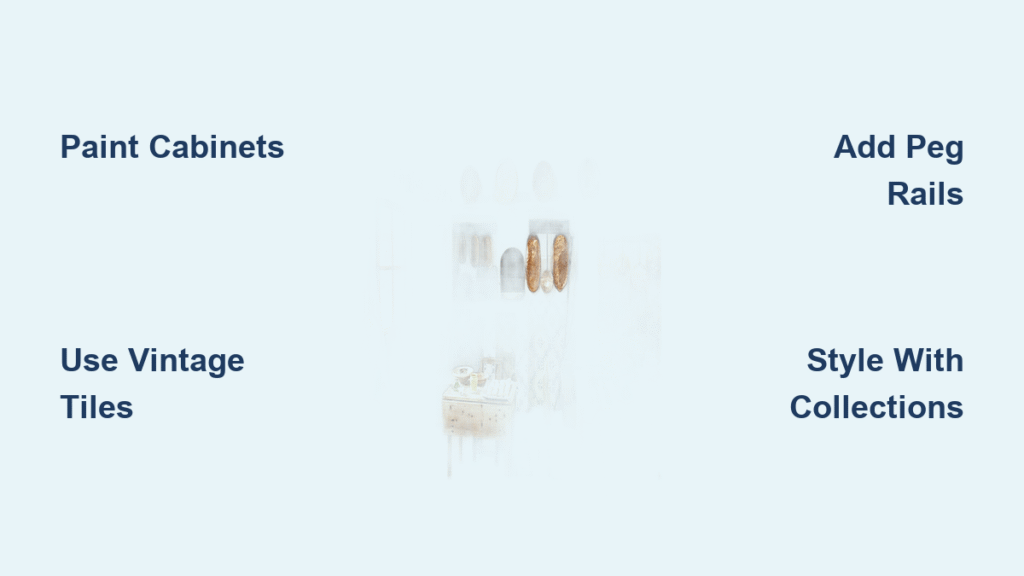
- Peg rails made from beadboard strips with forged-iron hooks create $15 display walls
Critical mistake to avoid: Painting over original features like oak cabinets or checkerboard floors. Preserve these character elements—they’re what make your space special and save you thousands in replacement costs.
Transform Cabinets with Paint and Strategic Hardware Swaps
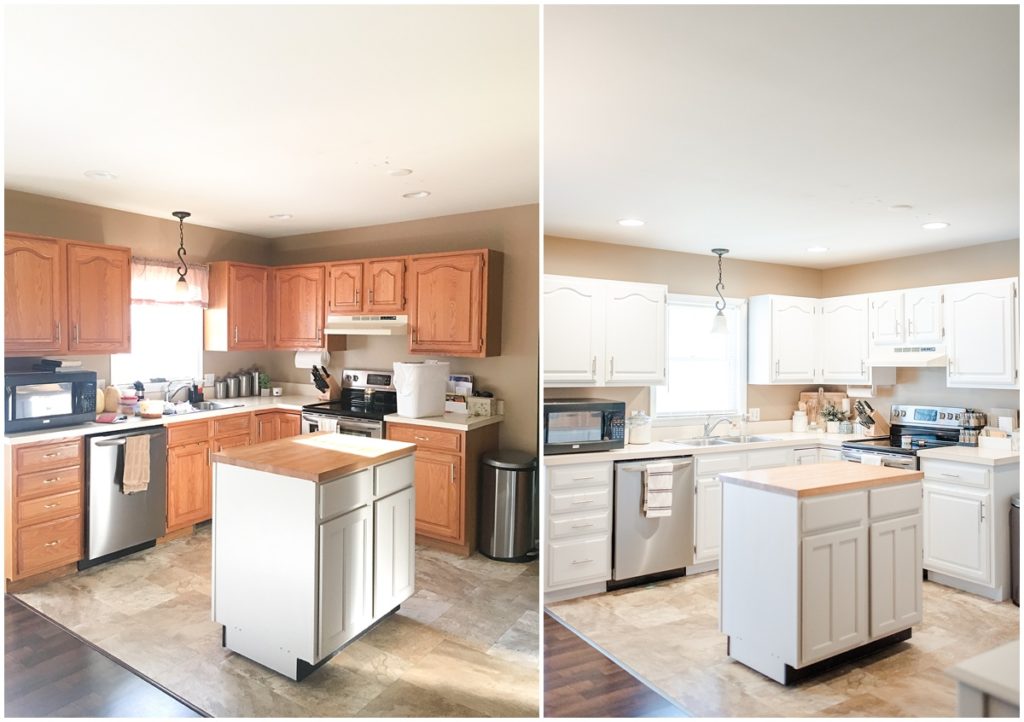
Painting cabinets delivers 90% of a remodel’s impact for 10% of the cost. Focus on structural integrity first: if doors hang straight and drawers glide smoothly, skip expensive replacements. This approach keeps your kitchen functional during the project while honoring its history.
Foolproof Cabinet Painting Process
- Remove doors and hardware using a screwdriver (keep screws organized in labeled bags)
- Clean surfaces with TSP substitute to cut through decades of grease
- Prime with Zinsser Bulls Eye to prevent wood tannins from bleeding through
- Apply two coats of Intelligent Eggshell paint using a mini roller for smooth coverage
- Install vintage-style cup pulls (£4 each) for instant period charm
Pro tip: For cottage kitchens, pair soft mint lowers with warm white uppers. In Victorian spaces, deepen drama with charcoal lowers accented by aged brass hardware. Always test colors against existing vintage pieces before committing.
Create Display Zones with Open Shelving
Remove upper cabinet doors to showcase ironstone collections—a rental-friendly trick that adds value. Fill hinge holes with caulk, paint interiors a contrasting color like French Grey, then display white dishes in odd-numbered groupings. Warning: Never remove doors from lower cabinets near sinks or stoves where moisture damage could occur.
Install Statement Backsplashes for Under £50

Your backsplash should highlight—not compete with—your kitchen’s era. Skip generic subway tile and opt for solutions that tell your space’s story while protecting walls from splatters.
Renters’ Backsplash Hacks That Landlords Approve
- Peel-and-stick tile decals (£15 on Etsy) applied over existing surfaces
- Chip-painted boards created by dry-brushing two contrasting paints for handcrafted texture
- Reclaimed tin ceiling panels ($40 salvaged pieces mounted with construction adhesive
- Giani Granite paint kits ($80 covering 35 sq ft for stone-like durability
Visual cue: Stand back and squint at your kitchen. If the backsplash draws the eye more than your vintage enamel table, it’s too bold. Subtlety preserves period authenticity.
Style Countertops Like a Vintage Pro
Transform work surfaces from cluttered chaos to curated vignettes using the “rule of three.” Group items in odd numbers, vary heights with stacked books, and repeat one metallic finish throughout for cohesion.
Functional Decor That Earns Its Keep
- Ironstone platters corral oils and tasting spoons while adding texture
- Vintage scales (green enamel or brass) hold fruit while serving as art
- Copper canisters store utensils within arm’s reach of the stove
- Wooden cutting boards leaned against the backsplash inject warmth
Time-saving shortcut: Place everyday items like salt cellars and tasting spoons on a single ironstone platter. This keeps essentials accessible while creating an instant styled moment in under 60 seconds.
Disguise Modern Appliances with Vintage Flair
Your stainless steel fridge doesn’t have to clash with 1950s charm. Strategic disguises maintain functionality while honoring your kitchen’s era—no expensive retro appliances required.
Three-Step Appliance Camouflage
- Match colors to vintage accents: Wrap dishwashers in stainless-steel contact paper
- Add period panels: Attach beadboard to fridge fronts with vintage latches
- Repeat appliance colors in small accessories (mustard mixer, jadeite bowls)
Critical detail: Position small appliances behind vintage screens when not in use. This hides modern elements while keeping them accessible—perfect for rentals where permanent changes aren’t allowed.
Build Character Through Curated Collections

Random vintage finds create clutter; intentional groupings create atmosphere. Focus on categories that serve daily functions while adding historical texture.
Thrifting Checklist for Maximum Impact
| Category | What to Hunt For | Budget Per Item |
|---|---|---|
| Copper | Teapots that double as utensil holders | $10-$30 |
| Ironstone | Pitchers for holding utensils or flowers | $5-$15 |
| Textiles | Grain-sack towels from thrifted pillowcases | $0.25-$5 |
| Art | Vintage food ads matching your color scheme | $2-$20 |
Pro tip: Rotate collections seasonally—display copper mugs for autumn soups, then swap in jadeite bowls for summer salads. This keeps your how to decorate an old kitchen journey fresh without new purchases.
Maintain Patina Without Sacrificing Function
The worn charm of vintage kitchens disappears fast with harsh cleaning. Protect your investment with era-appropriate care that preserves history.
Daily Preservation Rituals
- Clean copper with ketchup or lemon/salt mixture (rinse immediately)
- Oil butcher-block counters monthly with food-safe mineral oil
- Touch up cabinet paint chips within 48 hours to prevent moisture damage
- Rotate vintage rugs quarterly to prevent uneven fading
Urgent reminder: Skip vinegar-based cleaners on marble surfaces—they etch the stone. Use gentle soap and water instead to protect both vintage surfaces and modern upgrades.
Your old kitchen’s greatest strength is its history—not how new it looks. By layering era-specific colors, repurposing salvaged materials, and styling functional vintage finds, you create a space that feels authentically lived-in. Start with one cabinet painted in French Grey, add a single ironstone platter on the counter, and watch how these small changes build character no new kitchen can replicate. The best part? Every piece you thrift tells a story that mass-produced remodels simply can’t match. Grab that paintbrush and let your kitchen’s history shine through—no demolition required.

