
Your undermount sink’s constant leaks or cracked basin demand action, but don’t call a plumber yet. Replacing an undermount kitchen sink is achievable with basic tools and methodical steps—no professional help needed for most standard installations. Whether silicone-bonded to granite or clipped to quartz, this guide delivers the precise sequence to remove your old sink and secure a new one without damaging countertops. You’ll save $300+ by tackling this project yourself while ensuring decades of leak-free performance.
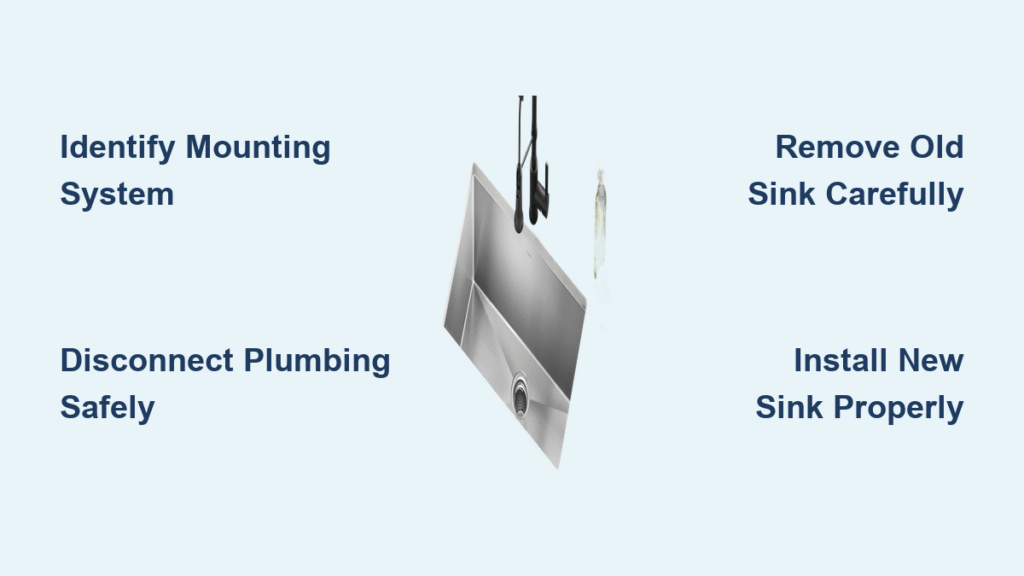
Identify Your Mounting System Before Removing Tools

Find Critical Attachment Points
Slide under your sink with a flashlight to determine your removal strategy. Most undermount sinks use one of four mounting methods:
- Metal mounting clips screwed into the countertop underside
- Silicone adhesive creating a full perimeter seal
- Wooden support brackets (common with stone countertops)
- Hybrid systems combining clips and silicone
Pro Tip: Photograph every angle of your current setup. These reference images prevent reinstallation errors when positioning your new sink.
Measure Twice, Cut Once: Avoid Costly Mistakes
Your new sink must cover the countertop cutout completely—any visible metal ledge ruins the sleek undermount look. Grab a tape measure and document:
- Countertop opening dimensions (width and length at multiple points—granite openings often vary)
- Cabinet depth (front-to-back measurement)
- Faucet clearance distance from back wall to front edge
- Garbage disposal space (if applicable)
Critical Rule: New sinks must be at least 1/2 inch larger than your stone opening. If measurements don’t match, you’ll need countertop modifications or a custom sink.
Disconnect Plumbing Without Flood Risks
Step-by-Step Disconnection Sequence
Never skip these steps—water damage costs more than patience:
- Shut off hot/cold supply valves under the sink
- Place bucket beneath P-trap to catch residual water
- Remove drain pipes and P-trap using adjustable wrench
- Disconnect garbage disposal if installed
- Photograph all connections before disassembly
Urgent Warning: If supply valves are corroded or copper lines feel brittle, stop immediately. Call a plumber—forcing stuck valves risks catastrophic leaks.
Essential Tools for Safe Removal
Gather these before starting:
- Utility knife with fresh blades (for cutting silicone)
- Ratchet set (size #10 socket for most mounting clips)
- Metal spatula (for final separation without scratching)
- Acetone and microfiber cloths (silicone residue removal)
- Oscillating multi-tool (for plywood substrate cuts)
Remove Existing Sink Without Countertop Damage
Silicone-Bonded Sink Removal Technique
Allow 45 minutes for this delicate process:
- Score silicone seal with utility knife around entire perimeter
- Work slowly—rushing cracks granite or quartz edges
- Insert putty knife to break remaining adhesive bonds
- Wipe residue with acetone on clean rags
- Inspect countertop underside for nicks or gaps
Surface-Specific Caution: Wood countertops scratch easily—use extra care with blades. Stone surfaces resist cutting tools but can chip if pried aggressively.
Clip-Mounted Sink Detachment Protocol
For sinks secured with metal brackets:
- Remove all clips except two (opposite sides for stability)
- Gently tap perimeter with hammer and wood block
- Break silicone seal using flathead screwdriver
- Slide metal spatula between sink and countertop
- Lower sink slowly with a helper’s assistance
Smart Move: Save original mounting clips—they often fit replacement sinks, saving $20+ on new hardware.
Install New Sink with Flawless Support

Dry Fit to Prevent Costly Errors
Never apply silicone without this step:
- Lift sink from cabinet below to test positioning
- Verify drain hole aligns with plumbing
- Check faucet clearance against front support block
- Confirm no cabinet interference with sink edges
Level Check: Place small bubble level across drain opening. Adjust until perfectly horizontal—this prevents water pooling.
Build Countertop-Specific Support Structures

Granite/Quartz Installations Without Plywood
- Cut 3/4″ plywood to cabinet depth dimensions
- Install dimensional lumber (2×4 or 3×4) as height blocks
- Create side-to-side supports for double-bowl sinks
- Notch front block for faucet handle clearance
- Secure with 5 screws per block minimum
Pro Upgrade: Add epoxy-coated mounting clips screwed into plywood for dual security—silicone alone isn’t enough for heavy sinks.
Fixing Inadequate Plywood Substrates
When existing wood supports are rotten or flimsy:
- Remove old plywood with oscillating multi-tool
- Install new 3/4″ plywood base across cabinet top
- Build blocking framework with pressure-treated lumber
- Leave 1/4-inch gap between sink flange and countertop
Silicone Application and Clamping Secrets
5-Step Positioning Process
- Apply 1/4-inch silicone bead around sink rim (avoid excess inside bowl)
- Lift sink with helper—stainless steel sinks weigh 25+ lbs
- Align with pencil marks made during dry fit
- Clamp through drain hole using bar clamp and protective wood blocks
- Wait 24 hours before removing clamps or testing
Clamping Hack: For double-bowl sinks, thread clamps through both drain holes with wood spacers to distribute pressure evenly.
Final Plumbing and Seal Checks
After silicone cures:
- Reconnect P-trap and supply lines using photo references
- Test for leaks by running water for 5 minutes
- Apply thin caulk bead between sink and countertop
- Wipe excess with damp sponge before it dries
Leak Test Protocol: Place paper towels under all joints—any moisture appears within 10 minutes.
Fix Common Installation Problems Immediately
Mismatched Sink Size Solutions
Problem: New sink doesn’t cover stone opening
– DIY Fix: Build taller support blocks to raise sink position
– Prevention: Always measure countertop cutout—not old sink dimensions
Reinforce Weak Support Structures
Problem: Previous installation used undersized brackets
– Critical Action: Install full-depth plywood base with 2×4 blocking
– Warning: Inadequate support causes sink detachment within 2 years
Resolve Faucet Clearance Issues
Problem: Handles hit front support block
– Quick Fix: Notch front block with jigsaw before final installation
– Check: Test faucet swing clearance during dry fit phase
Maintain Your Sink for 15+ Years of Service
Annual Inspection Checklist
- Tighten support screws with 1/4-turn (don’t overtighten)
- Replace caulk seal if gaps appear near countertop edge
- Check plumbing connections for mineral buildup
- Never stand in sink—body weight exceeds mounting limits
Cost-Saving Maintenance Habits
- Clean with vinegar solution instead of abrasive cleaners
- Run hot water after using garbage disposal to prevent clogs
- Place rubber mats in sink to reduce impact noise
- Document installation date for warranty claims
Calculate True DIY vs. Professional Costs
DIY Material Breakdown
- Silicone, caulk, and plumbing supplies: $65
- Mounting hardware and lumber: $110
- Total Out-of-Pocket: $175 (plus sink cost)
When Hiring Makes Sense
Call a pro if:
– Countertop requires cutting or resurfacing
– Sink opening exceeds 36 inches (complex support needed)
– You lack plumbing experience with P-trap reconnection
– Working with $150+ per sq. ft. exotic stone
Professional Pricing: Basic replacements cost $450; granite modifications run $800+. Your DIY project pays for itself after the first avoided service call.
Replacing an undermount kitchen sink demands precision but not professional skills. By identifying your mounting system first, building proper support structures, and allowing full silicone curing time, you’ll achieve a watertight installation that outlasts your cabinets. Focus on accurate measurements during removal—this single step prevents 90% of DIY failures. With your tools prepped and this guide as your roadmap, you’ll finish by Sunday evening with a sink that functions flawlessly for decades. The next time water pools under your cabinet, you’ll know exactly how to replace undermount kitchen sink components before minor issues become major repairs.

