

You’re pouring your morning coffee when you spot it—a jagged crack slicing through your countertop like a lightning bolt. That sinking feeling hits: Is this a death sentence for your kitchen? Before you panic or call for a costly replacement, take heart. Most countertop cracks are surprisingly fixable with the right approach. Whether it’s a hairline fracture in granite or a visible split in laminate, this guide delivers exactly how to repair crack in kitchen counter surfaces with professional results. You’ll learn to diagnose the damage, select the perfect repair method for your material, and prevent future disasters—all while saving hundreds of dollars.
Ignoring countertop cracks invites water damage, mold growth, and structural failure. But the good news? 90% of cracks can be repaired without replacing the entire slab. In the next few minutes, you’ll discover material-specific techniques that take 30-60 minutes to execute, plus critical prevention strategies most homeowners overlook. Stop staring at that eyesore—let’s fix it.
Diagnose Your Countertop Crack: Size, Cause & Warranty Check
Don’t touch that epoxy yet—jumping into repairs without diagnosis guarantees failure. Start by measuring the crack’s dimensions with a ruler. Hairline fractures under 1/4-inch deep in natural stone? Likely DIY-friendly. Cracks wider than a nickel or running through the entire slab? That’s professional territory. Document the crack’s path: Diagonal splits toward walls signal house settling, spider-web patterns near the stove indicate thermal stress, and single deep fissures at edges point to impact damage.
Identify the Root Cause Before Repairing
Thermal shock from hot pans creates distinctive radiating cracks near cooktops—this requires immediate heat-protection changes after repair. House settling cracks always reappear unless you address underlying structural issues first. Impact damage near sink cutouts often stems from unsupported overhangs. Critical mistake: Patching without fixing the root cause wastes time and money. For example, repairing a thermal crack without adding trivets guarantees recurrence within months.
Warranty Verification Protocol
Before applying any cleaner, check your countertop’s warranty status—most manufacturers cover structural cracks in installations under 5 years old. Locate your installer’s documentation and photograph the damage from multiple angles. Pro tip: DIY attempts void warranties, so contact your installer first. If covered, they’ll send a certified technician who repairs cracks at no cost to you.
Granite & Marble Crack Repair: Step-by-Step Fix

Skip this if your crack exceeds 1/4-inch depth—large fractures need professional reinforcement. For hairline cracks, gather color-matched two-part epoxy, acetone, fine-grit sandpaper (400+), and a razor blade. Natural stone repairs fail 80% of the time due to improper cleaning, so this step is non-negotiable.
Clean and Prep the Crack Thoroughly
Soak a microfiber cloth in acetone and scrub the crack for 2 full minutes to remove grease and debris. Any moisture or oil prevents epoxy adhesion—let the area dry completely for 15 minutes. Visual cue: Shine a flashlight sideways across the crack; if you see shadows or residue, repeat cleaning. Skipping this causes epoxy to peel within weeks.
Apply Epoxy Like a Stone Fabricator
Mix epoxy precisely per manufacturer ratios—deviations cause discoloration. Test the color match on the countertop underside first; granite’s flecks require tinting with stone pigment. Load epoxy into a syringe or putty knife, then press it deep into the crack. Overfill slightly to compensate for shrinkage. Immediately scrape excess with a razor blade held at 45 degrees—wait longer than 90 seconds and you’ll create permanent ridges. Allow 24 hours of undisturbed curing; rushing this step reduces bond strength by 70%.
Quartz Countertop Crack Solutions: Pattern-Matching Secrets
Quartz repairs demand extra precision due to its engineered patterns. Small nicks respond well to DIY fixes, but cracks longer than 3 inches or those disrupting the stone’s “veining” need professionals. Your biggest challenge? Matching the intricate particle pattern.
Tape-Off Technique for Clean Edges
Apply painter’s tape 1/4-inch from both sides of the crack to contain epoxy spread—this prevents messy borders that ruin the repair’s appearance. Use a toothpick to apply thin epoxy layers, building up gradually. For pattern matching, pro tip: Mix different colored epoxies on a palette to mimic quartz’s speckled appearance. Cure time must hit 24 hours; quartz’s density slows epoxy hardening.
Solid Surface Countertop Fixes (Corian)
Solid surface counters like Corian offer the easiest repairs with near-invisible results. Unlike stone, the material’s uniform composition allows seamless blending. For hairline cracks, skip expensive epoxy—super glue delivers durable results.
Super Glue Method for Hairline Cracks
Clean the crack with acetone and let dry completely. Apply cyanoacrylate glue directly into the fissure using the bottle’s precision tip—watch it wick deep via capillary action. Wait 2 hours before sanding with 400-grit paper in circular motions. Finish by buffing with automotive polishing compound for a factory-smooth surface. Time-saver: This method takes 30 minutes versus 3+ hours for epoxy repairs.
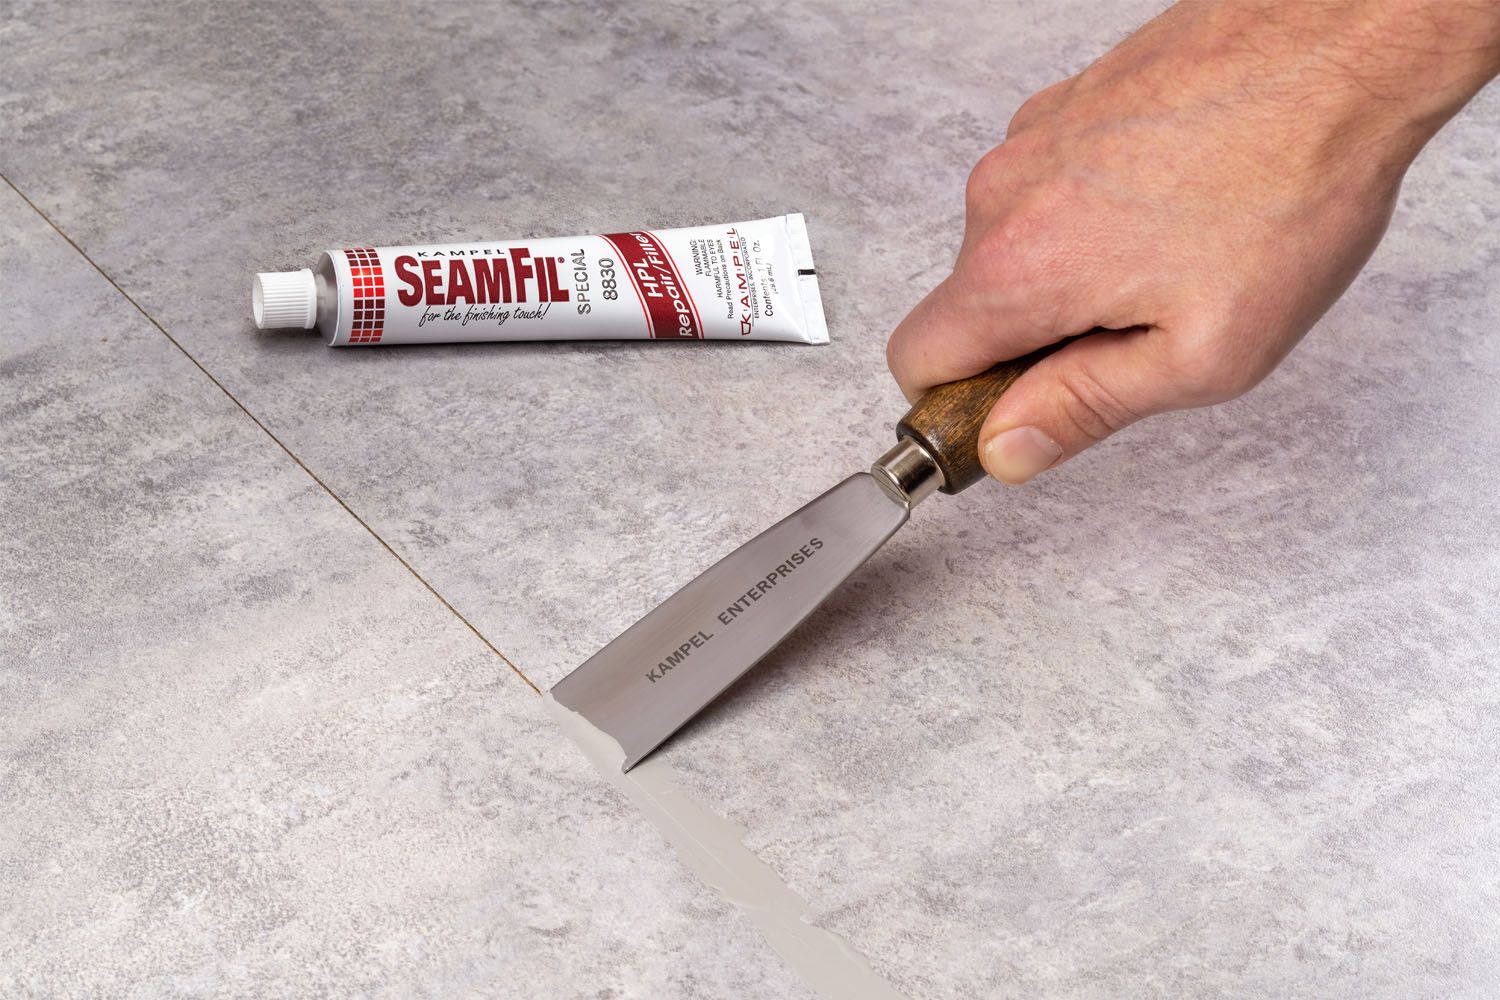
Laminate Countertop Crack Solutions
Laminate repairs face unique hurdles due to the wood substrate underneath. Water intrusion causes swelling, making surface fixes temporary. Pre-1994 laminates are especially problematic due to degraded adhesives.
Paste Application for Temporary Fixes
Use laminate-specific filler paste (not wood putty) in a color matching your countertop’s pattern. Apply with a plastic scraper, pressing firmly into the crack. Wipe excess immediately with a damp cloth—delaying creates visible smears. Critical limitation: This only works for surface-level cracks; if the substrate is swollen, the repair lasts 3-6 months max. For older laminate, position a decorative cutting board over the repair to hide inevitable reappearing cracks.
Essential Tools and Safety Gear Checklist

Never skip safety steps—epoxy fumes cause respiratory issues and acetone ignites easily. Required gear includes chemical-resistant gloves, safety goggles, and a respirator mask (N95 minimum). Work in a ventilated area with cross-breezes, not just a fan. Pro tip: Place a shop light directly above the crack—you’ll spot missed debris 10x easier.
Must-Have Repair Kit for Any Material
- Razor blades and putty knives (for epoxy scraping)
- Fine-grit sandpaper (400-600 grit)
- Acetone in spray bottle (for cleaning)
- Color-matched epoxy or super glue
- Painter’s tape (for quartz/laminate)
- Microfiber cloths (lint-free drying)
When to Call a Professional Countertop Repair Service
Stop DIY attempts immediately for cracks longer than 12 inches, structural damage near sink cutouts, or any crack compromising the countertop’s integrity. Granite and quartz repairs requiring pattern matching cost $200-$600 professionally but often fail when attempted DIY. Red flag: If tapping near the crack produces a hollow sound, you need structural reinforcement only experts can provide.
Prevent Future Countertop Cracks: 4 Proven Strategies
Heat protection is non-negotiable—never place hot pans directly on surfaces. Use trivets with rubber feet (not cloth) to prevent sliding. For weight distribution, avoid concentrating heavy appliances like blenders near unsupported edges; distribute weight across cabinet supports. Maintenance must-do: Seal natural stone annually and inspect for micro-cracks monthly—catching hairline fractures early makes repairs 90% easier.
Long-Term Durability Expectations by Material
Solid surface repairs last 15+ years with proper care. Granite epoxy fixes endure 10-20 years if color-matched perfectly. Laminate repairs serve as temporary solutions (6-18 months) due to substrate issues. Pro insight: Quartz pattern-matching repairs rarely last beyond 5 years without professional touch-ups—budget for annual inspections if you choose DIY fixes.
That coffee-stained crack doesn’t mean kitchen bankruptcy. By diagnosing the cause, selecting the right material-specific technique, and implementing prevention protocols, you’ve transformed a panic moment into a victory. Most repairs take under an hour and cost less than $50—far cheaper than replacement. Now run that water over your repaired countertop (yes, really—test its integrity!) and reclaim your kitchen with confidence. Start with a monthly inspection habit: run your palm across surfaces to catch new cracks before they escalate. Your countertop—and your wallet—will thank you for years to come.

