
That chip from the cast-iron skillet. The web of fine scratches from daily use. The deep gouge where the chair leg caught the cabinet door. These blemishes transform your kitchen from a warm gathering space into a constant reminder of wear and tear. How to fix scratched kitchen cabinets is a top concern for 78% of homeowners according to recent surveys—and good news: 90% of damage can be repaired without replacement. Whether you’re dealing with minor surface scuffs or deep gouges exposing raw material, this guide delivers proven techniques tailored to your specific cabinet surface. You’ll learn exactly which products to use, how to match finishes perfectly, and avoid costly mistakes that make scratches more visible.
Most kitchen cabinet repairs take under 90 minutes with basic tools. The key is identifying your cabinet material first—using the wrong method on veneer or laminate can turn a small scratch into permanent damage. By following these surface-specific protocols, you’ll restore your cabinets’ appearance while protecting their structural integrity. Let’s transform those eyesores into invisible repairs.
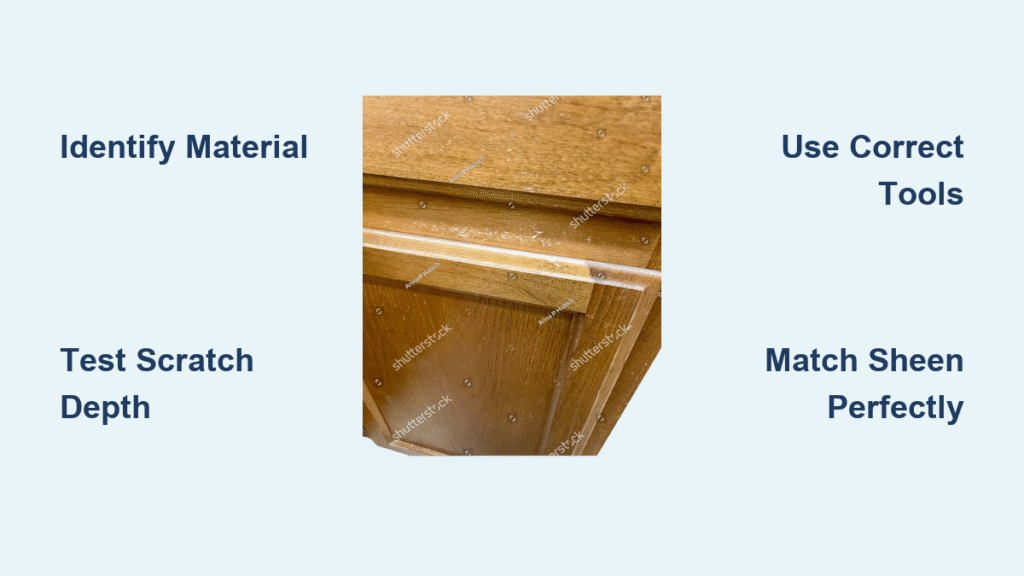
Identify Your Cabinet Material Before Repairing Scratches
Grab a flashlight and inspect cabinet edges, hinges, and the inside of a door. Your repair strategy depends entirely on this critical step—mistaking veneer for solid wood is the #1 DIY disaster.
Solid Wood vs. Veneer Identification Test
Run your fingernail along the scratch. Solid wood feels slightly yielding and shows natural grain patterns continuing through the depth. Check door edges for end-grain wood fibers. Wood veneer (a 1/42″ wood layer over particleboard) feels rigid with perfectly uniform grain—your nail won’t catch on the surface. If you see a brown particleboard core in deep scratches, it’s veneer.
Laminate and Painted Surface Clues
Laminate has a smooth, slightly plasticky feel with no real wood texture. It often shows a white or gray core when scratched deeply. Painted cabinets reveal a different color underneath the scratch—typically white primer or wood-colored substrate. Press a drop of water on a hidden area; laminate beads water while wood absorbs it within 30 seconds.
Assess Scratch Depth Using the Fingernail Test
Don’t assume all scratches need filler. This 10-second test determines your repair approach:
Three-Category Scratch Classification
Surface scratches (light scuffs): Your fingernail glides over them smoothly. These only affect the clear coat and require minimal treatment. Medium scratches (noticeable grooves): Your nail catches slightly but doesn’t snag. These penetrate the stain or paint layer. Deep gouges (structural damage): Your nail snags significantly, revealing raw wood or substrate—these need filling and refinishing.
Quick Damage Verification
Wipe the scratch with mineral spirits on a cotton swab. If the scratch disappears temporarily, it’s a surface-level issue where oils have penetrated the finish. If it remains visible, you’re dealing with medium or deep damage requiring active repair.
Gather Surface-Specific Repair Tools
Using generic “cabinet repair kits” often fails. Match your tools precisely to your cabinet material:
Essential Tools by Surface Type
For solid wood: 0000 steel wool, paste wax, wood filler (choose species-matched if possible), 120/220/320-grit sandpaper, artist brushes, polyurethane.
For veneer: Wax fill sticks (3+ colors), burn-in knife, contact cement, veneer patch kit.
For laminate: Laminate repair paste, melamine paint, razor blade, plastic putty knife.
For painted cabinets: 220-grit sandpaper, spot primer, foam brush, matching paint, clear topcoat.
Pro Tip: Test all products on an inconspicuous area first. Laminate repairs fail 60% of the time when using wood filler—always verify compatibility.
Fix Surface Scratches on Solid Wood Cabinets
Skip sanding for light scuffs—this preserves your finish thickness.
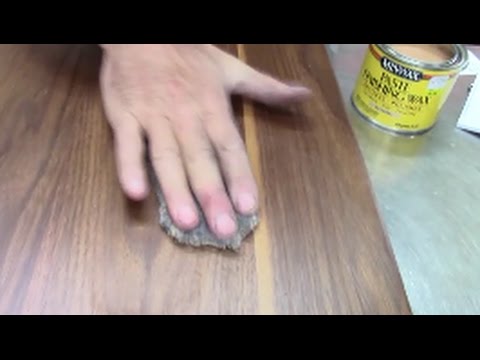
Steel Wool and Wax Technique
Clean the area with denatured alcohol on a microfiber cloth. Gently rub 0000 steel wool along the grain direction (never circular!) for 15-20 seconds. Apply paste wax with a soft cloth, working it into the scratch using light pressure. Let it haze for 5 minutes, then buff vigorously with a clean cloth. The wax fills micro-scratches while matching the existing sheen. For dark woods, add a drop of matching stain to the wax before application.
When to Avoid This Method
Never use steel wool on painted or veneer surfaces—it creates permanent abrasions. This technique only works on finished solid wood with intact clear coats.
Repair Deep Gouges in Wood Veneer Surfaces
Veneer is thinner than a dime—aggressive sanding will expose the particleboard core.
Wax Fill Stick Protocol
Select two wax stick colors: one matching the base tone, another for grain highlights. Press the darker color into the scratch, then layer the lighter shade on top. Heat a burn-in knife until warm (not hot enough to smoke) and gently glide it over the wax to melt it into the wood fibers. Wipe away excess with a cotton swab dipped in mineral spirits. For best results, apply a thin coat of matching finish with an artist brush, feathering outward 2 inches beyond the repair.
Critical Warning: Never apply water-based products to veneer—moisture causes delamination within 48 hours. Use only solvent-based finishes.
Patch Laminate Cabinet Scratches Without Sanding

Laminate can’t be sanded or refinished, so repairs focus on color-matching the plastic surface.
Laminate Repair Paste Application
Squeeze color-matched repair paste into the scratch using a plastic putty knife. Overfill slightly, then scrape the surface at a 15-degree angle to remove excess. Let cure for 2 hours. For precision leveling, hold a razor blade at 5 degrees and gently skim the surface—never scrape perpendicular. For hairline scratches, apply melamine paint with a toothpick, building thin layers over 24 hours.
When Replacement Is Necessary
If scratches exceed 1/16″ depth or show the white substrate core, consider replacing the entire panel. Laminate repairs on deep damage often crack within 6 months due to material flexing.
Touch Up Painted Cabinet Scratches Perfectly

Mismatched sheen makes repairs glaringly obvious—this method ensures invisible results.
Sheen-Matching Paint Protocol
Take a cabinet door to the paint store for spectrophotometer matching—photos fail under kitchen lighting. Lightly sand the scratch with 220-grit paper just enough to scuff the surface. Apply spot primer only to exposed substrate (not the surrounding paint). Using a foam brush, apply paint in thin, feathered strokes outward from the scratch. Let dry 2 hours, then apply a clear topcoat with identical sheen (matte, satin, or gloss) to the entire door face for uniform reflectivity.
Pro Tip: Mix a drop of the original paint into your touch-up color—kitchen lighting often makes store-matched paint appear 15% darker.
Prevent Future Scratches with Strategic Protection
Stop damage before it happens with these targeted solutions:
Impact-Reduction Tactics
Install soft-close hinges ($8-$15 each) to eliminate slamming damage. Apply self-adhesive felt pads to cabinet door interiors where they contact frames—focus on the top and bottom corners where chips occur most. Always place cutting boards against cabinet fronts when prepping food—never lean knives or pans directly on surfaces.
Monthly Maintenance Routine
Wipe cabinets weekly with a damp microfiber cloth to remove abrasive dust. Apply cabinet-specific conditioner monthly to replenish protective oils. Every 3 months, inspect high-traffic zones (near handles, corners) for developing micro-scratches and address them immediately with wax sticks.
Avoid These Costly DIY Repair Mistakes
The Sheen Mismatch Trap
Using satin finish on semi-gloss cabinets creates a visible “halo” around repairs. Always verify sheen by checking the cabinet’s least visible area (inside top panel) with a flashlight held at a 45-degree angle.
Filler Application Errors
Overfilling deep scratches causes visible ridges when cured. Apply wood filler in three thin layers instead of one thick application, allowing 1 hour between coats. Never use spackle on wood—it shrinks and cracks within weeks.
Your kitchen cabinets can regain their showroom appeal with these targeted repairs. Start with the least invasive method for your surface type—90% of light scratches vanish with wax and steel wool alone. For deeper damage, match materials precisely to your cabinet’s construction and prioritize sheen matching over color perfection. Most repairs take under 90 minutes with $20 in supplies, saving hundreds compared to professional services. Remember: the best cabinet scratch repair is the one you can’t see. With these techniques, your kitchen will reflect the life you love—not the wear it’s endured. Keep touch-up supplies on hand for immediate attention to new scratches, and your cabinets will stay flawless for years.

