
Your kitchen faucet hose starts spraying erratically during dinner prep, leaving you with a growing puddle under the sink and a spray head that won’t retract. This common nightmare wastes water, damages cabinets, and disrupts your cooking flow—but you can fix it yourself with basic tools in under 30 minutes. Whether you’re battling persistent leaks, frustrating tangles, or weak water pressure, this guide delivers step-by-step solutions that actually work. Stop ignoring those drips; learn exactly how to fix a kitchen faucet hose before minor issues flood your kitchen.
Diagnose Hose Failure Before Disaster Strikes

Critical Warning Signs You Must Address Now
- Constant dripping from hose while faucet is off signals failing internal seals
- Spray head leaks after use indicates worn washers or mineral-clogged valves
- Hose won’t retract smoothly or jams halfway points to counterweight failure
- Visible cracks or bulges along the hose length demand immediate replacement
- Sudden pressure drops during use often mean internal hose damage
- Loose connections that vibrate during operation will worsen rapidly
Pinpoint Your Exact Problem Type
Leak location reveals the culprit: Drips near the spray head mean replaceable washers, while leaks along the hose body require full replacement. Retraction failures usually stem from misplaced counterweights or tangled hoses—not the hose itself. Pressure issues typically originate from clogged aerators or mineral buildup in the hose, not water supply problems. Grab a flashlight and trace water paths before grabbing tools.
Gather Essential Repair Tools (No Specialty Gear Needed)
Must-Have Items Checklist
- Adjustable wrench or channel-lock pliers (size 10″ works for 95% of faucets)
- Exact replacement hose (match model number under sink or measure connections)
- Plumber’s tape (white Teflon tape for watertight seals)
- Bucket and towels (expect 1-2 cups of residual water)
- Food-grade silicone lubricant (prevents future sticking)
- White vinegar (dissolves mineral deposits clogging spray heads)
Choose Your Replacement Hose Wisely
Nylon braided hoses offer best flexibility for tight under-sink spaces. Stainless steel braided versions last 3-4 times longer but cost slightly more. Avoid PVC-only hoses—they crack prematurely under heat stress. Check your old hose for size markings: 1/2″ or 3/8″ connections are most common. When in doubt, bring the old hose to the hardware store.
Shut Off Water Without Causing New Problems
Critical Safety Sequence
- Locate shutoff valves beneath sink (usually two small levers near pipes)
- Turn both valves clockwise firmly until they stop—never force past resistance
- Run faucet for 10 seconds to drain residual water from lines
- Clear under-sink area completely for unobstructed access
Pro tip: Place a shallow tray under the hose connection point. Residual water will spill during disassembly even with valves off—this prevents cabinet damage.
Remove Faulty Hose in 4 Simple Steps
Spray Head Disconnection First
- Unscrew spray head counterclockwise by hand (most are plastic and strip easily)
- Use pliers only if necessary—wrap jaws with tape to prevent scratches
- Pull hose upward through faucet spout from above the sink
- Guide hose out slowly while catching water with a towel
Warning: Never yank the hose. A gentle twisting motion prevents damaging the faucet spout interior. If stuck, rotate the spout 45 degrees to align internal pathways.
Inspect for Hidden Damage You Might Miss

Damage Assessment Checklist
- Run fingers along entire hose feeling for hairline cracks (common near bends)
- Check connection threads for stripped metal or corroded spots
- Remove spray head aerator and inspect for gritty mineral deposits
- Examine faucet outlet for worn threads or calcium buildup
Replace vs. Repair Decision Guide
Replace immediately if you find cracks, bulges, or kinks that don’t straighten. Repair connections only if leaks occur at threaded joints with intact hose material. Clean components when buildup causes issues but hardware remains sound—soak aerators in vinegar overnight.
Install New Hose Without Common Mistakes
Spray Head Connection Done Right
- Wrap threads with 3-4 clockwise turns of plumber’s tape (prevents leaks)
- Hand-tighten firmly—no tools needed for initial connection
- Snug with pliers for 1/8 turn only (over-tightening cracks plastic)
- Feed hose through spout while rotating to avoid kinks
Faucet Base Attachment Secrets
- Apply tape to faucet outlet threads before connecting
- Thread hose nut clockwise until finger-tight
- Final tighten with wrench: 1/4 turn max—overtightening strips threads
- Verify smooth path with no sharp bends or pinching points
Counterweight Positioning That Works
With spray head fully inserted, locate where the hose makes its lowest bend. Attach weight 1-2 inches above this point toward the faucet. Test by pulling out the hose—it should retract smoothly without snapping back violently. Too low? Hose won’t retract. Too high? Hose slips down.
Test for Leaks Like a Professional
Leak Detection Protocol
- Open shutoff valves slowly—1/4 turn at a time to avoid pressure surges
- Wrap dry paper towels around connections for 5 minutes
- Run full water pressure while checking all joints
- Test spray modes (stream and spray) for 30 seconds each
Critical check: Feel connections with dry fingers—your skin detects moisture faster than eyes. If leaks appear, tighten connections 1/16 turn max before retesting.
Fix Your Specific Problem Fast
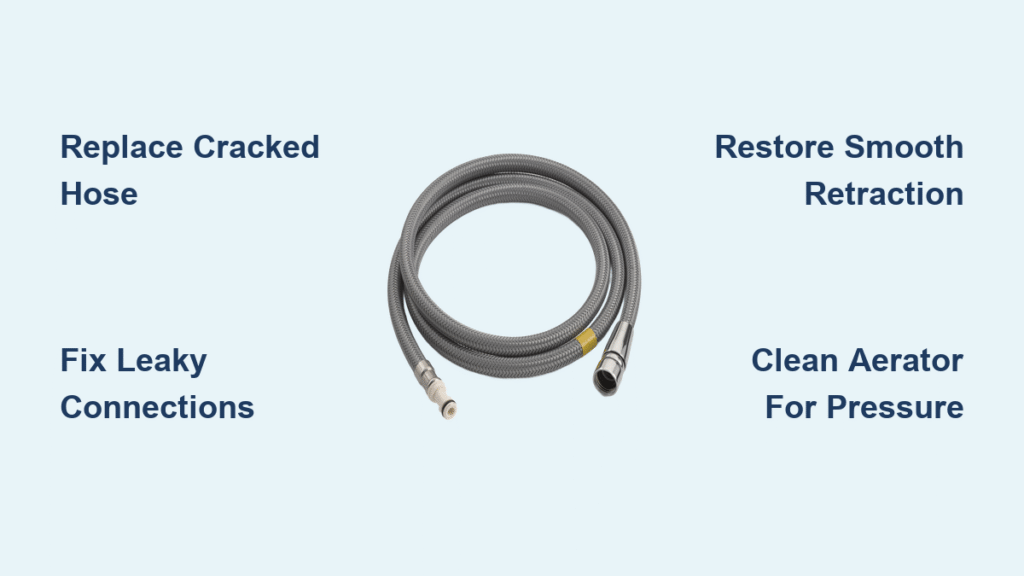
Stop Hose Leaks Permanently
Connection leaks: Tighten 1/8 turn, then rewrap with plumber’s tape. Spray head leaks: Soak in vinegar 30 minutes, scrub aerator with old toothbrush. Hose cracks: No fix possible—replace immediately to avoid sudden failure.
Restore Smooth Retraction
Clear under-sink obstructions blocking hose movement. Reposition counterweight closer to spray head for faster retraction. Straighten hose path—maintain gentle curves with no sharp bends near cabinet edges.
Boost Low Water Pressure
Clean the aerator: Remove from spray head, soak in vinegar 30 minutes, rinse thoroughly. Flush the hose: Disconnect both ends, run water through for 20 seconds. Verify shutoff valves are fully open—partial closure cuts pressure by 50%.
Prevent Future Failures With Smart Habits
Monthly Maintenance Routine
- Wipe hose weekly during sink cleaning to spot early cracks
- Clean aerator monthly by unscrewing and soaking in vinegar
- Lubricate spray head threads quarterly with food-grade silicone
- Hand-check connections every 3 months for looseness
Installation Upgrades That Last
Route hoses with gentle curves—never sharp bends. Install foam sleeves where hoses contact cabinet edges. Keep under-sink area clear—store items behind hose path. Choose stainless steel braided hoses for 10+ year lifespan versus 2-3 years for basic models.
Emergency Fixes and When to Call Pros
Temporary Solutions for Active Leaks
- Small connection leaks: Wrap tightly with plumber’s tape as stopgap
- No retraction: Remove counterweight, clean track, reposition weight
- Complete failure: Shut off water immediately and cap connection
Call a plumber immediately if you encounter corroded pipes, stripped faucet threads, or complex valve assemblies. DIY efforts on damaged plumbing can cause catastrophic leaks.
Most kitchen faucet hose repairs take just 15-30 minutes with basic tools—no plumbing degree required. The key is acting fast: that small drip under your sink today could become a flooded cabinet tomorrow. By following these precise steps, you’ll eliminate leaks, restore smooth retraction, and prevent future headaches. Keep this guide bookmarked for your next faucet emergency, and never panic over a spraying hose again. For lasting results, replace standard hoses with stainless steel braided versions during your next repair—they pay for themselves in avoided maintenance. Your dry cabinets will thank you.

