
Your kitchen cupboard door hangs crooked, won’t latch shut, or swings open on its own—disrupting meal prep and making your kitchen look perpetually messy. These frustrating issues develop gradually through daily use, temperature changes, and the relentless pull of gravity on heavy cabinet doors. The good news? Most problems require only basic tools and 30 minutes of focused effort to restore smooth, quiet operation. This guide walks you through every common scenario—from loose screws to complete hinge replacement—so you can fix your kitchen cupboard door today without calling a professional.
Diagnose Why Your Cupboard Door Won’t Stay Closed
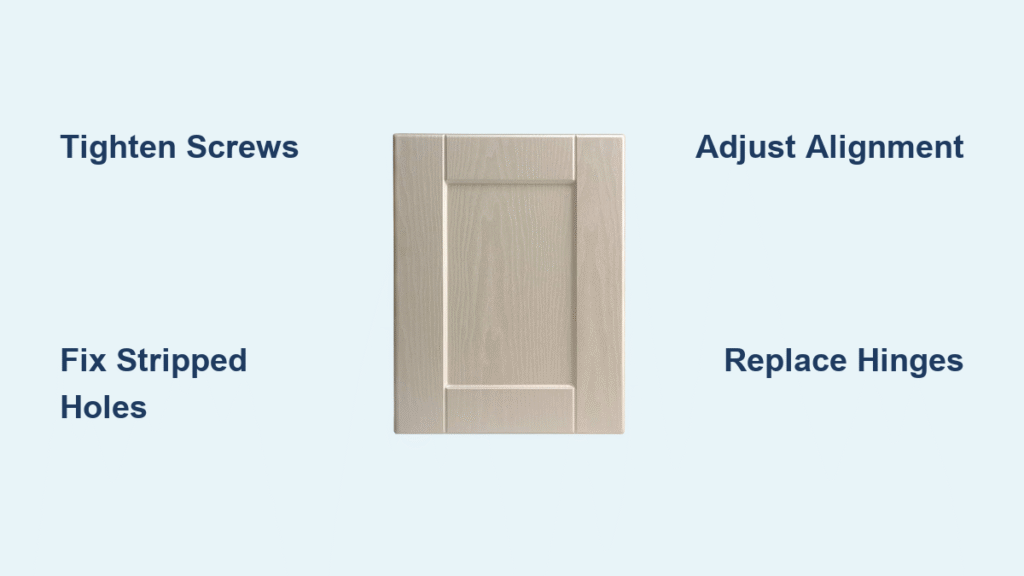
Before grabbing your screwdriver, spend two minutes understanding exactly what’s wrong with your cabinet door. Open it completely and watch its movement pattern. Does it swing loosely like a gate with broken hinges? Look for visible metal shavings beneath the hinges—these silver flakes signal metal fatigue and imminent failure. Run your finger along the door’s edge when closed; any gaps or uneven contact points reveal alignment issues that prevent proper closing.
Critical Diagnostic Clues:
– Loose screws: Check if any hinge screws appear raised or tilted when the door is closed
– Door sag: Measure gap at top—more than 3mm indicates weight overload on hinges
– Stripped holes: Remove one screw—if it spins freely or falls out without resistance, the hole is enlarged
– Hinge damage: Look for bent metal, rust, or cracks in hinge arms that compromise structural integrity
Gather These Exact Tools for Cupboard Door Repair
Don’t waste time mid-repair searching for the right equipment. Collect these specific items before starting—most homes already contain these basics. You’ll need both Phillips #1 and #2 screwdrivers sized for cabinet screws (standard sizes are often overlooked), PVA wood glue for reinforcing damaged holes, and wooden toothpicks as inexpensive filler material. Keep medium-grit sandpaper (120-150) handy for smoothing repairs, plus matching paint for touch-ups.
Pro Tip: Create a dedicated repair kit by storing cabinet screws (sizes #6, #8, and #10), toothpicks, wood glue, and small sandpaper in a labeled container. This prevents mid-repair trips to the hardware store and handles 90% of door issues before they worsen.
Tighten Loose Hinges Without Stripping Screw Holes
The simplest fix addresses doors that have merely loosened through normal use. This works for 60% of kitchen cupboard door problems and takes under five minutes per door.
Precision Tightening Process:
1. Open door fully to access all hinge screws on both door and cabinet frame sides
2. Starting at top hinge, tighten each screw with firm, controlled clockwise pressure
3. Check door operation after each hinge—tighten remaining screws as needed
4. Stop immediately if any screw spins without resistance—this signals a stripped hole
Critical Warning: Overtightening is the #1 cause of stripped holes. Stop when the screw feels snug, not when you feel resistance—cabinet wood is often softer than you think.
Repair Stripped Screw Holes with Permanent Toothpick Fix

When screws spin freely in enlarged holes, the toothpick method creates fresh wood for threads to grip. This permanent fix costs pennies and lasts for years.
Complete Toothpick Method:
1. Remove door from cabinet frame (leave hinges attached to door for reference)
2. Dip 4-6 standard wooden toothpicks in wood glue, pack tightly into stripped hole
3. Break off excess flush with cabinet surface using a utility knife
4. Let glue cure minimum 2 hours (overnight for best results in humid kitchens)
5. Reinstall door—screws now bite into solid wood filler with renewed holding power
Alternative for Severe Damage: Drill out damaged hole to 1/4″, glue in hardwood dowel, trim flush, then drill new pilot hole. This handles doors where entire hinge sections have pulled away from particle board construction.
Fix Sagging Heavy Kitchen Cupboard Doors

Solid wood or glass-panel doors often exceed standard hinge capacity, causing gradual sagging that creates gaps and closing problems.
Weight Assessment Checklist:
– Door width over 24 inches
– Solid wood or glass construction (typically 15+ pounds)
– Three hinges showing stress marks or bent arms
– Visible gap at top when door closes
Sag Correction Solutions:
– Replace with heavy-duty hinges rated for 30+ pounds per door
– Add third hinge centered between existing ones for doors over 30 inches tall
– Use level to ensure new hinge alignment matches existing hardware precisely
Install Hinge Repair Plates for Damaged Mounting Points
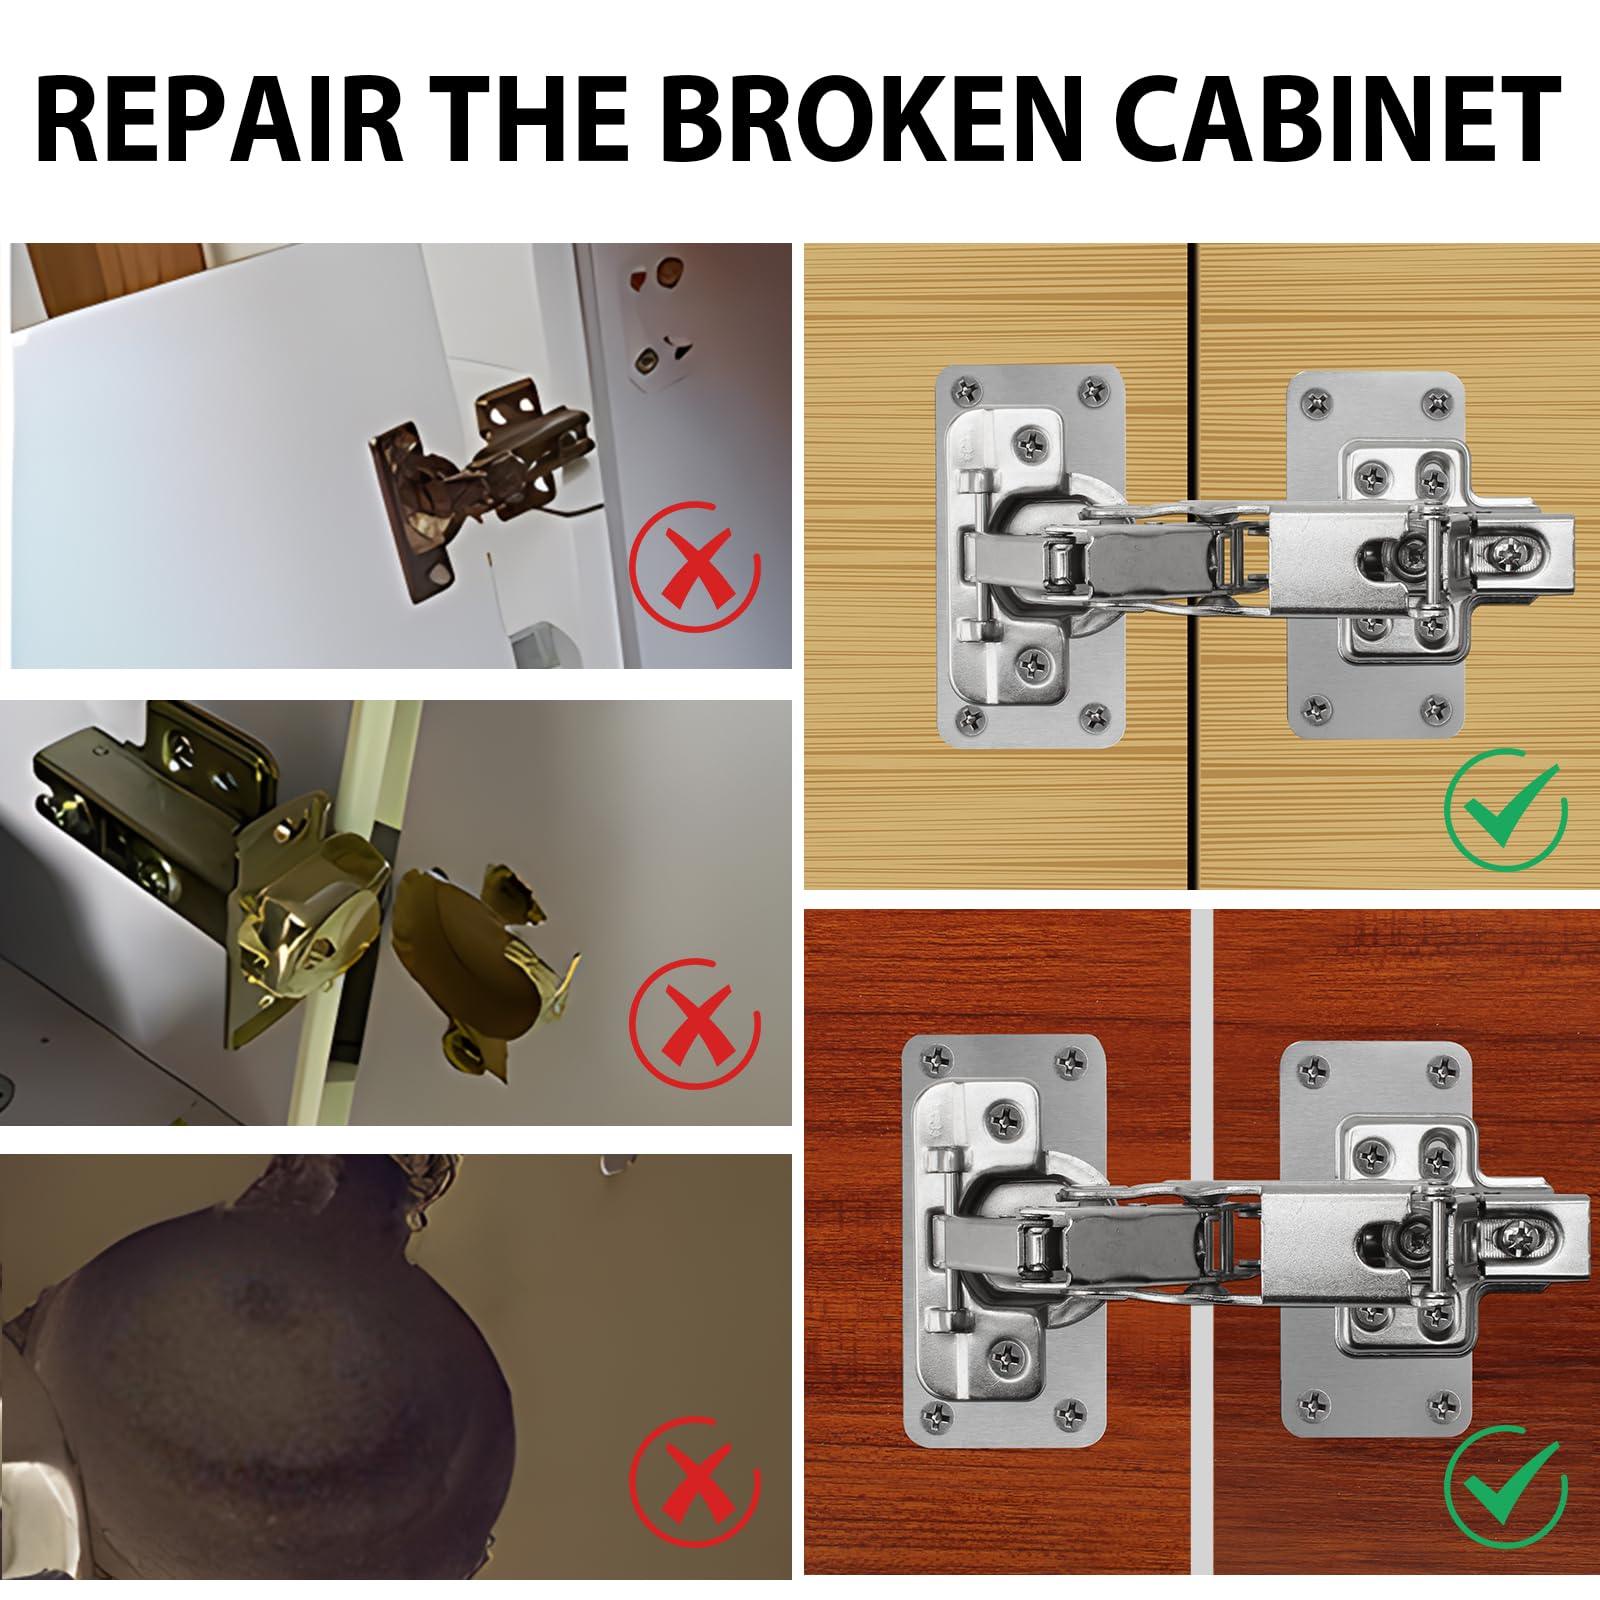
When toothpicks won’t suffice—like when multiple screw holes are damaged—repair plates provide new metal anchoring points.
Plate Installation Process:
1. Remove door completely from cabinet frame
2. Position repair plate over damaged area, aligning with existing hinge cutout
3. Mark new screw locations through plate holes using pencil
4. Drill shallow pilot holes (2-3mm deep) at marks to prevent wood splitting
5. Attach hinge to plate using original screws through reinforced metal
6. Rehang door assembly—plates cost £2.59 each or £1.00 in five-packs for multiple repairs
Restore Broken Hinge Mounting Points After Tear-Out
When hinges pull away completely, creating splintered wood or visible holes:
Surface Restoration Steps:
1. Remove door and all hardware completely
2. Apply wood filler generously to damaged areas with putty knife
3. Let cure 2-4 hours per manufacturer instructions (longer in humid kitchens)
4. Sand smooth flush with surrounding surface using 150-grit paper
5. Paint or stain to match existing finish using small artist’s brush
6. Never reuse damaged mounting points—always install new hinges in solid wood areas
Adjust Door Alignment to Eliminate Gaps and Binding
Fine-tune closing and eliminate gaps using hinge adjustment screws—most modern hinges have three-way adjustment capabilities.
Closing Problems: Locate horizontal adjustment screw (leftmost when viewing hinge from inside cabinet), turn clockwise in 1/8-turn increments until door closes fully without slamming.
Gap Elimination: Find vertical adjustment screw (rightmost), turn counterclockwise to shift door toward gap. For inset doors, use depth adjustment screw to move door closer to or farther from cabinet frame.
Pro Pattern: Make tiny adjustments, test operation, repeat—rushing creates new alignment issues.
Prevent Future Cupboard Door Problems with Quarterly Maintenance
Implement this simple schedule to extend door life significantly and avoid future repairs.
Quarterly Tasks:
– Wipe hinges with damp microfiber cloth to remove grease buildup from cooking
– For kitchens, use mild soap solution followed by clean water rinse
– Dry thoroughly to prevent moisture damage to wood and metal components
Annual Deep Maintenance:
– Lubricate all hinge pivot points with silicone spray (avoid oil-based lubricants that attract dust)
– Open/close each door 15 times to distribute lubricant evenly
– Check all screws, tighten as necessary before problems develop
– Inspect for metal fatigue or rust formation early
Upgrade to Soft-Close Hinges During Repair
Consider these enhancements while fixing your kitchen cupboard door for improved functionality and longevity.
Soft-Close Hinge Benefits:
– Prevent slamming with hydraulic dampening that works in any humidity
– Installation typically uses existing mounting holes without additional drilling
– Reduces stress on cabinet structure and door joints by 70%
– Costs £8-12 per hinge but pays for itself in reduced maintenance
Installation Tip: Remove one hinge at a time when upgrading—this maintains door alignment during the process.
When to Call Professionals for Kitchen Cupboard Door Repair
While most repairs remain DIY-friendly, seek professional help when:
– Multiple doors fail simultaneously (indicates structural issues with cabinet boxes)
– Particle board cabinets show water damage or swelling beyond hinge areas
– Historic or custom cabinetry requires specialized restoration knowledge
– Complex corner cabinet mechanisms need expertise to avoid further damage
– You’ve attempted multiple repairs without solving the underlying problem
Maximize Savings with Smart Repair Strategies
Implement these cost-effective approaches to kitchen cupboard door repair:
Smart Repair Tactics:
– Buy universal hinge repair kits containing multiple solutions for under £10
– Purchase screws in bulk (50-packs cost less than £5) for future use
– Use smartphone paint-matching apps before buying touch-up paint
– Photograph hardware positions before disassembly to guide perfect reinstallation
– Keep common cabinet screw sizes (6, 8, 10) in your repair kit
Time-Saving Shortcut: When removing doors, label each hinge with masking tape indicating top/bottom and left/right position—this eliminates guesswork during reassembly.
Your kitchen cupboard door now operates like new. These proven methods address every common failure mode—from simple loose screws to complete hinge replacement. With basic tools and 30 focused minutes, you’ve restored smooth, quiet operation that will last for years. Regular maintenance prevents most problems before they start, saving you future frustration and costly repairs. The next time your cupboard door won’t stay closed, you’ll know exactly how to fix a kitchen cupboard door without professional help—keeping your kitchen functional, organized, and looking its best.

