
That first sip of chlorine-tasting water each morning is enough to make anyone reconsider their tap water situation. Installing a dedicated water filter in your kitchen sink solves this problem while eliminating your dependence on expensive bottled water. This DIY project takes about 90 minutes and gives you instant access to clean, great-tasting water through a separate faucet—without disrupting your existing plumbing setup.
You’ve probably wondered how to install water filter in kitchen sink without damaging your countertop or voiding your warranty. The good news is that with the right tools and clear instructions, even beginners can complete this project successfully. By the time you finish reading this guide, you’ll know exactly where to drill, how to connect supply lines, and how to test your system for leaks—saving you $150-$300 in professional installation fees.
Select the Right Filter System for Your Water Quality
Match Filter Type to Your Contaminant Concerns
Activated carbon filters tackle the most common municipal water issues by trapping chlorine, sediment, and volatile organic compounds in microscopic pores. If your water tastes like a swimming pool or has visible particles, this system will transform your tap water while maintaining good flow rates.
Identify When You Need Advanced Filtration
Reverse osmosis becomes essential when testing reveals dissolved salts, fluoride, or heavy metals in your water. These systems produce the purest water but require more cabinet space and generate wastewater during filtration—plan for at least 18 inches of vertical clearance under your sink.
Gather All Necessary Tools Before Starting
Critical Equipment Checklist for Leak-Free Installation
- 1/8-inch drill bit for precise pilot holes
- 1-1/4″ slug cutter for clean faucet mounting
- Basin wrench for hard-to-reach faucet nuts
- Teflon tape for secure compression fittings
- Adjustable pliers for proper tightening
Avoid These Common Tool Mistakes
Many DIYers skip the slug cutter and use a standard hole saw instead, resulting in chipped sink surfaces. Others overtighten connections with regular pliers, cracking fittings and causing leaks. Take five minutes to verify you have the right tools before making your first cut.
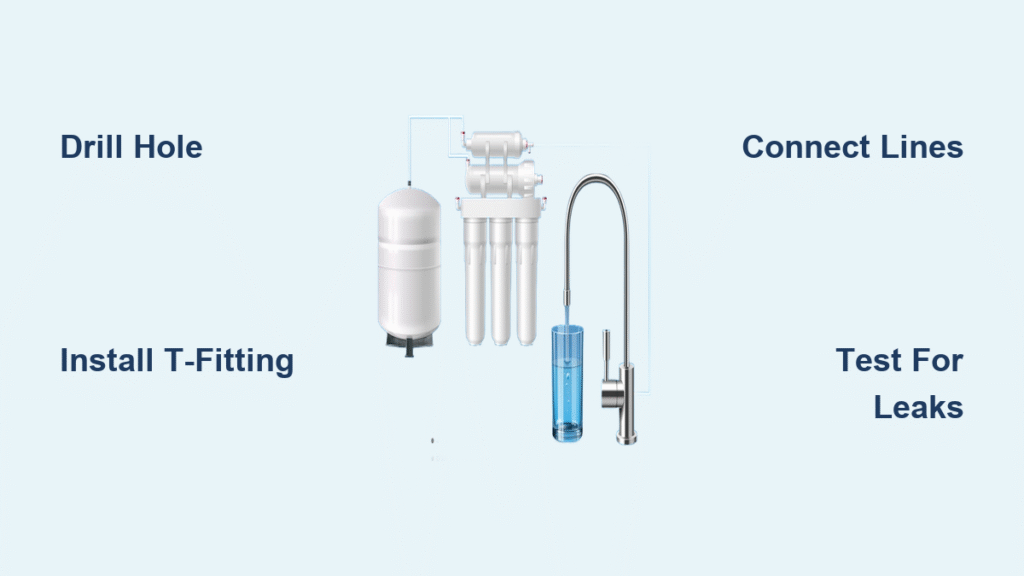
Drill the Perfect Faucet Mounting Hole

Create a Chip-Free Opening in Any Sink Material
Position the escutcheon plate where you want your filtered water faucet, typically near the edge of the sink deck. Drill a 3/8-inch pilot hole first—this prevents the slug cutter from wandering across slick surfaces. When using the slug cutter, apply steady pressure while keeping the drill perpendicular to the sink surface.
Verify Hole Size Before Proceeding
Insert the faucet shank through your new hole to confirm proper fit. If it binds or won’t slide through smoothly, carefully enlarge the hole with the slug cutter. A poorly sized hole creates stress points that lead to leaks down the line—better to fix this now than during testing.
Connect Water Supply Lines Without Leaks
Install the T-Fitting Correctly on Cold Water Line
After shutting off the cold water supply and relieving pressure, disconnect the line from your existing faucet. The T-fitting must connect directly to the supply valve, with the main faucet line on one side and your filter system on the other. Wrap all threaded connections with Teflon tape—two full wraps in the direction of the threads prevents leaks.
Prevent Cross-Contamination During Connection
Ensure the “in” port on your filter housing connects to the cold water supply, while the “out” port leads to your new faucet. Reversing these connections compromises filtration effectiveness and may damage your system. Double-check all labels before tightening connections.
Mount Filter Housing for Easy Maintenance Access
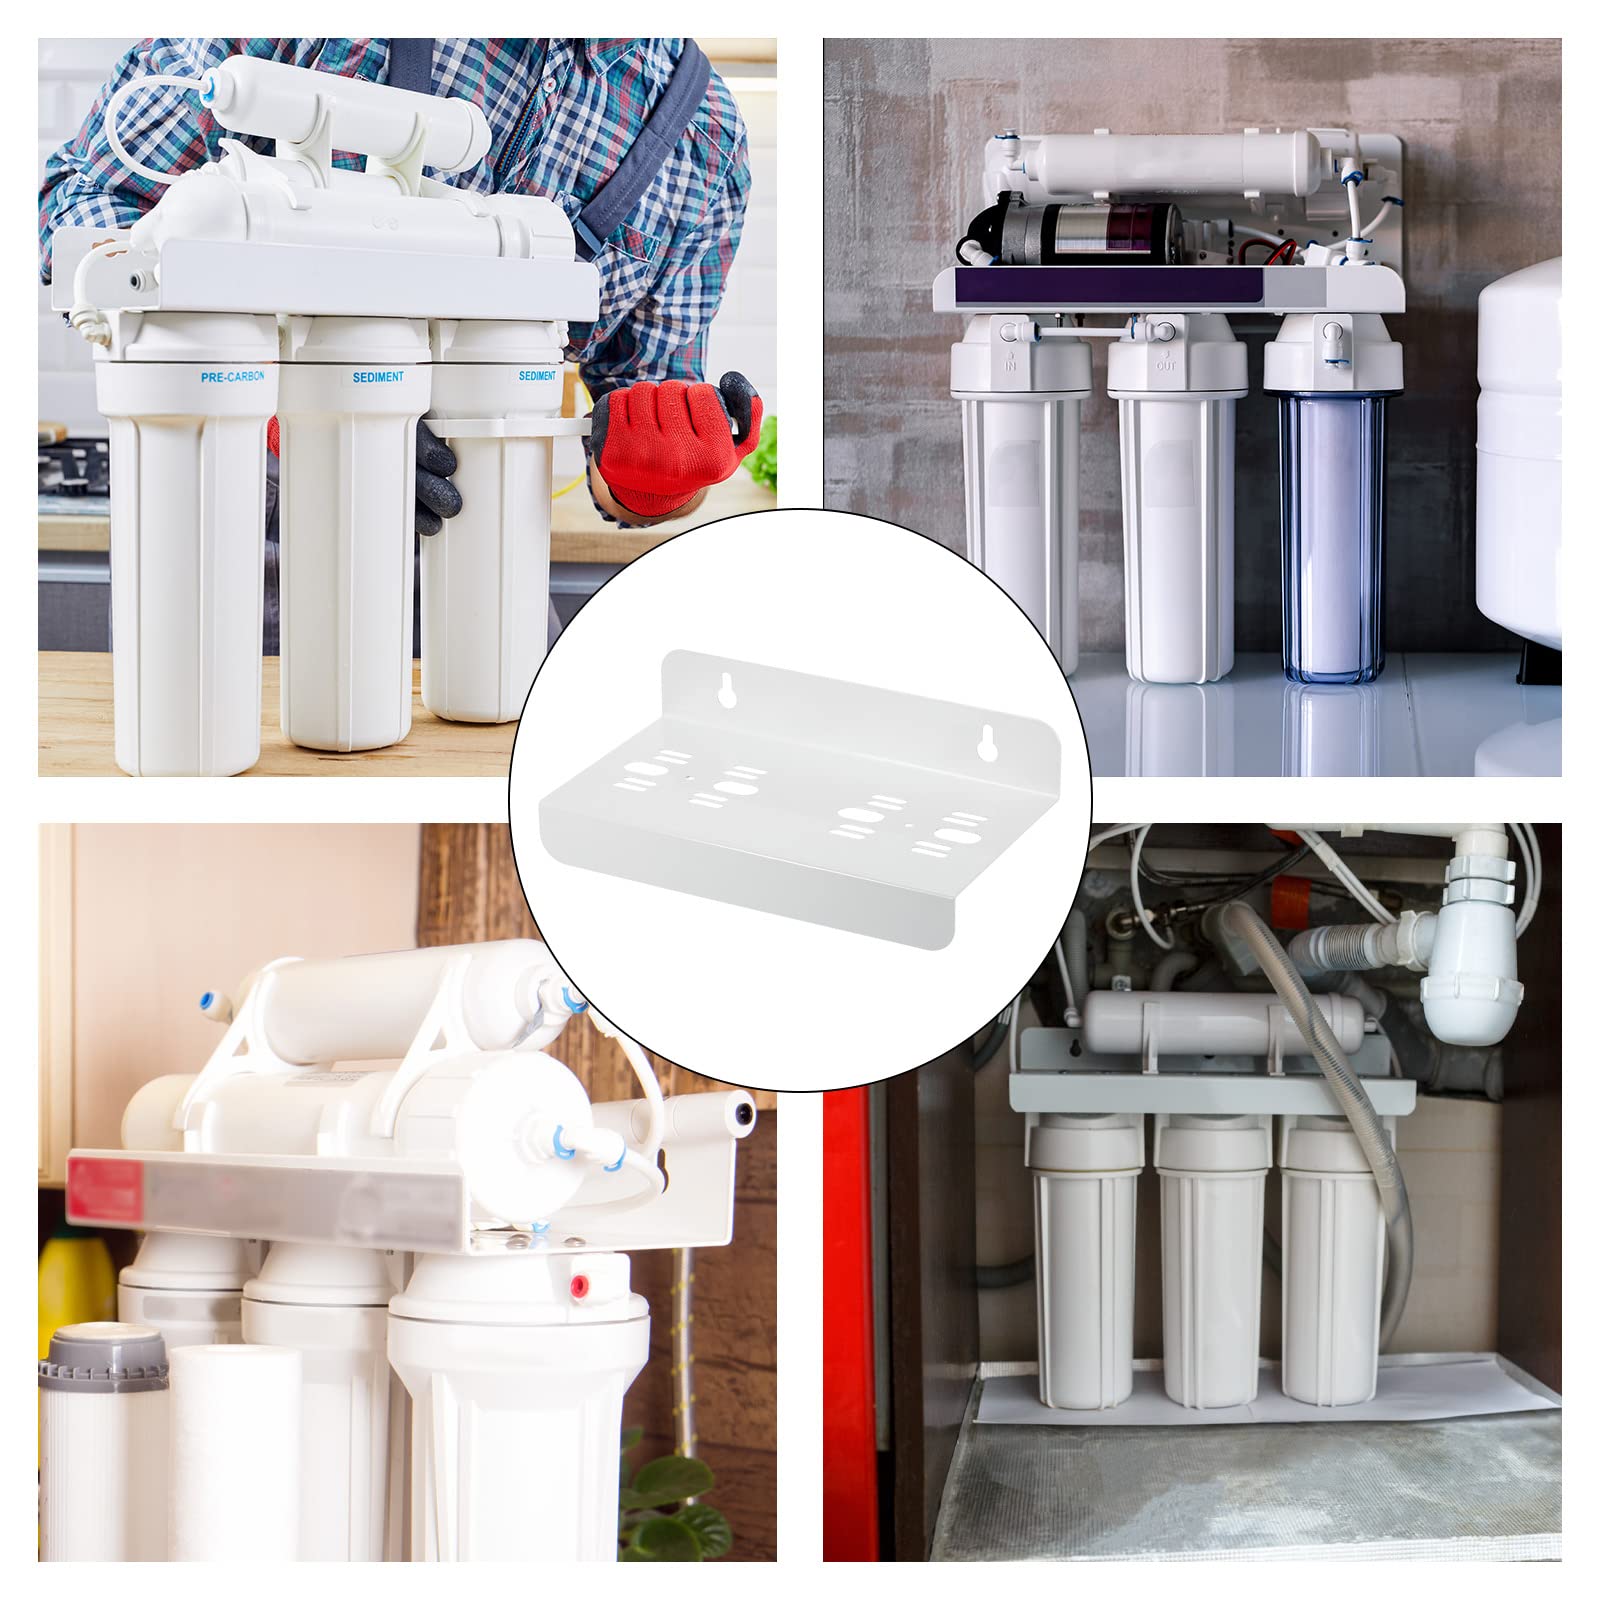
Choose Location Based on Real-World Usage
Position the filter housing within easy reach—most homeowners place it on the left cabinet wall for right-handed access. Leave at least 3 inches of clearance around the housing to comfortably twist out cartridges during replacement. Avoid mounting near the garbage disposal where vibrations could loosen connections.
Secure Housing to Prevent Movement During Use
Use the mounting bracket as a template to mark screw holes, then drill pilot holes to prevent wood splitting. When attaching the housing, ensure it’s perfectly vertical—tilted units can create air pockets that reduce filtration efficiency and cause sputtering at the faucet.
Complete Water Line Connections Properly
Route Tubing to Avoid Future Problems
Connect the supply line from your T-fitting to the filter housing inlet (marked “in”), then run the outlet tube to your new faucet. Leave gentle curves in the tubing rather than sharp bends—kinks restrict water flow and strain connections. Secure loose tubing with provided clips to prevent contact with cabinet walls.
Tighten Fittings to the Goldilocks Zone
Hand-tighten all compression fittings until snug, then give them one-quarter additional turn with pliers. Many leaks occur because DIYers either leave connections too loose or overtighten them, cracking the plastic components. If you see threads exposed after tightening, you haven’t gone far enough.
Test Your Installation for Immediate Leaks
Conduct a Step-by-Step Leak Test
Slowly turn on the cold water supply while watching every connection point. Check under the sink with a flashlight as pressure builds—most leaks appear within the first 30 seconds. Pay special attention to the T-fitting connections and filter housing base, where 80% of installation leaks occur.
Flush the System Before First Use
Run the filtered water faucet for 5-10 minutes to clear air from the lines and flush carbon fines from new filters. You’ll notice cloudy water at first—this is normal and should clear within a minute. Never skip this step, as carbon particles can clog your faucet aerator.
Maintain Peak Performance with Simple Habits
Establish a Filter Change Reminder System
Most cartridges need replacement every 6 months, but your actual schedule depends on water quality and usage. Mark your calendar when installing a new filter, or use the system’s indicator light if available. Ignoring replacement timelines reduces filtration effectiveness and may damage your system.
Perform Monthly Connection Checks
During your regular sink cleaning, quickly inspect all connections for moisture or corrosion. Wipe down the filter housing to prevent mineral buildup. These 30-second checks catch potential problems before they become major leaks under your sink.
Troubleshoot Common Installation Issues
Fix Dripping Faucets in Minutes
If your new filtered water faucet drips after turning off, check the aerator for trapped particles. Unscrew the tip and rinse it under running water—debris often gets caught during initial flushing. Reinstall and test; persistent dripping may indicate improper faucet installation requiring shimming.
Restore Proper Water Pressure
Slow filtered water flow usually means one of three things: a clogged pre-filter, kinked tubing, or an air-locked system. First, check for visible kinks in the tubing. If none, turn off the supply, open the faucet to relieve pressure, then restart the system to purge air pockets.
Utilize Existing Holes to Avoid Drilling
Convert Soap Dispenser Holes for Filter Faucets
If your sink already has a soap dispenser or water sprayer, you can often repurpose that hole. Remove the existing unit, clean the area thoroughly, and test-fit your new faucet. Most filter faucets have similar shank diameters to standard dispensers, making this a clean, no-drill solution.
Verify Compatibility Before Removing Existing Fixtures
Measure your current dispenser hole diameter against your filter faucet specifications. Most are 1-1/4 inches, but some specialty sinks use different sizes. If they match, you’ve saved yourself the risk of drilling through a granite or quartz countertop.
Installing your own water filter in kitchen sink transforms your daily hydration routine while putting hundreds of dollars back in your pocket each year. With clean, great-tasting water flowing on demand, you’ll quickly forget the days of chlorine-tasting tap water or lugging heavy bottles from the store. Now that you’ve mastered how to install water filter in kitchen sink, you’ve gained a valuable DIY skill that improves both your health and your home’s functionality—without needing to call a plumber for this essential upgrade.

