
That stubborn brick column in your kitchen isn’t a design flaw—it’s your secret weapon for creating a space where heritage charm meets modern functionality. Whether you’re renovating a Victorian terrace or breathing life into a 1930s semi, your chimney breast holds untapped potential. Most homeowners treat it as dead space, but with smart planning, it can anchor your entire kitchen layout. Forget awkward workarounds—this guide reveals exactly how to transform your chimney breast into a statement cooker niche, hidden storage powerhouse, or social hub. You’ll discover practical solutions that comply with UK building regulations while adding serious value to your home.
Stop wrestling with cramped counters and wasted square footage. Your chimney breast solves these pain points by reclaiming space that’s literally built into your walls. We’ll walk through real-world examples from Georgian basements to contemporary lofts, showing how to integrate range cookers, design seamless storage, and choose materials that withstand daily kitchen chaos. By the end, you’ll see this architectural relic not as a problem to hide, but as the foundation for a kitchen that works harder and looks better.
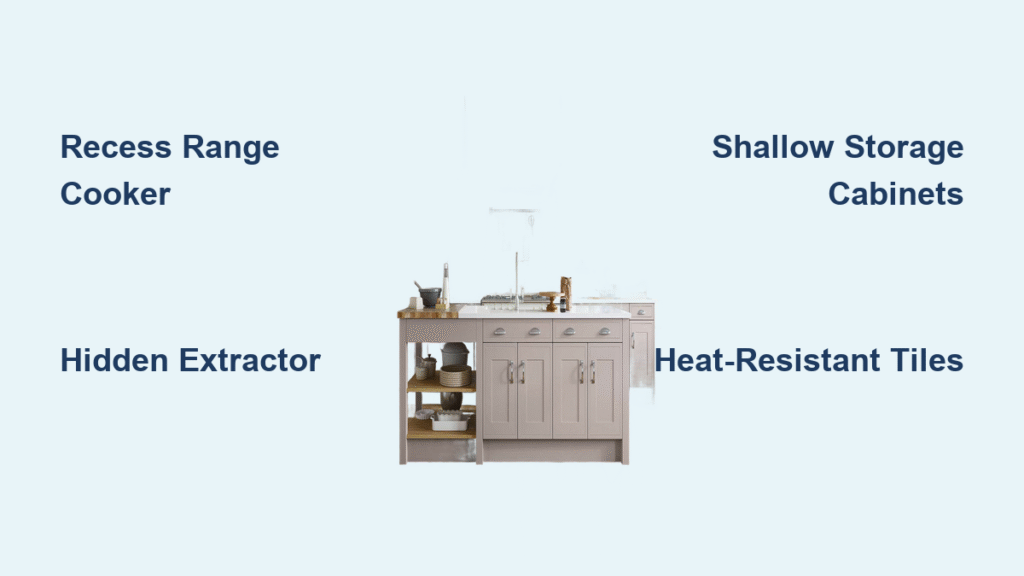
Transform Your Chimney Breast Into a Cooker Niche
Install a Range Cooker Directly in the Recess
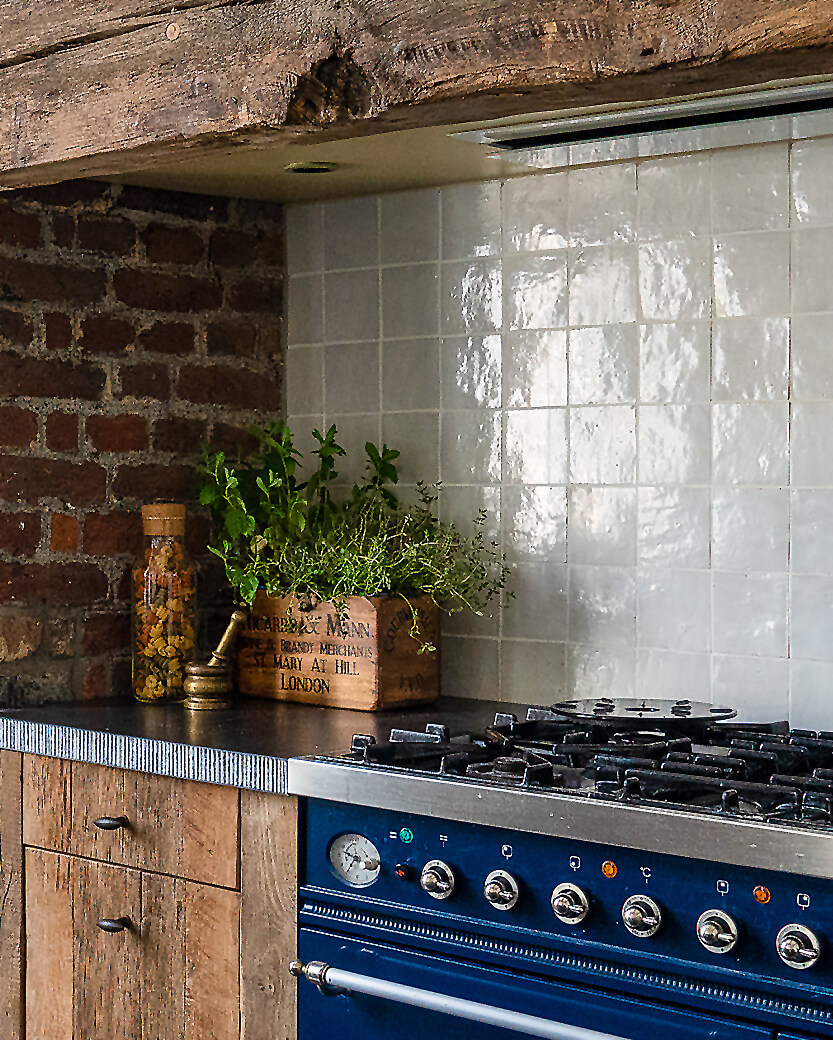
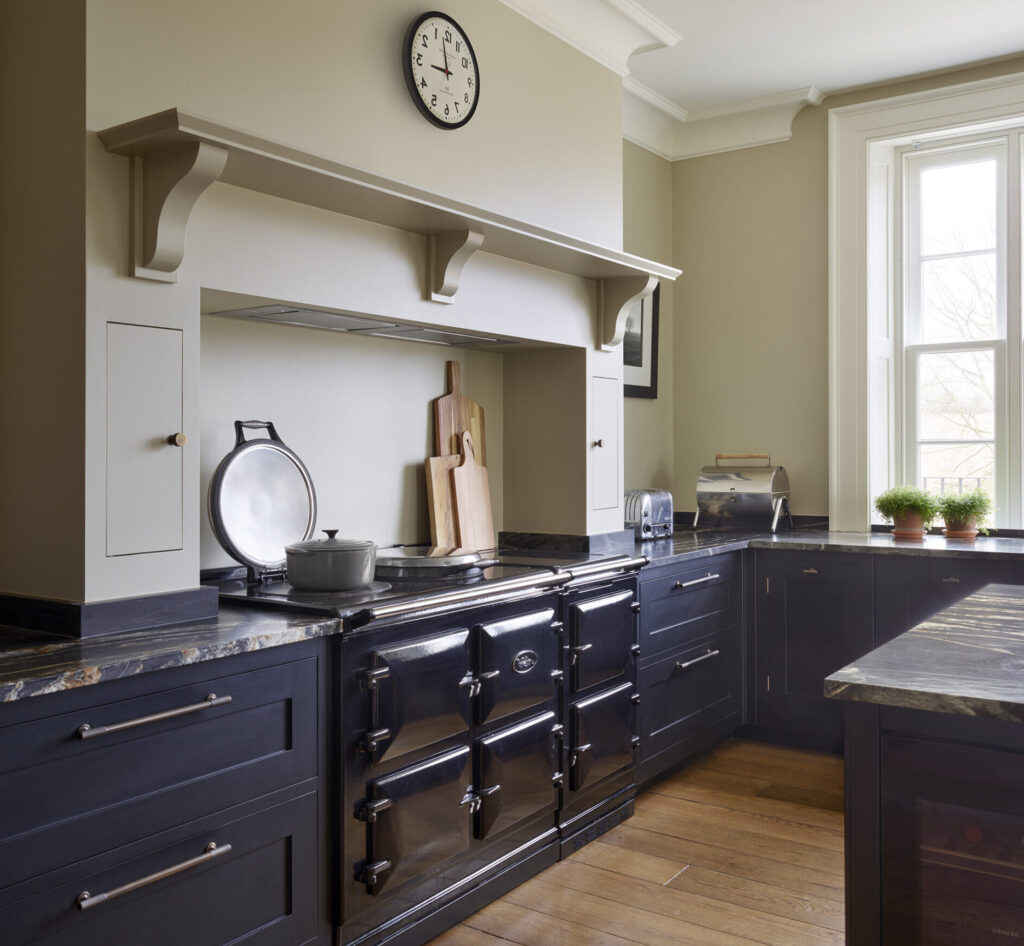
Recessing a La Cornue or AGA into your chimney breast creates an instant focal point while solving ventilation headaches. The existing flue route lets you hide extractor ducting vertically, eliminating bulky overhead hoods that dominate small kitchens. Line the interior with heat-resistant Zellige tiles—they’re wipe-clean practical against cooking splatter and add artisanal texture. For seamless flow, extend quartz worktops flush with the cooker front, turning the breast into a unified cooking wall. Critical step: Confirm flue compatibility with a gas-safe engineer before installation to avoid costly retrofits.
Create a Hob and Concealed Extractor Combo
In compact kitchens, position an induction hob within the recess with an extractor hidden above the mantel. This setup maximizes counter space while creating visual drama—imagine statement Moroccan tiles serving as both splashback and design feature. The breast’s depth (typically 45-60cm) easily accommodates both elements without protruding into the room. Pro tip: Use a chimney-style extractor with a 600mm width to match standard hob sizes, ensuring optimal grease capture. Always verify ducting routes with Part F ventilation regulations to prevent recirculated odors.
Maximize Storage Around Cooking Zones
Flank your cooker niche with shallow recessed cabinets for instant access to pans and spices. These 15-20cm deep units fit perfectly within the breast’s footprint, keeping essentials within reach without sacrificing floor space. For heavy items like cast-iron skillets, install pull-out trays with soft-close runners. Avoid this mistake: Overloading upper sections—keep heavy items below waist height to prevent strain and accidental drops.
Verify Structural Safety Before Any Modifications
Check Flue Condition with a Professional Inspection
Never assume your flue is redundant. Commission a certified chimney sweep to test for active airflow or structural decay—this determines whether you can repurpose it for extractor ducting. Inspections reveal if the cavity contains only timber framing (easier to adapt) or solid brickwork (requiring specialist masonry work). Red flag: Crumbling mortar or soot deposits indicate an unsafe flue that must be lined with stainless steel before installing gas appliances under Part J regulations.
Confirm Non-Load-Bearing Status with an Engineer
Many chimney breasts are decorative, but 30% of period homes have structural elements. A structural engineer’s verification prevents catastrophic errors before removing plaster or creating openings. Costs £300-£500 but saves thousands in emergency repairs. Urgent action: If planning to recess a 150kg AGA, get engineering sign-off first—unsupported modifications can cause ceiling cracks within weeks.
Navigate UK Building Regulations Smoothly
Part J compliance is non-negotiable for gas installations, requiring minimum clearances between cookers and combustible materials. Similarly, Part F mandates 60 litres/second extraction rates for range cookers—easily achieved by routing ducts through existing flues. Key shortcut: Use HETAS-approved flue liners for solid fuel conversions, avoiding full chimney rebuilds. Document all approvals; local councils often request certificates during property sales.
Design Storage That Disappears Into the Architecture

Build Shallow Recessed Cabinets for Daily Essentials
Custom cabinets within the breast’s depth (15-25cm) store baking sheets, cutting boards, and spice racks without protruding into walkways. Opt for open-fronted trays with leather pulls for quick access—no wasted seconds hunting for lids. Durability hack: Line interiors with brushed stainless steel to resist moisture damage from wet pans. In Victorian homes, replicate original shaker detailing with Farrow & Ball School House White paint for heritage appeal.
Convert Alcoves Into Functional Display Zones
Flanking alcoves become prime real estate for open shelving or glass-fronted cabinets. Install adjustable shelves at varying depths: shallow sections (20cm) for cookbooks, deeper zones (35cm) for dishware. Style trick: Back shelves with mirrored panels to amplify light in dark corners—a game-changer for basement kitchens. For Georgian properties, use Crittal-style glass doors to maintain period elegance while showcasing ceramics.
Hide Full Pantries Behind Seamless Facades
Transform the entire breast into a pull-out larder with LED-lit tiers for dry goods and appliances. Choose full-extension runners to access items at the back effortlessly. Space-saving innovation: Add a wine rack on one side and vertical slots for baking trays opposite. Finish with reclaimed wood fronts to disguise functionality—it vanishes when closed, preserving clean sightlines.
Choose Aesthetic Treatments That Withstand Kitchen Wear
Select Grease-Resistant Surface Materials
Exposed brick adds rustic warmth but traps cooking oils; seal it with microporous masonry paint like Mylands Brompton Grove eggshell for wipe-clean practicality. In high-splash zones, opt for Zellige tiles with epoxy grout—the non-porous finish repels stains better than cement-based alternatives. Avoid: Glossy finishes that highlight every fingerprint; matte or textured surfaces hide daily chaos.
Apply Strategic Color Blocking
Paint the breast 2-3 shades darker than surrounding walls (e.g., Little Greene Ambleside 304 against pale Farrow & Ball Pointing) to emphasize its architectural depth. Pair with brass hardware like Armac Martin Leebank knobs for warmth against dark hues. Pro tip: Extend the dark color 30cm up the ceiling to create a “floating” effect in low-ceilinged basements.
Layer Decorative Elements for Personality
Above the mantel, hang a large mirror framed in aged brass to bounce light into shadowy corners. Stack kiln-dried logs in dormant fireboxes for instant texture—even without a stove. Budget upgrade: Install LED strips under the mantel shelf; they cast a soft glow on countertops during evening prep while highlighting tile details.
Implement House-Type Specific Layouts
Victorian Side-Return Kitchens
Embed an AGA into the breast with integrated fridge/freezer left and bi-fold pantry right. Wrap Strata White quartz counters continuously from breast to island, creating a workflow triangle that minimizes steps. Key adjustment: Angle the island toward the breast to maintain sightlines while cooking.
Georgian Basement Layouts
Paint the breast warm Jitney with a Belfast sink inset, opposite the island’s range cooker. Use black limestone flooring to ground the space, and mirror splashbacks to amplify limited light. Critical fix: Install Crittal doors between kitchen and dining areas—maximizing borrowed light prevents the “cave effect” in subterranean rooms.
Optimize Lighting and Electrical Integration
Position Task Lights to Eliminate Shadows
Recess LED spots 45cm above the hob—high enough to avoid steam interference but low enough to prevent glare on stainless appliances. Safety rule: Maintain 60cm clearance from heat sources per UK electrical regulations. For alcove shelving, use plug-in wall sconces with dimmers for flexible ambiance.
Pre-Wire for Future-Proof Tech
If adding a TV, run HDMI cables through the breast cavity before tiling. Position the screen center at 105cm height for seated island diners. Hidden detail: Conceal power strips behind mantel shelves for discreet charging of tablets or recipe devices.
Maintain Your Chimney Breast Kitchen Long-Term
Protect Surfaces Against Grease Buildup
Clean epoxy grout monthly with vinegar solution to prevent yellowing—standard grout degrades within 18 months in cooking zones. Touch up paint chips immediately with matching eggshell finish; cooking acids accelerate corrosion on bare patches. Monthly ritual: Wipe exposed brick with diluted sugar soap to remove invisible grease films.
Schedule Critical Filter Maintenance
Replace carbon extractor filters every 3 months (sooner for frequent frying) and soak metal grease filters in oven cleaner overnight quarterly. Warning: Ignoring this causes fire hazards—grease buildup ignites at 400°C. If reverting to wood burners, book annual HETAS-compliant flue sweeps.
Plan Costs and Timelines Realistically
Budget for Hidden Structural Work
Allocate £1,200-£2,800 for range cooker retrofits including flue liners and heat shielding—this often exceeds appliance costs. Bespoke shaker cabinetry runs £4,500/metre but adds 5-7% home value. Smart saving: Use reclaimed Zellige tiles (£85/m² vs. £140 new) for alcove backsplashes where wear is minimal.
Sequence Trades to Avoid Delays
Order cabinetry 10 weeks ahead and tiles 6 weeks out—handmade materials have longer lead times. Schedule gas-safe engineers for cooker installation after plastering but before tiling to prevent accidental damage. Timeline killer: Waiting for structural engineer approvals mid-build; get this done in week one.
Your chimney breast isn’t an obstacle—it’s the key to a kitchen that honors your home’s history while serving modern life. Start with structural verification, layer in your chosen function (cooker niche, hidden pantry, or social hub), and finish with durable, stylish details. The result? A space where every inch works harder, cooking becomes communal, and heritage architecture shines. Within weeks, you’ll wonder how you ever managed without it.

