
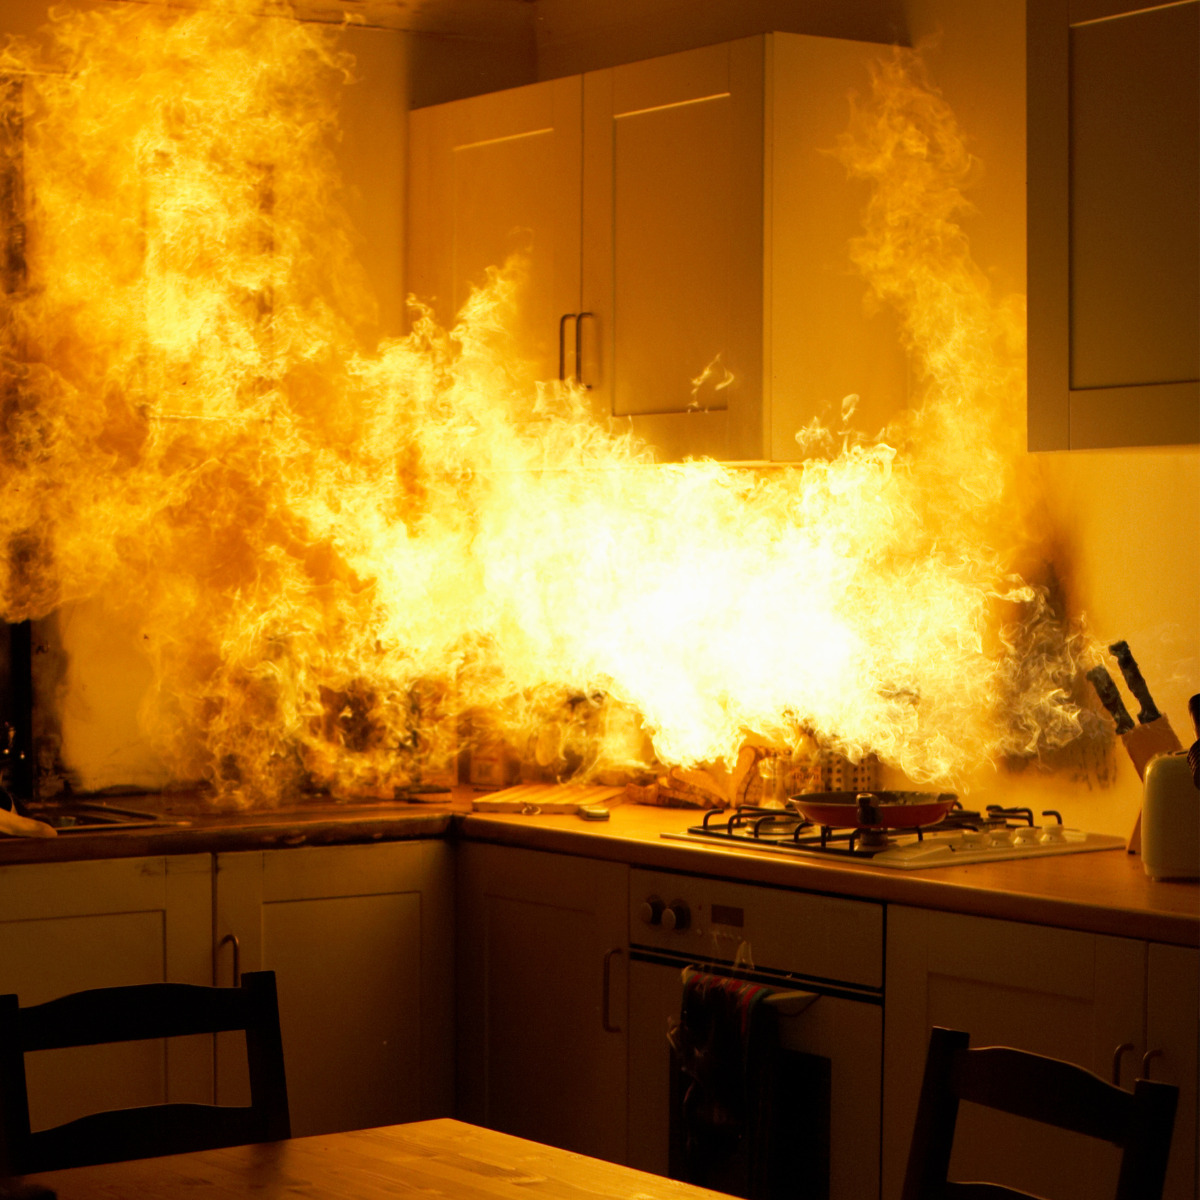
That stubborn grease clinging to your kitchen chimney isn’t just an eyesore—it’s a ticking fire hazard. Every time you cook, microscopic grease particles race up your chimney system, hardening into flammable layers over time. The National Fire Protection Association confirms kitchen chimneys rank among top residential fire risks, with grease buildup acting as ready-made fuel. But here’s the good news: you can safely restore your chimney’s performance using pantry staples and a systematic approach. This guide reveals the exact method professionals use, saving you $150+ on service calls while dramatically reducing fire risks in your home.
Critical Fire Danger Signs You Can’t Ignore
Immediate Warning Signals That Demand Action
Thick smoke billowing back into your kitchen during cooking is your chimney screaming for help—this means airflow is critically restricted. Persistent acrid odors wafting from vents even when your stove is cold signal grease burning at low temperatures inside hidden ducts. If your chimney fan suddenly sounds strained or louder than usual, hardened grease deposits are forcing it to work overtime against resistance. These aren’t minor inconveniences; they’re verified precursors to potential kitchen fires according to fire safety experts.
Never ignore these red flags: Igniting accumulated grease requires only a single cooking flare-up. That sticky residue coating your filters transforms into volatile fuel over time, turning routine frying into a fire hazard. Immediate cleaning isn’t just about cleanliness—it’s your primary defense against preventable disasters.
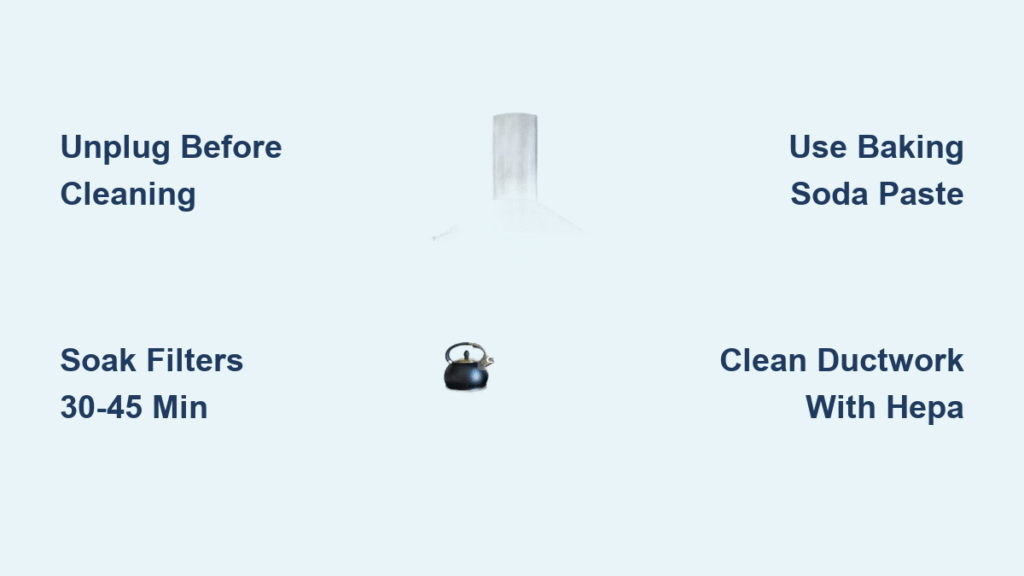
Non-Negotiable Safety Prep Before Touching Anything
Always unplug your chimney at the wall outlet before starting—this prevents accidental activation from motion sensors during cleaning. Spread multiple layers of old newspapers or towels beneath your work area; grease removal generates surprising splatter that damages floors. Slip on thick rubber gloves immediately upon removing filters; months of accumulated grease mixed with dust and cooking particles can cause skin irritation. Keep a fire extinguisher visibly nearby as an extra precaution—this simple step provides crucial peace of mind during the process.
Your Pantry-Powered Cleaning Arsenal (No Chemicals Needed)
Exact Natural Degreaser Recipe That Works
Forget expensive store-bought solutions—your most effective cleaner costs pennies. Combine 1 quart hot tap water, 2 tablespoons mild dish soap, and 3 tablespoons baking soda in your sink or basin. This alkaline mixture breaks down grease molecules on contact without harsh fumes. For severe buildup, add ½ cup white vinegar to the solution—the acid cuts through grease differently than baking soda, creating a powerful one-two punch. Make a thick paste with baking soda and minimal water for spot-treating stubborn deposits on filter edges.
Must-Have Tools Checklist (All Under $20)
- 4-5 microfiber cloths (change frequently to avoid redepositing grease)
- Old toothbrush with soft bristles (perfect for crevices without scratching)
- Large basin (bathtub works for oversized filters)
- HEPA vacuum (essential for duct debris—never use regular vacuums)
- Spray bottle (for controlled solution application)
Filter Identification and Removal Protocol
Spot Your Exact Filter Type in 60 Seconds
Run your finger along filter edges—if it comes away sticky, you’re overdue for cleaning. Mesh filters (thin aluminum screens) slide straight out with a gentle pull. Baffle filters (thick layered metal) require pressing release tabs before removal. Charcoal filters (common in ductless models) cannot be cleaned—check for “non-washable” labels before proceeding. Never force stuck filters; years of heat cause slight warping—wiggle gently while pulling forward to avoid damage.
Soaking Method That Dissolves Grease Fastest
Immediately place removed filters in your pre-mixed hot solution—do not let them dry first. Soak for 30-45 minutes minimum; this dwell time allows the baking soda mixture to penetrate hardened grease. For extreme buildup, cover filters with plastic wrap during soaking to prevent evaporation. Never use boiling water—it can warp thin metal filters. While filters soak, spray your degreaser solution inside the chimney housing, focusing on fan blades and light fixtures where grease accumulates heaviest.
Interior Deep Clean Without Damaging Components

Hood and Fan Cleaning That Prevents Imbalance
After spraying degreaser inside the chimney, wait 10 minutes before wiping—this dwell time is critical for breaking down baked-on grease. Work top to bottom using microfiber cloths dipped in hot water, changing cloths as they saturate with grease. For fan blades, never insert tools between them—this disrupts precision balance. Instead, gently wipe accessible surfaces with a cloth wrapped around a chopstick. If blades appear severely coated or make grinding noises after cleaning, professional service is required to avoid dangerous imbalance.
Ductwork Cleaning You Can Safely Do Yourself
Use your HEPA vacuum’s brush attachment to remove loose debris from the first 6-12 inches of accessible ductwork. Never force hoses deeper—you risk disconnecting joints or damaging flexible ducting. For stubborn deposits, apply baking soda paste with a cotton swab, wait 15 minutes, then vacuum residue. If you see thick black tar-like buildup beyond easy reach, schedule professional cleaning immediately—this exceeds DIY capabilities and represents serious fire risk.
Foolproof Reassembly and Testing
Drying Protocol That Prevents Mildew and New Buildup
Air-dry all components for at least 60 minutes before reinstallation—sunlight accelerates drying while killing bacteria. Use a hair dryer on cool setting for filter crevices, holding it 12 inches away. Never reinstall damp parts; moisture attracts new grease and causes mildew. Verify filters click securely into place—loose filters rattle and reduce suction efficiency by up to 40%.
Test your work by running the chimney on high for 10 minutes. Properly cleaned units should eliminate cooking smoke within 3 seconds and operate quietly. Persistent burning smells or louder-than-normal sounds indicate missed grease deposits—discontinue use and reinspect fan housing.
Maintenance Schedule That Cuts Future Cleaning Time in Half
Customized Cleaning Calendar by Cooking Frequency
- Heavy users (daily frying, wok cooking, large families): Clean filters every 4 weeks, deep clean entire system every 8 weeks
- Moderate users (regular cooking, occasional frying): Filter cleaning every 6 weeks, deep clean quarterly
- Light users (minimal cooking): Filter cleaning every 8 weeks, deep clean biannually
Daily Habits That Prevent Hardened Buildup
Wipe the hood exterior weekly with a damp microfiber cloth—this prevents surface grease from baking onto metal. Always cover pans when frying; lids reduce grease dispersion by 70%. Run your chimney for 10 minutes after cooking to clear residual particles. Clean spills immediately—fresh grease wipes away easily but becomes nearly impossible once hardened.
When to Call Professionals Immediately
Critical Warning Signs Requiring Expert Intervention
Schedule professional service if you notice black, tar-like deposits inside ductwork or persistent burning smells during operation after thorough cleaning. Grinding noises from the fan assembly indicate internal mechanical issues beyond DIY fixes. Homes that never received professional cleaning likely harbor dangerous deep-duct buildup—initial cleanings often require specialized equipment.
Cost-benefit reality check: Professional cleaning ($150-$300) pays for itself when dealing with severe buildup. Attempting DIY on neglected systems risks damaging components, leading to $500+ repairs. If you’re uncomfortable accessing internal areas or see more than ¼-inch grease accumulation, experts deliver safer, more thorough results.
Performance Verification Checklist

Post-Cleaning Success Indicators
Within 24 hours of cleaning, your chimney should demonstrate:
– Instant smoke clearance (vanishes within 3 seconds of turning on)
– Zero lingering odors 30 minutes after cooking
– Quiet, consistent fan operation (no straining sounds)
– Visibly clean metal surfaces when inspected with flashlight
Long-Term Monitoring Strategy
Photograph clean filters and interior surfaces after each cleaning—comparing these monthly reveals early buildup patterns. Mark your calendar immediately post-cleaning; waiting until problems appear means waiting too long. Reduced suction power or louder operation are your earliest warnings that the next cleaning cycle is due.
Your kitchen chimney now operates at peak efficiency, removing smoke instantly while eliminating fire hazards. Stick to this maintenance rhythm, and future cleanings will take half the time since grease won’t have months to harden. Remember: consistent light upkeep prevents marathon cleaning sessions, keeping your kitchen safer and more pleasant with every meal you cook. Start today—the safest kitchens aren’t accident-free by chance, but by consistent chimney care.

