
That stubborn garlic smell clinging to your favorite wooden spoon? The subtle cracks forming in your spatula? These are clear signs your wooden kitchen tools aren’t getting proper care. Most home cooks accidentally ruin their wooden utensils within months through common mistakes like dishwasher use or improper drying. The truth is, wooden utensils demand specific cleaning methods that protect their porous structure while eliminating bacteria. When you learn how to clean wooden kitchen utensils correctly, you transform them from temporary kitchen tools into heirloom-quality pieces that can last decades. This guide reveals the exact professional techniques to maintain, restore, and sanitize your wooden spoons, spatulas, and cutting boards—keeping them beautiful, functional, and food-safe.
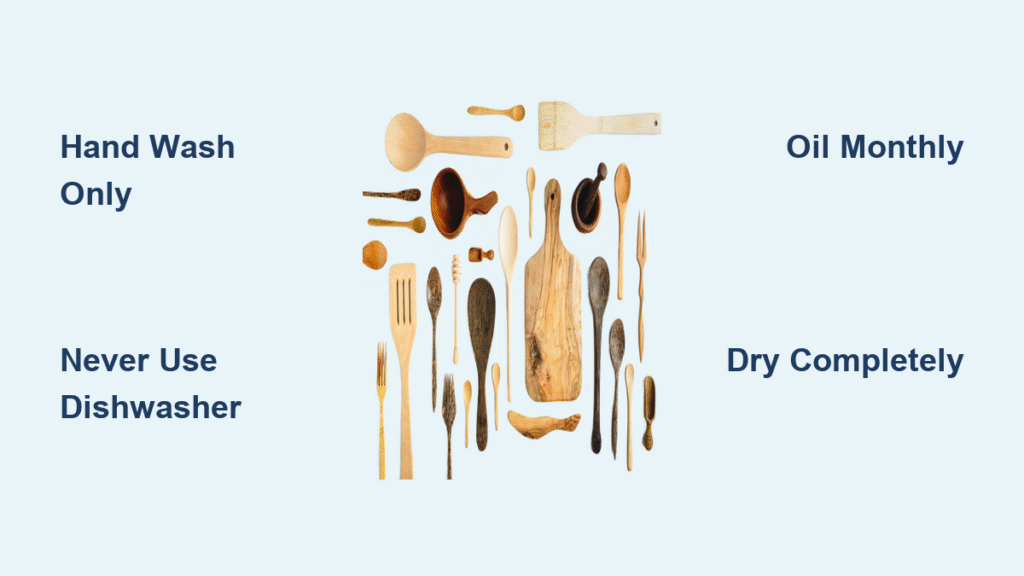
Hand Wash Immediately After Every Use
Hot Water and Mild Soap Technique
Delaying cleanup is the fastest route to ruined wooden utensils. Food residue hardens quickly on wood surfaces, creating breeding grounds for bacteria. Grab your dedicated sponge (never use the one for greasy pans) and rinse utensils under hot running water while residues are still soft. Apply unscented dish soap—fragranced soaps get absorbed into wood pores and later transfer to your food. Use the scratchy side of your sponge for effective scrubbing, following the wood grain to avoid creating new grooves. This method removes stubborn bits without damaging the surface. Rinse thoroughly until water runs completely clear; any soap residue left behind will strip the wood’s natural oils during drying.
Critical Air-Drying Protocol
Your work isn’t done after rinsing. Pat dry immediately with a clean microfiber towel—never let wooden tools drip dry. Residual moisture trapped in wood fibers causes swelling that leads to warping and cracks. Stand utensils upright in a utensil holder or lay them flat on a drying rack in a well-ventilated area. Allow 4-6 hours minimum for complete drying, preferably overnight. Never store damp utensils in drawers or containers; this creates a humid environment where mold develops within 24 hours. Proper drying prevents the most common failures: warped edges that won’t scrape bowls cleanly and microscopic cracks that harbor bacteria.
Never Commit These Wooden Utensil Killers
Dishwasher Destruction Explained
Putting wooden utensils in the dishwasher is irreversible suicide. The resource document confirms dishwashers cause four critical failures through combined high heat (over 60°C/140°F), harsh detergents, and prolonged moisture exposure. After just one cycle, you’ll notice warping that makes spatulas useless for scraping pans, hairline cracks where bacteria thrive, splintering that ruins smooth cooking surfaces, and complete finish degradation that leaves wood looking bleached and brittle. Even if utensils appear intact, their structural integrity is compromised. The heat cycles cause repeated expansion and contraction that fatigue wood fibers beyond repair. Save your cherished tools—hand washing takes 60 seconds but preserves them for years.
Soaking Water Damage Risks
Leaving wooden spoons soaking in your sink “until later” is equally catastrophic. Water exposure beyond 5 minutes causes wood fibers to swell dramatically. As the utensil dries, these swollen fibers contract unevenly, creating permanent warps and deep cracks. This process also opens microscopic channels where bacteria embed themselves, impossible to remove with standard cleaning. The resource document emphasizes that even brief soaking (like during multitasking) initiates irreversible damage. Instead, wash immediately while food residues are soft. If you must step away from cooking, at least rinse utensils under hot water to prevent residue hardening.
Eliminate Stubborn Food Odors Naturally
Lemon and Salt Deep Scrub
When your wooden spoon reeks of last night’s curry or garlic, skip harsh chemicals. Cut a lemon in half and sprinkle coarse sea salt on the cut side. Vigorously scrub the entire utensil surface—the salt acts as a gentle abrasive while lemon acid neutralizes odor molecules. Focus on grooves where smells concentrate. Let sit for 2 minutes, then wash with hot soapy water. This method safely removes even persistent odors without damaging wood fibers. The resource document confirms lemon’s citric acid breaks down odor compounds while salt lifts residue from pores. Always rinse thoroughly afterward to prevent acidity from affecting future cooking.
Baking Soda Paste Solution
For deeply embedded onion or fish smells, create a baking soda paste with water (3:1 ratio). Apply generously to all surfaces, especially stained areas, and let sit for 5 minutes. The alkaline paste draws odors from wood pores through osmosis. Scrub gently with fingers or a soft brush—avoid abrasives that scratch. Rinse completely under hot water. This method outperforms vinegar for protein-based odors because baking soda neutralizes acidic compounds that cause smells. The resource document notes this technique is safe for frequent use since baking soda won’t degrade wood integrity like acidic solutions might with repeated applications.
Sanitize After Raw Meat Contact Safely
Vinegar Disinfection Protocol
When wooden tools contact raw meat or eggs, standard washing isn’t enough. Mix equal parts white vinegar and water in a spray bottle. Thoroughly coat all utensil surfaces and let sit for 5-10 minutes—the vinegar solution kills 99.9% of common kitchen bacteria. Wipe with a clean cloth, then rinse under hot water. Never skip the rinse step, as vinegar residue affects food flavors. The resource document confirms this method is safer than bleach for wooden utensils since vinegar won’t degrade wood fibers. For maximum effectiveness, apply vinegar immediately after washing while the wood is still slightly damp to enhance penetration.
Heat Sterilization with Caution
For high-risk situations, oven sterilization works when done carefully: Place utensils in a cold oven, set to 160°C (320°F), and heat for exactly 20 minutes. Never preheat the oven—sudden temperature changes cause cracking. Alternatively, boil for 2-5 minutes maximum in salted water (1 tbsp salt per quart). Both methods require immediate oiling afterward to counteract moisture loss. The resource document warns these should be rare exceptions—monthly at most—as heat accelerates wood aging. Always inspect for warping afterward; discard any utensil that bends during treatment.
Oil Treatment Prevents Cracking and Warping
Choosing the Right Food-Safe Oil
Food-grade mineral oil is the gold standard for conditioning wooden utensils. Unlike cooking oils (olive, coconut, vegetable), it remains stable, never turns rancid, and won’t transfer flavors. The resource document confirms it’s odorless, colorless, and penetrates deeply to form a protective barrier. Walnut oil works for occasional use but can develop off-flavors over time. Never use vegetable oils—they oxidize rapidly in wood pores, creating sticky residues and bacterial breeding grounds. Mineral oil costs under $5 for a year’s supply and is available at pharmacies. Apply it whenever utensils look pale or feel rough—this simple step prevents 80% of wood failures.
Monthly Conditioning Process
- Dry completely: Wait 24 hours after last use
- Smooth rough spots: Lightly sand with 220-grit paper or sponge abrasive side
- Apply generously: Coat all surfaces with mineral oil using fingers
- Soak overnight: Let penetrate for 8+ hours
- Wipe excess: Remove surface oil with clean cloth
- Optional beeswax: Melt food-grade beeswax with mineral oil (1:4 ratio) for extra water resistance
The resource document emphasizes monthly oiling for daily-use utensils. In dry climates, increase to weekly. After oiling, wait 12 hours before reuse to ensure full absorption. This routine maintains wood’s natural flexibility, preventing the cracks that turn minor scratches into bacterial traps.
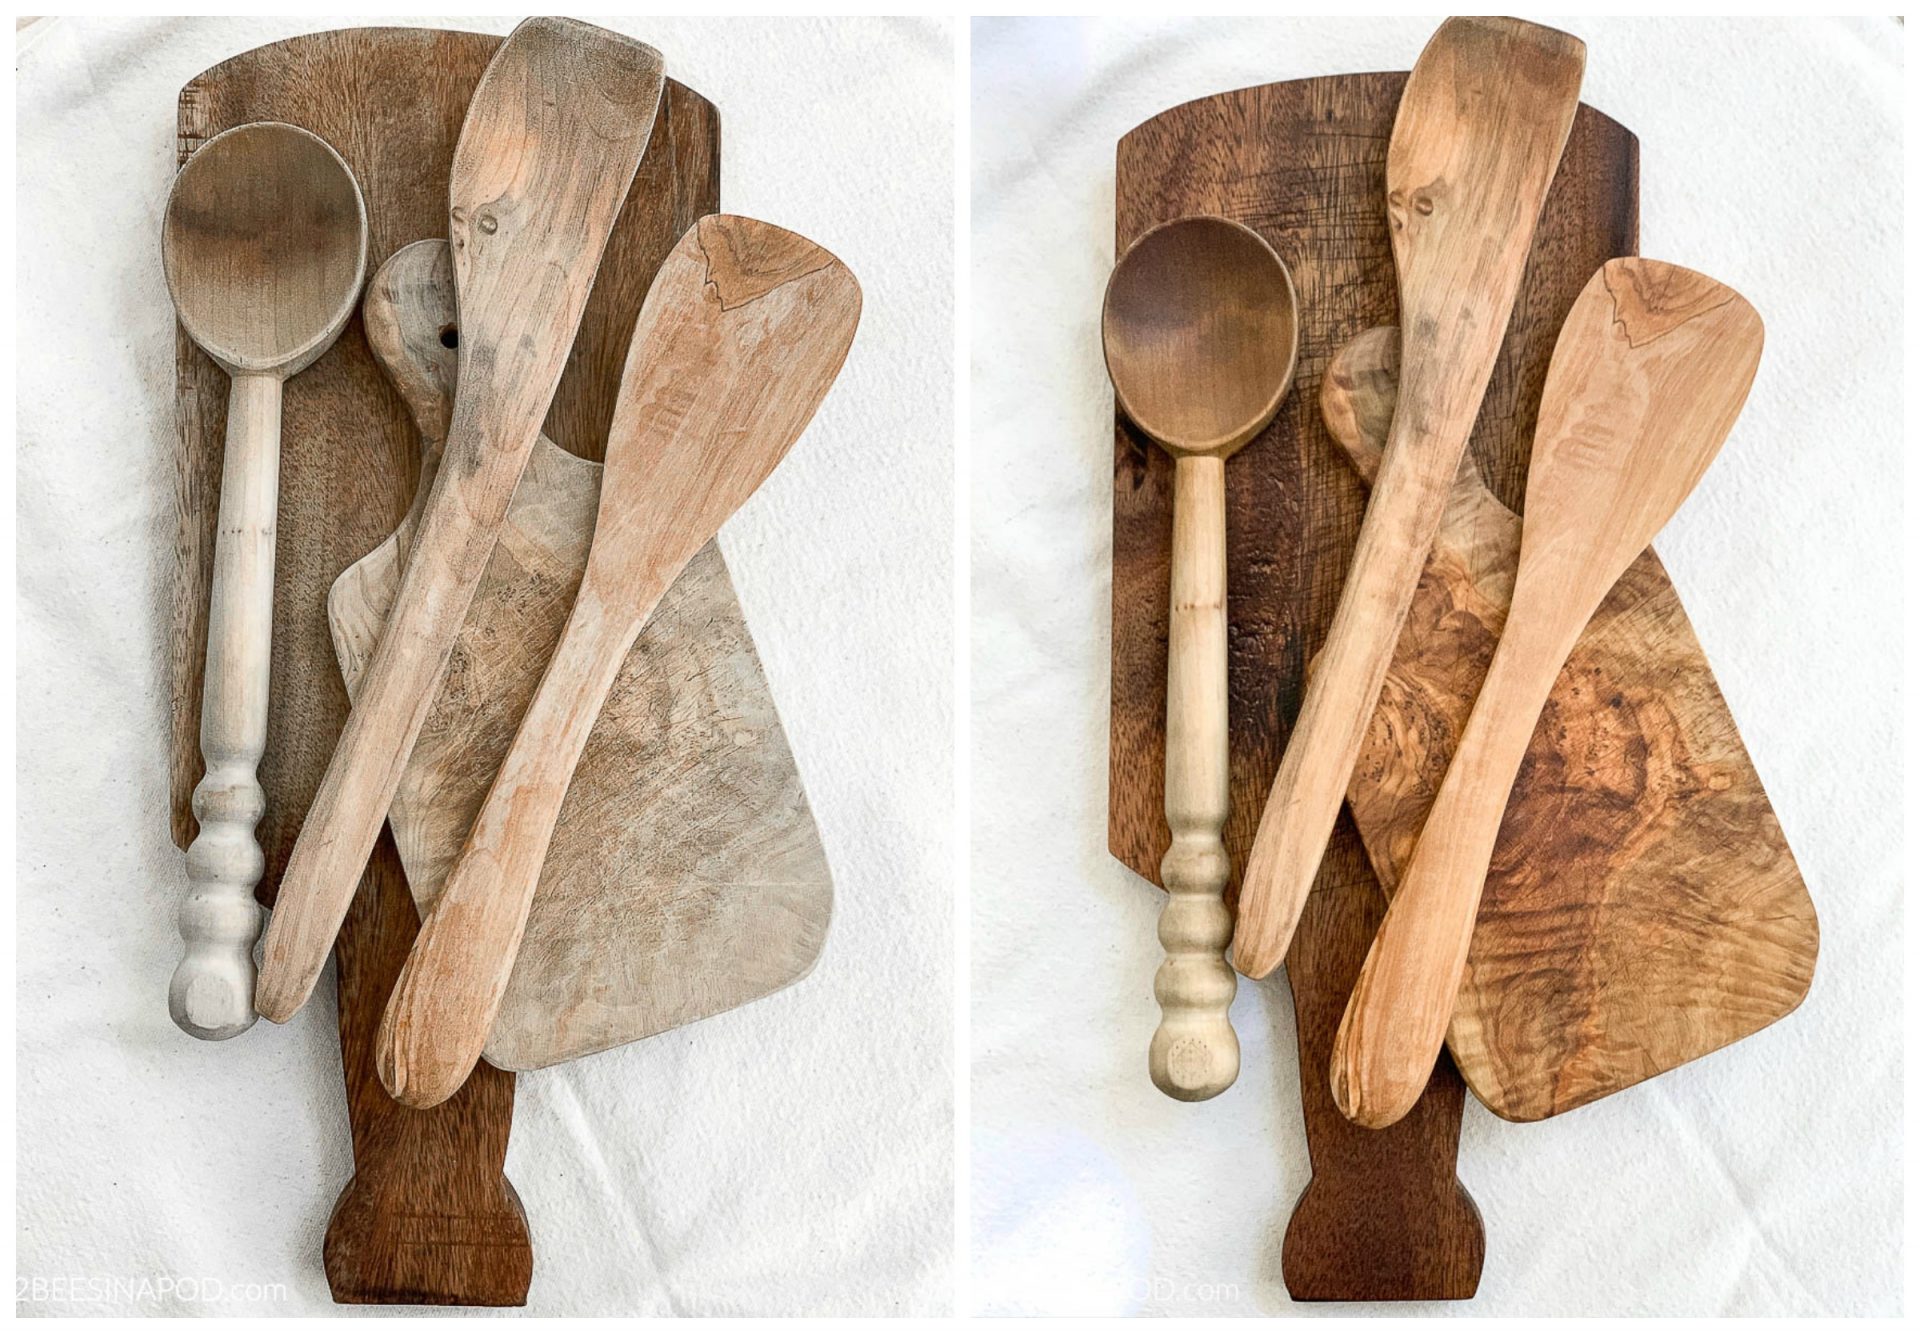
Restore Neglected Wooden Utensils Effectively
Deep Restoration Steps
Even warped or stained utensils often recover with proper treatment. Start by sanding away damage using fine-grit sandpaper (220+ grit). Focus on rough, splintered, or discolored areas until smooth. Wipe clean with a damp cloth to remove dust. Apply three oil coats with 4-hour intervals between applications—this saturates dried wood fibers. Finish with a beeswax sealant for maximum water resistance. The resource document notes severely neglected utensils may require 2-3 restoration cycles. Avoid aggressive sanding that thins utensils; remove only damaged layers. Most tools regain 90% functionality through this process.
When Replacement Is Necessary
Discard utensils showing deep cracks that trap food particles, severe splintering that creates injury risks, or grooves too deep for cleaning. Persistent mold odors after deep cleaning also signal replacement time. The resource document states well-maintained wooden utensils last 5+ years of daily use, but neglected ones may need replacing annually. Invest in quality hardwoods (maple, cherry, walnut) that withstand restoration better than cheaper beech or bamboo. When in doubt, replace—it’s cheaper than foodborne illness from contaminated tools.
Store for Maximum Longevity
Ideal Storage Conditions
Store utensils in dry, ventilated areas away from sinks, dishwashers, and stovetops. Humidity above 60% causes wood swelling, while heat sources accelerate drying and cracking. Never stack wooden tools tightly—this traps moisture between surfaces. Use upright holders or hang them to ensure airflow on all sides. The resource document specifies ideal conditions: 15-25°C (60-77°F) with 40-50% humidity. In humid climates, add silica gel packs to storage drawers. Proper storage prevents “storage cracks” that appear when wood dries too rapidly after absorbing kitchen moisture.
Quality Wood Selection Guide
Choose hardwood utensils from these durable species:
– Maple: Tight grain resists staining, naturally antibacterial
– Cherry: Deepens to rich red with age, medium hardness
– Walnut: Elegant dark grain, excellent shock resistance
– Beech: Affordable workhorse for everyday use
Avoid softwoods like pine—they dent easily and absorb odors. The resource document confirms maple’s density makes it ideal for spoons and spatulas, while walnut’s strength suits heavy-duty scrapers. Always inspect new utensils for smooth finishes without splinters—quality craftsmanship prevents early damage.
Implement This Daily Maintenance Routine
2-Minute Care Process
After each use: wash immediately → dry thoroughly → inspect for damage. This prevents 90% of wooden utensil failures. Weekly, check for dryness by running fingers over surfaces—rough spots need oiling. Monthly, deep-clean with baking soda paste and apply oil. The resource document stresses consistency: daily care takes 2 minutes but saves hours of restoration later. Keep mineral oil near your sink for quick conditioning. Within weeks, you’ll notice smoother surfaces, brighter colors, and zero food odors. Properly maintained wooden utensils become more beautiful with use—developing a rich patina while remaining fully functional. Start these techniques today, and your grandchildren might inherit that favorite wooden spoon.

