
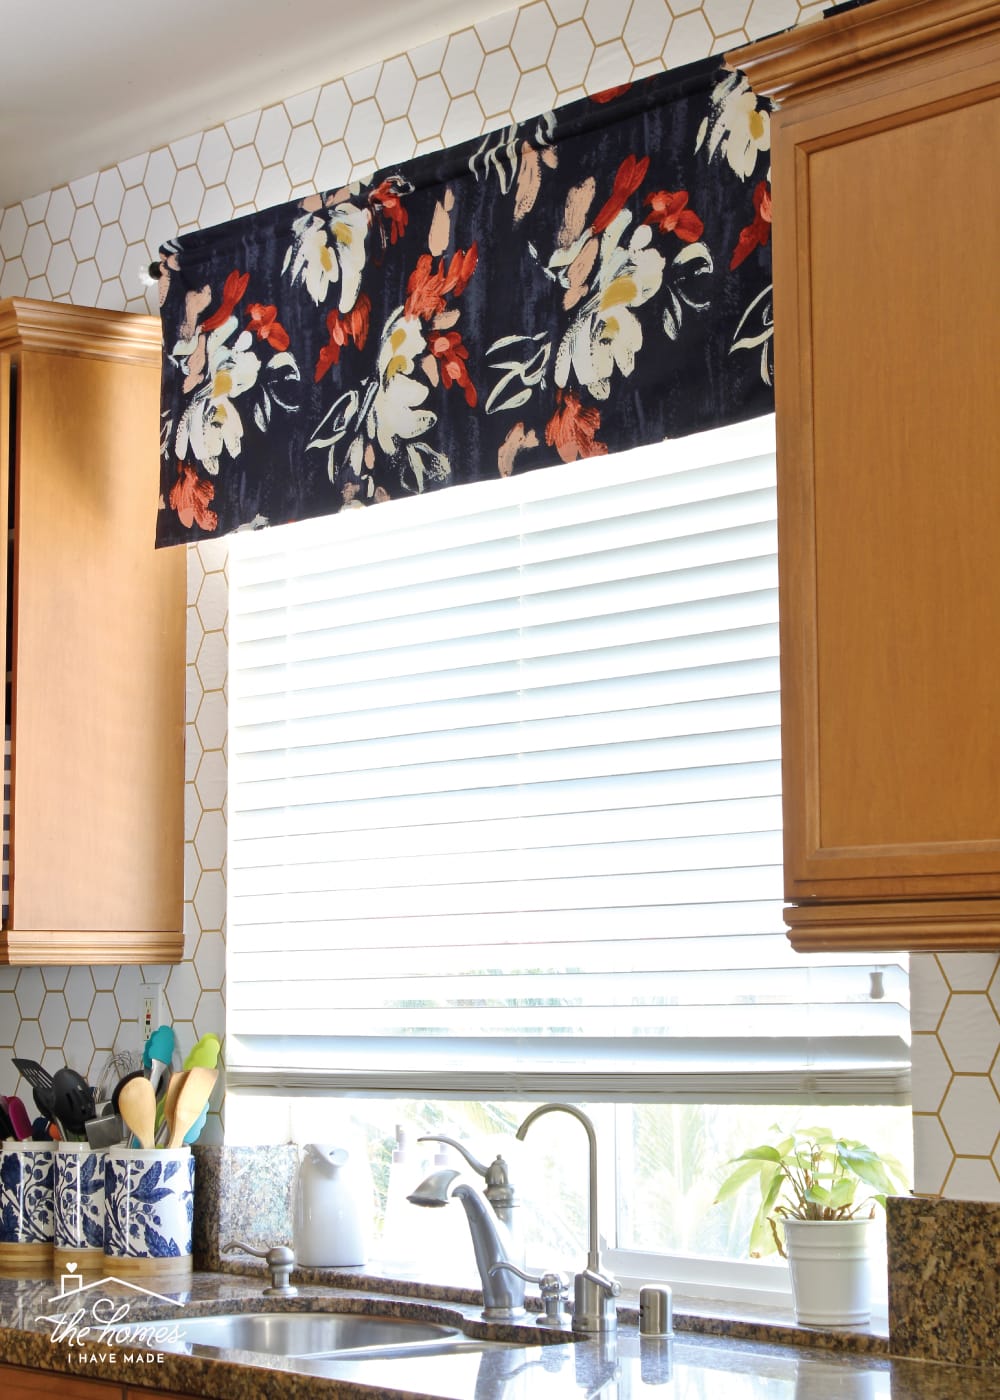
Your kitchen window deserves style without sacrificing function. Full curtains over the sink catch every splash, block precious light, and crowd counter space—yet bare windows feel unfinished. A custom valance solves this by delivering polished decor while staying clear of faucets and steam. Whether you’re a sewing novice with 30 minutes free or a DIYer ready to build a showstopper, this guide reveals exactly how to make a kitchen valance that withstands grease splatters and daily chaos. You’ll learn three field-tested methods—from a renter-friendly foam shortcut to a pro-level upholstered box—with precise measurements, material hacks, and kitchen-specific tricks you won’t find in generic tutorials.
Pick the Right Valance Style for Your Kitchen Reality
Skip the Pinterest overwhelm. Match your valance to your actual kitchen constraints: limited wall space, humidity near the sink, and zero tolerance for dry-clean-only fabrics. These three methods dominate kitchen installations for good reason.
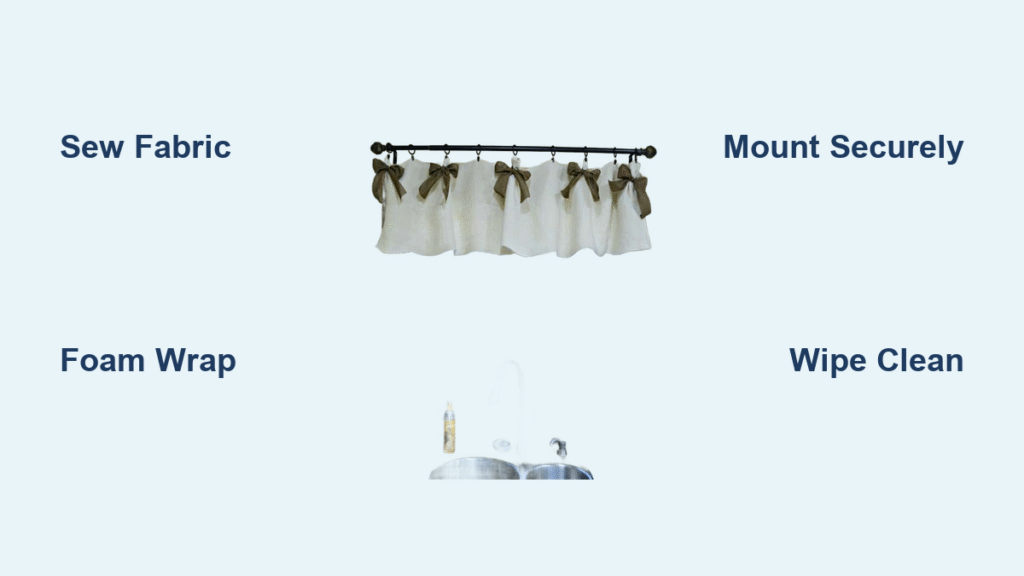
Sewn Fabric Valance: The Washable Workhorse
Why kitchens need this: Cotton or performance polyester fabric survives daily wipe-downs and machine washing. Unlike delicate sheers, it hides tomato-sauce splatters and dries fast.
Critical kitchen adaptation: Cut the drop to 12–14″ (instead of 18″) for over-sink windows to avoid faucet spray. Pair with cellular shades for privacy.
Toolkit reality check: If you can sew a straight line, you’re qualified. No fancy stitches needed—just a $10 iron-on hem tape backup for wobbly seams.
Upholstered Wooden Box: The Splatter-Proof Statement
Kitchen superpower: Hardwood frames with stain-resistant fabric (like Sunbrella) laugh at grease. Mount it under cabinets to maximize counter space.
Must-know mounting hack: Drill brackets into studs, not drywall anchors. Kitchens vibrate from dishwashers and slamming cabinets—weak mounts mean 3am crash landings.
Pro tip: Line the box with foil-backed insulation board. It blocks heat from south-facing windows that warp cheap plywood.
Foam Insulation Valance: The Renter’s Secret Weapon
Why it beats cardboard: Extruded polystyrene (XPS) foam—blue or pink rigid sheets from hardware stores—won’t warp in steamy kitchens (unlike white beaded foam).
Zero-drill mounting: Command Picture Hanging Strips rated for 16+ lbs hold firm even above stoves. Test first by sticking to cabinet underside.
Speed advantage: Wrapping takes 20 minutes. Hang it before your coffee gets cold.
Measure Like a Kitchen Pro (Not a Guessing Game)
Grab a metal tape measure—fabric rulers stretch! These three numbers prevent valances that gap at the sides or droop into your dish soap.
The Kitchen-Specific Measurement Trio
- Outside frame width (left to right edge of window trim): Add 1″ for foam valances to hide gaps; add 2″ for sewn valances to accommodate gathers.
- Rod location height (distance from window top to rod center): Critical for drop calculation. Measure 3″ above window frame for standard kitchens.
- Sink-to-rod clearance: Hold a ruler vertically from faucet tip to planned rod spot. Must be ≥4″ to avoid curtain interference.
Kitchen-Optimized Proportions Cheat Sheet
| Element | Standard Living Room | Kitchen Adjustment |
|---|---|---|
| Valance drop | 18–24″ | 12–16″ (shorter = clear of sink) |
| Fullness (fabric width) | 2.5x rod width | 2x rod width (less gather = easier wiping) |
| Header height | 3″ | 1–2″ (minimal ruffle = less dust traps) |
Real kitchen example: For a 36″ window over a sink:
– Cut fabric width = 36″ × 2 = 72″
– Cut length = 14″ (drop) + 2″ (header) + 1.5″ (rod pocket) + 4″ (bottom hem) = 21.5″ → round to 22″
Calculate Fabric Without Wasting Money (Kitchen Edition)

That $12/yd performance fabric vanishes fast if you miscalculate. Follow this kitchen-tailored formula—it accounts for pre-washing shrinkage and grease-resistant lining.
Yardage Formula That Saves Trips to the Store
Total fabric length = (Drop + Header + Rod Pocket + Bottom Hem) × Number of Widths

Number of Widths = (Rod Width × Fullness) ÷ 44" (standard fabric width)
36″ window breakdown:
– Drop = 14″ (kitchen-shortened), Header = 2″, Rod Pocket = 1.5″, Hem = 4″ → 21.5″ length
– Width needed = 36″ × 2 = 72″ → 72 ÷ 44 = 1.64 → round UP to 2 widths
– Total yardage = (2 × 21.5″) ÷ 36 = 1.2 yards → buy 1.5 yards (always round up!)
Kitchen-specific fabric rule: Buy ⅛ yard extra of lining for grease-blocking. Use Sunbrella or Crypton for wipe-clean surfaces—cotton alone soaks up cooking oils.
Sew a Kitchen-Ready Valance in 7 Steps (No Expertise Needed)
This streamlined process skips fussy details that fail in high-humidity kitchens. Focus on washable seams and stain resistance.
Step 1: Pre-Wash Fabric—Non-Negotiable for Kitchens
Soak cotton or polyester in cold water with ½ cup vinegar (neutralizes cooking odors). Tumble dry low—never air dry, which warps fabric grain.
Step 2: Sew Panels with Kitchen-Strong Seams
- Right-sides together, ½” seam allowance.
- Critical: Overcast raw edges with zigzag stitch—kitchen humidity frays untreated seams.
- Press seams open (not to one side) to prevent bulky folds that trap grease.
Step 3: Create a Stain-Resistant Bottom Hem
Fold up 4″ twice to encase raw edge. Blind stitch by hand (invisible finish) or use ¼” wide double-fold tape for machine stitching. Why 4″? Shorter hems wick grease upward; deeper hems hide splatter lines.
Step 4: Layer Fabrics for Maximum Protection
Place main fabric right-side up, lining wrong-side up on top. Baste ¼” from raw edges—lining should be 1″ shorter top-to-bottom to prevent “ghosting” through thin fabrics.
Step 5: Reinforce Side Hems Against Splatter
Fold sides 1″ twice toward lining. Edgestitch with heavy-duty thread (Gütermann Mara 100). Kitchen pro tip: Add a drop of fray check to corners where grease penetrates.
Step 6: Build a Rod Pocket That Won’t Sag
- Fold top edge ½” toward lining, press.
- Fold again 3½” (2″ header + 1.5″ pocket), pin.
- Key step: Stitch ¼” from first fold and 2″ down to create rigid header channel. Weak stitching = fabric sliding off rod during washing.
Step 7: Hang and Test for Sink Clearance
Slide rod through pocket, mount brackets 3″ above window frame. Hold a dish towel under faucet—adjust rod height until valance clears spray by 2″.
Build a No-Sew Foam Valance in Under 1 Hour

When grease splatters demand instant action, this method uses $10 hardware store supplies. No sewing machine, no dust-collecting fabric folds.
Materials That Won’t Melt in Steam
- Foam: ¾” pink or blue XPS insulation sheet (NOT white EPS—it warps near dishwashers)
- Fabric: Remnant of outdoor fabric or vinyl-coated upholstery cloth
- Adhesive: Spray mount (3M Super 77) for fume-free application near food prep areas
Cutting and Wrapping Without Warping
- Cut foam: Width = window width + 1″; height = 14″ (kitchen drop). Use utility knife with fresh blade—dull blades crush foam edges.
- Wrap batting: Stretch polyester batting tightly over front/sides. Spray adhesive on foam back only—avoid front to prevent shiny patches.
- Secure fabric: Center pattern over batting. Pull taut bottom-to-top (not side-to-side) to avoid wrinkles. Staple every 2″ along back edge—never glue front (traps grease).
Mounting That Survives Dishwasher Vibration
- Attach two Command Outdoor Strips (16-lb capacity) to foam back.
- Press firmly for 30 seconds—kitchens need 2x hold time of living rooms.
- Test: Hang filled coffee mug from valance overnight before committing.
Kitchen-Specific Design Hacks Nobody Tells You
Generic valance guides ignore cooking realities. These tweaks prevent yellowed fabric and steam damage.
Fabric Choices That Outlive Your Dish Towels
- Must-have: Teflon-coated fabric (like Crypton Home) repels olive oil splatters.
- Avoid: Linen (shows water spots), velvet (traps grease), or 100% cotton (shrinks unevenly).
- Budget hack: Spray $5 fabric protector (Scotchgard for Outdoor) on thrifted curtains—makes them kitchen-worthy.
Pattern Tricks for Narrow Kitchen Windows
- Vertical stripes: Make 24″ windows feel wider; avoid horizontal stripes (accentuates narrowness).
- Large prints: Center motifs over sink—never cut designs at sides where steam collects.
- Color psychology: Light blue hides grease better than white; warm grays camouflage tomato splatters.
Layering for Privacy Without Chaos
- Pair with: Inside-mount faux wood blinds (clean with damp cloth).
- Never pair with: Long curtains—they’ll dangle in soup pots.
- Pro move: Add ½” blackout lining behind valance fabric for evening privacy.
Keep Your Valance Looking New Amid Grease and Steam
Kitchen valances collect more grime than any other window treatment. These maintenance steps take 2 minutes weekly.
Weekly Kitchen Rescue Routine
- Vacuum: Upholstery brush attachment on lowest suction—focus on top edge where grease settles.
- Spot clean: Damp microfiber cloth with 1 tsp Dawn dish soap per cup water. Never soak—water warps foam cores.
- Deodorize: Spritz with 50/50 white vinegar/water mix to neutralize cooking smells.
Emergency Sauce Splatter Fix
Blot immediately with paper towel. Rub gently with undiluted dish soap, wait 5 minutes, then wipe with damp cloth. For dried stains, use OxiClean MaxForce spray—but test on hidden corner first (some fabrics discolor).
Troubleshoot Kitchen Valance Disasters in 5 Minutes
| Problem | Kitchen-Specific Fix |
|---|---|
| Grease spots yellowing fabric | Spray with degreaser (Simple Green), wait 2 minutes, wipe with cold water. Repeat before washing. |
| Foam valance warping near dishwasher | Replace with XPS foam—white EPS absorbs moisture. Seal edges with Mod Podge Outdoor. |
| Rod pocket stretching from frequent washing | Insert nylon curtain rod (lighter than metal) or sew ¼” grosgrain ribbon along pocket top edge. |
| Water spots showing on light fabric | Apply Scotchgard Outdoor Fabric Water Shield—creates invisible barrier against steam. |
Cost and Time Breakdown for Real Kitchens
| Method | Materials Cost | Time Required | Skill Level | Best For |
|---|---|---|---|---|
| Sewn Fabric Valance | $18–28 (includes stain-resistant lining) | 2.5 hours | Beginner | Homeowners wanting washable style |
| Upholstered Wooden Box | $35–55 (includes moisture-resistant plywood) | 3.5 hours | Intermediate | Permanent kitchens needing luxury |
| Foam Insulation Valance | $8–15 (XPS foam + outdoor fabric) | 45 minutes | Beginner | Renters or quick fixes |
Pick the method matching your next kitchen project window. A foam valance transforms a rental instantly, while a sewn valance with Crypton fabric outlasts your dishes. Either way, you’ll finally have a window treatment that handles spaghetti night like a pro—no more soggy curtain ends in your sink. For sink-side windows, stick to 14″ drops and grease-repelling fabrics; in dining areas, go bold with upholstered boxes. Your kitchen deserves decor that works as hard as you do.

