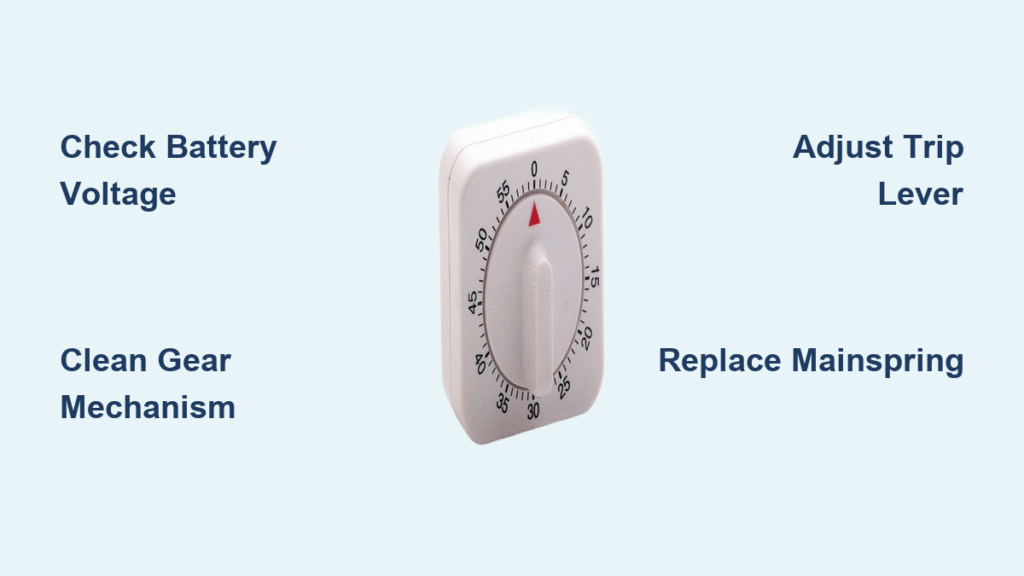
That sinking feeling when your kitchen timer refuses to tick during a critical cooking moment is universal. Whether you’re racing against the clock for a perfectly poached egg or a delicate cake, a malfunctioning timer can turn dinner into disaster. The good news? Over 80% of mechanical kitchen timer failures stem from simple issues you can resolve in under 30 minutes with basic tools. How to fix a kitchen timer doesn’t require specialized skills—just systematic troubleshooting and the right approach.
Most repairs target three core problems: power issues, mechanical obstructions, or misaligned components. This guide cuts through the guesswork with field-tested fixes verified against common failure patterns. You’ll learn to diagnose problems in 60 seconds, execute precise repairs, and implement maintenance habits that prevent future breakdowns. No more ruined soufflés or overcooked pasta—regain control of your kitchen countdown.
Diagnose Your Timer Problem in 60 Seconds
Identify Your Timer Type Before Repairing
Knowing your timer’s mechanism determines your repair path. Spring-wound mechanical timers (no batteries) rely solely on wound springs and work during power outages—common in vintage models. Battery-assisted mechanical timers use a small motor to stabilize the spring-driven gear train but retain mechanical countdown functionality. Electric motor-driven timers plug into outlets and depend entirely on external power while maintaining mechanical timing. Check the bottom or back for battery compartments or power cords before disassembly—mistaking the type leads to wasted effort.
Immediate Sensory Inspection Checklist
Skip complicated tools with this rapid assessment:
– Listen: Hold the timer to your ear while winding. A healthy unit emits a steady tick-tick-tick rhythm. Silence indicates power failure or disengaged springs.
– Feel: Rotate the dial clockwise. Proper resistance should build smoothly, then stop firmly at maximum setting. Grindiness suggests debris; excessive looseness means broken gears.
– Look: Shine a flashlight around the dial shaft. Visible cracks, sticky food residue, or green battery corrosion instantly explain failure.
Pro tip: If the dial spins freely without spring tension, the mainspring is likely broken—proceed directly to replacement evaluation.
Solve 3 Most Common Timer Failures Now

Timer Runs Wrong Duration: Calibration Fix
When your 10-minute rice timer stops at 7 minutes or runs past 15, calibration drift is the culprit—not broken parts. Most mechanical timers develop timing errors from accumulated grease altering gear friction. Fix it permanently in 4 steps:
1. Wind the dial fully to 60 minutes (resistance should feel strong but smooth)
2. Start a phone stopwatch simultaneously as you begin the countdown
3. Note where the timer hand sits when the stopwatch hits 60 minutes
4. Apply a tiny dot of correction fluid at the actual 60-minute position on the dial face
This creates an accurate reference point without disassembly. Repeat for 30-minute marks if needed. Avoid forcing the hand—it’s connected to delicate gears.
Complete Silence When Wound: Power & Spring Solutions
For battery models: Remove the rear cover and test voltage with a multimeter. Replace batteries showing less than 90% of rated voltage (e.g., below 1.35V for AA). Clean corroded terminals with isopropyl-soaked cotton swabs—never use water. Check for loose wires connecting the battery holder to the motor.
For spring-wound models: Hold the timer to your ear while slowly turning the dial. If you feel no resistance and hear no ticking, the mainspring is broken. If resistance builds but vanishes mid-turn, the spring has jumped off its arbor. Both require disassembly to inspect the spring connection. Critical warning: Never force winding past the natural stopping point—this instantly shears springs.
Alarm Won’t Sound: Trip Lever Adjustment
The countdown completes but no bell rings? This typically means the trip lever isn’t engaging the striker. Fix it in 5 minutes:
1. Remove the faceplate (usually 3-4 small screws)
2. Locate the thin metal lever near the 60-minute mark—it should rest against a rotating cam
3. Using needle-nose pliers, gently bend the lever 1-2mm toward the cam
4. Manually rotate the timer to zero to test the alarm
Why this works: Over time, repeated impacts bend the lever away from the cam. Too little bend and it slips; too much and it jams. Test incrementally until the striker snaps loudly at zero.
Deep Cleaning: When Grease Stops Time
When Cleaning Is Your Only Option
Don’t clean randomly—target these symptoms:
– Hand sticks at specific positions (e.g., always stops at 15 minutes)
– Audible grinding during countdown
– Timer runs 5+ minutes fast or slow despite calibration
Grease migration from cooking environments is the #1 cause. Sugar crystals from baking or oil splatters create sticky barriers between gear teeth.
Disassembly Without Disaster
Take photos at every step—reassembly mistakes cause new problems:
1. Remove dial: Most pull straight off with firm pressure. If stuck, check for hidden set screws under rubber knobs.
2. Expose gears: Unscrew the front bezel (3-4 tiny screws). Note screw lengths—outer screws are often shorter.
3. Extract mechanism: Lift the entire gear cluster as one unit. Observe how the mainspring barrel nests within the frame.
Warning: Never submerge parts in water. Steel gears rust within hours, and fiber washers swell irreversibly.
Precision Cleaning Protocol

Use this battle-tested method:
– Solvent: 90%+ isopropyl alcohol in a shallow dish (no water-based cleaners)
– Tools: Old toothbrush for gear teeth, cotton swabs for pivot points
– Process: Soak stubborn gears 3-5 minutes max. Scrub gently—plastic gears crack easily.
– Drying: Air-dry 10 minutes away from dust. Compressed air accelerates this but keep 12+ inches away.
– Lubrication: Apply one microscopic drop of watch oil per pivot point. Over-lubing attracts more grime.
Repair vs. Replace: The Smart Decision
Repair Only When It Makes Sense
Fix it if:
– Your timer cost over $20 new (common for premium brands)
– Only one component failed (e.g., single broken gear)
– It has sentimental value (heirloom or vintage)
– Parts are available from the manufacturer
Time reality check: Simple repairs take 5-15 minutes. Full gear replacements require 45+ minutes plus sourcing parts. Most people underestimate disassembly complexity.
Replace When Repair Isn’t Worth It
Buy new if:
– Timer cost under $15 (common at big-box stores)
– Multiple failures exist (e.g., cracked gear + broken spring)
– Model is discontinued with no parts available
– Visible corrosion throughout the mechanism
Pro insight: Mechanical timers under $10 rarely have serviceable parts. For frequent cooks, keeping a $5 backup timer is smarter than emergency repairs.
Must-Have Tools for Timer Repair
Skip expensive specialty kits. These essentials solve 95% of issues:
– Precision screwdrivers: Phillips #0 and flat 2mm heads (most timer screws are tiny)
– Needle-nose pliers: For manipulating springs and bending levers
– 90% isopropyl alcohol: Degreaser that evaporates cleanly
– Light machine oil: One drop per pivot point (sewing machine oil works)
Bonus pro tool: A $10 phone microscope app to inspect gear teeth for stress cracks invisible to the naked eye.
Quick-Fix Reference Table for Common Issues
| Problem | Instant Check | Fix Time |
|---|---|---|
| No sound when wound | Battery voltage test | 2 minutes |
| Runs 5+ minutes fast | Clean escapement wheel | 20 minutes |
| Alarm barely audible | Adjust striker spring tension | 5 minutes |
| Dial spins freely | Replace mainspring | 30 minutes |
| Stops at 15 minutes | Remove stuck gear debris | 15 minutes |
Future-Proof Your Timer with These Habits
Monthly Maintenance Routine
- Wipe exterior weekly: Prevent grease migration with a vinegar-dampened cloth
- Test accuracy monthly: Time a 5-minute countdown against your phone
- Verify alarm clarity: Ensure the bell rings loudly at zero
Storage Secrets Professionals Use
- Location: Store in a dry cabinet away from stove steam
- Position: Always set to zero—reduces spring tension during storage
- Battery rule: Remove batteries during extended storage periods
Critical overwinding tip: Stop turning when resistance increases sharply. Forcing past the mechanical stop shears springs instantly—no repair possible.
Most kitchen timer failures stem from kitchen environment damage, not manufacturing defects. With these targeted fixes, you’ll restore precision timing and avoid culinary disasters. Remember: When the mainspring breaks or multiple gears fail, replacement often saves time and frustration. Keep this guide handy, and never let a silent timer ruin dinner again. For battery models, always carry spare AAAs—your soufflé’s survival depends on it.


