
Standing in front of your oven with a raw chicken and no clue which rack goes where? You’re not alone. Most home cooks waste energy, dry out roasts, and burn cookies simply because they never learned how to use kitchen oven basics. This guide walks you through every critical step—from identifying your oven type to pulling out a perfectly golden pie—so you can cook with confidence instead of crossing your fingers.
Whether you’re battling uneven brownies or wondering why your roast takes twice as long as the recipe states, the answers are simpler than you think. By mastering these seven essential techniques, you’ll transform your oven from an intimidating mystery into your most reliable kitchen partner. You’ll discover exactly how to use kitchen oven settings correctly to save time, prevent disasters, and achieve restaurant-quality results without special equipment.
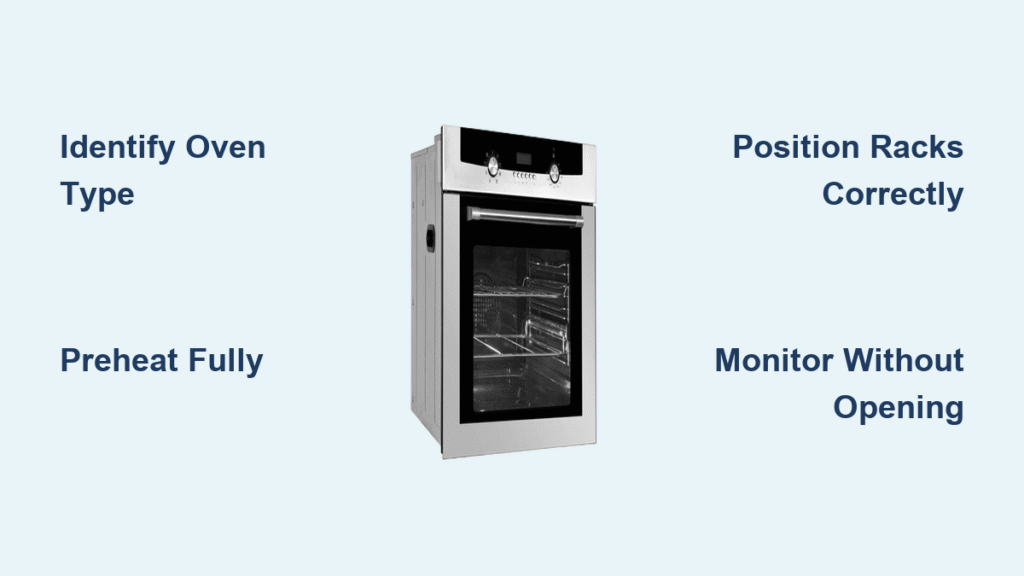
Identify Your Oven Type Before Touching Any Dials
Your oven type dictates every cooking decision—temperature adjustments, rack placement, and timing. Guessing wrong guarantees uneven results. Verify your model first to avoid wasted ingredients and ruined dinners.
Check Control Panel Labels for Critical Clues
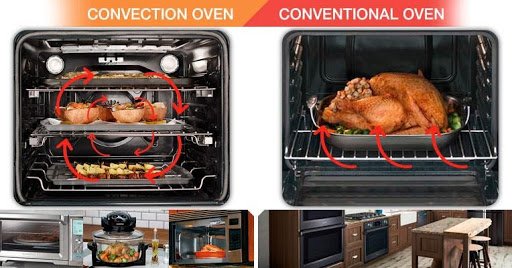
Scan your oven’s control panel for “Convection,” “Conv Bake,” or “Conv Roast” buttons. These terms confirm you own a convection oven with a built-in fan. If your panel only lists “Bake” and “Broil,” you’re using a conventional oven that relies on stationary heating elements. This distinction changes everything: convection ovens circulate hot air for faster cooking, while conventional models create natural hot zones near the top and bottom elements. Never assume—many modern ranges have hidden convection modes buried in menu settings.
Spot the Fan Through the Oven Door
Open the door and look at the back wall. A visible circular fan (usually 4-6 inches wide) means you have convection capability. No fan? You’re working with traditional thermal-bake technology where heat rises from the bottom element and radiates from the top one. This creates predictable hot spots: the top rack cooks 25°F hotter than the bottom in conventional ovens. Convection owners enjoy even heat across all racks, but must adjust recipes downward by 25°F to prevent burning.
Position Oven Racks While Cold for Even Cooking
Adjusting racks in a hot oven risks burns and uneven cooking. Cold positioning ensures your food sits in the precise thermal zone it needs—no more guessing why the top of your casserole burns while the bottom stays cold.
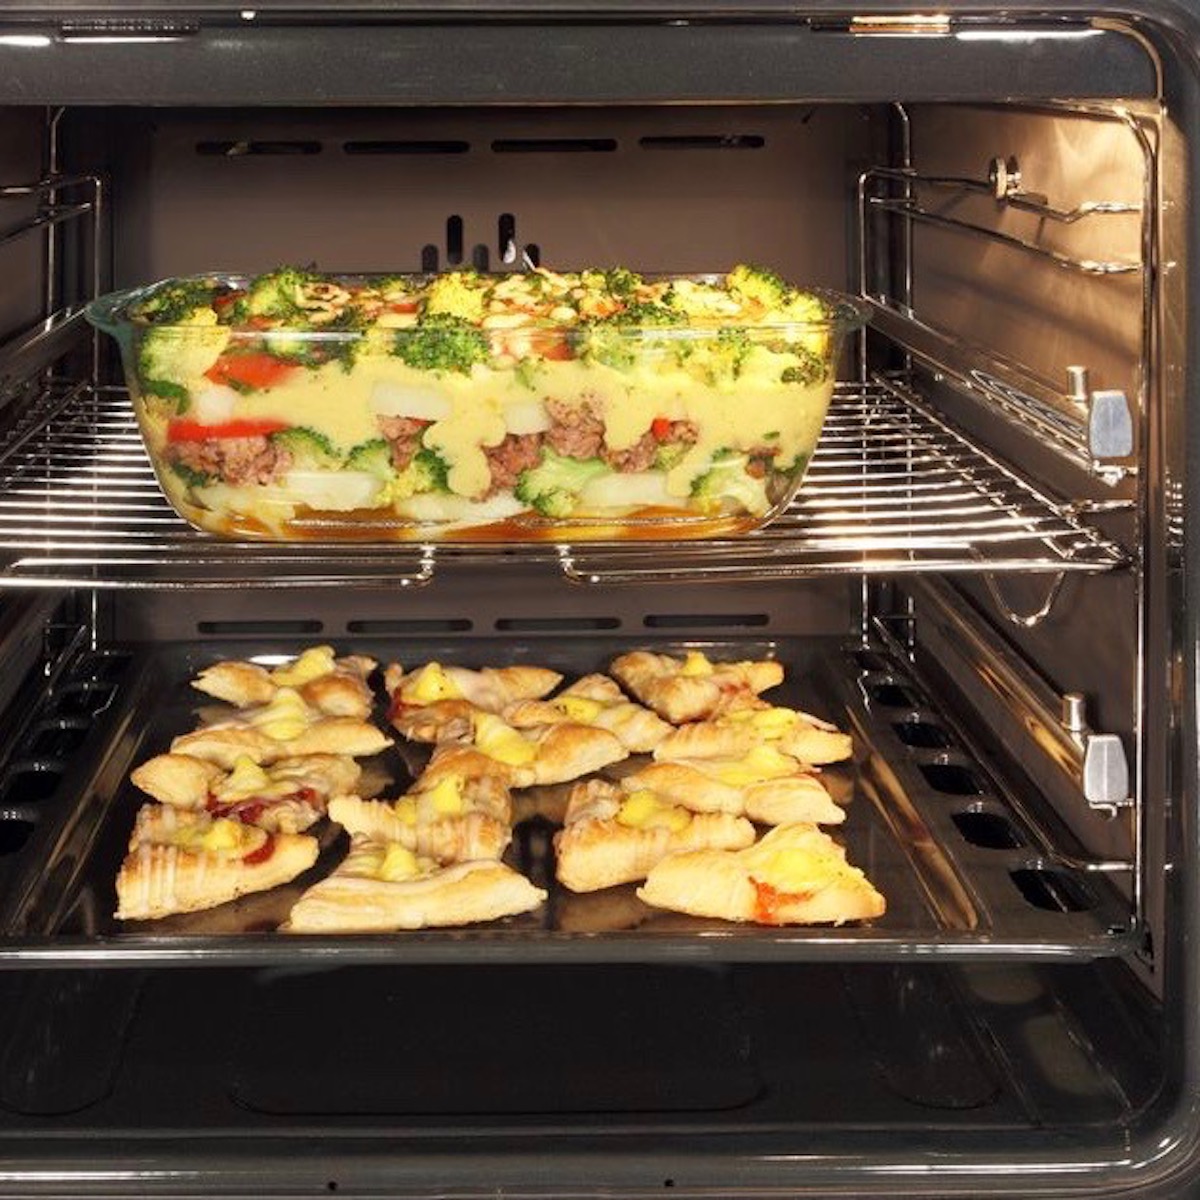
Choose Rack Height by Specific Food Requirements
- Bottom rack (position 1): Place large roasts or bone-in meats here to catch radiant heat from the bottom element. Ideal for convection “bottom-heat” finishes that crisp skin without drying interiors.
- Middle rack (position 2-3): Your default zone for cookies, cakes, and sheet-pan dinners. Ensures balanced exposure to top and bottom heat in conventional ovens.
- Top rack (position 5): Use exclusively for broiling thin steaks or melting cheese—never for baking. Direct top-element exposure creates instant browning but scorches delicate foods.
Maintain Minimum 2-Inch Airflow Clearance
Leave at least 2 inches between pans and oven walls on all sides. Crowded ovens create dead zones where food cooks 30% slower. In convection models, this gap lets the fan circulate air around every surface. For conventional ovens, it prevents heat pockets that leave one side of your lasagna bubbly while the other stays cold. Always measure with a ruler during first-time setup—eyeballing guarantees uneven results.
Preheat Fully to Avoid Undercooked Disasters
Skipping preheat wastes energy and ruins texture. A cold oven forces food through dangerous temperature zones where bacteria thrive while moisture escapes. Always wait for the confirmation signal—this single step prevents 80% of oven-related cooking failures.
Set Temperature Based on Oven Technology
Conventional ovens use recipe temperatures exactly as written. Convection ovens cook 25°F hotter due to circulating air, so reduce your set temperature by 25°F (e.g., set 325°F instead of 350°F). If your model has “Auto Convect Conversion,” press this button after entering the recipe temperature—it handles the math automatically. Never guess; a 25°F error turns juicy chicken into leather in under 15 minutes.
Wait for the Oven’s Confirmation Signal
Most ovens beep or display a solid light when fully preheated—typically taking 10-15 minutes. Resist loading food early; a 50°F temperature gap means your cake batter sets too slowly, causing tunneling and collapse. Pro tip: Time your prep so ingredients are ready when the beep sounds. For convection baking, add an extra 2 minutes to preheat time—the fan needs full cavity temperature to circulate effectively.
Load Food Strategically for Uniform Heat Exposure
How you place pans determines whether food cooks evenly or emerges half-raw. Proper positioning leverages your oven’s natural heat patterns instead of fighting them—a game-changer for multi-rack cooking.
Create Circulation Gaps Between Pans
Space multiple pans 2 inches apart on all sides. In convection ovens, this allows the fan to wrap air around every surface. For conventional models, it prevents shadow zones where one pan blocks heat from reaching another. When baking two sheet pans, stagger them front-to-back rather than side-by-side—this mimics commercial ovens’ airflow patterns. Never stack pans vertically; the top layer cooks 40% faster due to radiant heat from above.
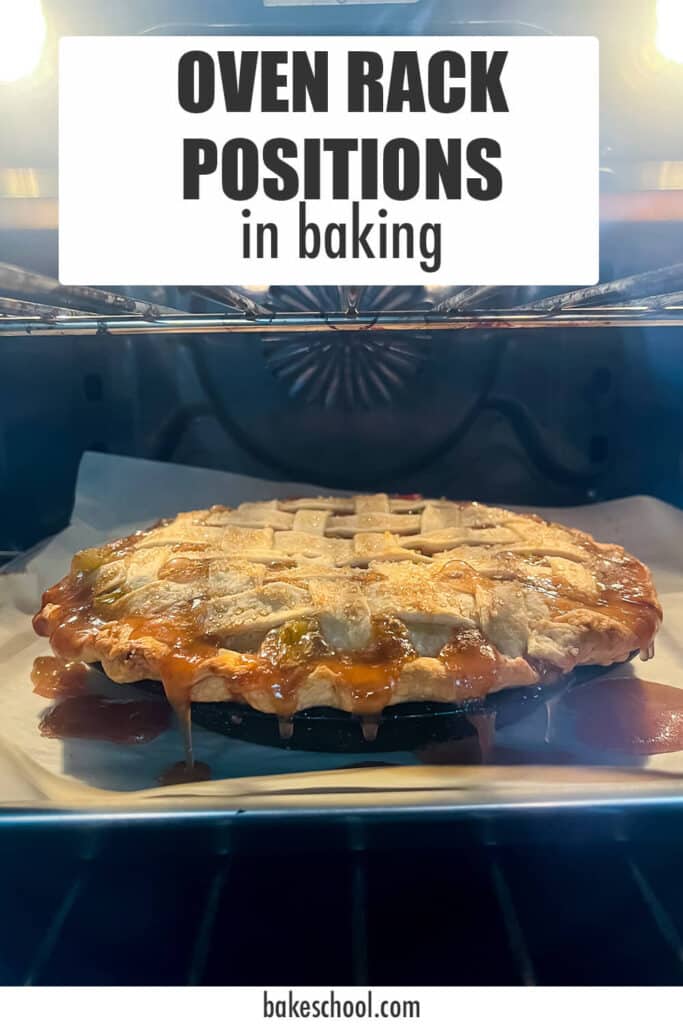
Center Dishes on the Rack Horizontally
Place baking dishes exactly in the rack’s center—not closer to the door. Off-center positioning causes one side to brown 20% faster in conventional ovens due to heat leakage near the glass. For convection models, centering prevents wobbling from fan force. Visually align the pan’s edges with the rack’s support wires—this simple check prevents lopsided cakes and unevenly roasted vegetables.
Set Timers and Monitor Without Heat Loss
Every oven door opening drops temperature 25-50°F instantly, extending cook time by 8-12 minutes per peek. Smart monitoring preserves heat while preventing overcooking—critical for delicate dishes like custards.
Program Multi-Stage Timers for Complex Recipes
Input cook times directly on your oven’s control panel, not your phone. For multi-phase dishes (like covered casseroles that uncover later), set two sequential timers: one for initial cooking and a second for the uncovered finish. This prevents forgetting crucial transitions that turn golden tops into charcoal. Always set timers 5-10 minutes early when trying new recipes—ovens vary wildly by brand.
Monitor Progress Using the Oven Light Only
Turn on the interior light and watch through the window for the first 75% of cooking time. Only open the door to rotate pans halfway through—or when checking internal temperature with a probe thermometer. For broiling, stay within arm’s reach; thin cuts like salmon fillets go from perfect to burnt in 90 seconds under direct top heat.
Clean Spills Immediately to Prevent Smoke and Flavors
Baked-on spills create smoke during preheat and transfer burnt tastes to new dishes. A 5-minute post-cook wipe prevents hours of scrubbing later—plus dangerous flare-ups during future use.
Wipe Residue While Oven Is Warm (Not Hot)
After cooking, let the oven cool until you can comfortably rest a hand on the door (about 100°F). Then wipe spills with a damp microfiber cloth—never cold water on hot surfaces, which can crack ceramic. Target sugar-based spills (like pie fillings) first; they harden fastest into glass-like coatings. For meat drippings, use a baking soda paste: mix 3 parts soda to 1 part water, apply, wait 15 minutes, then wipe.
Deep Clean Monthly With Proper Methods
Self-cleaning ovens: Remove racks first, then run the cycle for 2-6 hours based on soil level. Ventilate the room—the process creates intense smoke. After cooling, wipe ash with a damp cloth. Non-self-clean models: Soak racks in warm soapy water overnight. For interior stains, apply baking soda paste, leave for 20 minutes, then scrub with a nylon brush. Never use oven cleaner on heating elements—they corrode and cause uneven heating.
Fix Oven Emergencies Mid-Recipe
When your oven rebels during dinner prep, targeted troubleshooting saves the meal. These fixes address 90% of real-time cooking disasters without calling a technician.
Oven Won’t Heat? Check These 4 Things Immediately
- Verify the circuit breaker hasn’t tripped—ovens draw heavy power.
- Ensure the door is fully latched; safety switches disable heating if slightly ajar.
- Disable child lock (often activated by accidental button presses).
- Note any error codes (like “F1” for sensor failure) in your manual.
Food Burns on Bottom? Adjust Rack and Temperature Now
This means your rack sits too close to the bottom element. Immediately move food up one position and reduce temperature by 25°F. For conventional ovens, place an empty baking sheet on the lowest rack—it shields food from intense radiant heat. Convection users should check if the fan is running; no airflow causes bottom-heavy cooking.
Uneven Browning? Rotate Pans and Check Elements
Turn pans 180° halfway through cooking to counter directional heat patterns. If browning persists on one side, inspect heating elements during preheat—glowing sections indicate active elements, while dark spots mean failed components. In conventional ovens, this asymmetry requires rotating pans twice: at 25% and 75% of cook time.
Master these seven steps to transform your kitchen oven into a precision cooking tool. Remember to identify your oven type first, always preheat fully, and maintain 2-inch airflow gaps around every dish. Wipe spills within 20 minutes of cooling to avoid smoke and flavor transfer. When in doubt, reduce convection temperatures by 25°F and monitor new recipes early. Your perfectly roasted chicken and crack-free cheesecake are waiting—just one correctly executed preheat away. For persistent issues, consult your manual’s error code chart before calling service; most “broken” ovens are simply misconfigured.

