
That gleaming kitchen mixer on your counter promises bakery-quality results, but confusing attachments and speed settings leave many home bakers frustrated. Learning how to use a kitchen mixer properly transforms your baking experience, turning dense bread into perfect loaves and flat cakes into light, airy masterpieces. Whether you’re a beginner with your first mixer or looking to maximize your current model’s potential, this guide delivers the specific techniques professionals rely on. You’ll discover how to attach beaters securely, select the perfect speed for each task, and avoid common pitfalls that ruin recipes—giving you confidence to tackle any mixing challenge.
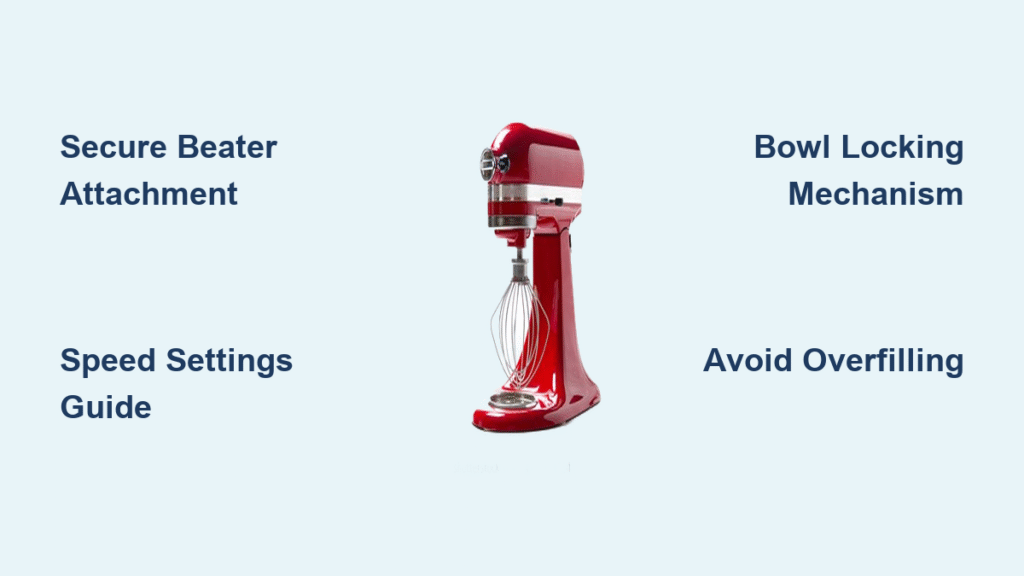
Secure Beater Attachment Without Fail
Critical Safety First Step
Always unplug your mixer before handling attachments—this simple step prevents dangerous accidental activation. Even experienced bakers sometimes skip this precaution when in a hurry, risking serious injury from sudden movement. Your mixer’s powerful motor can engage unexpectedly if left plugged in during setup, so make this your non-negotiable first action every single time.
Tilt-Head Access Technique
Grasp the metal portion near the attachment shaft and lift the mixer head upward to expose the connection point. This tilt mechanism provides unobstructed access without requiring bowl removal. The head should pivot smoothly upward—resistance indicates food debris buildup that needs cleaning before proceeding. Proper access ensures you can see the attachment slot clearly, preventing misalignment that damages both beaters and the mixer shaft.
Pin-Slot Alignment System
Hold the beater at a 45-degree angle to locate the small metal pin on its stem. Match this pin precisely with the corresponding slot on the mixer’s shaft, similar to aligning a key in a lock. Apply firm, steady pressure upward until you hear a distinct click—this audible confirmation signals the beater is securely locked. Rushing this step causes improper seating that leads to dangerous detachment during operation. If you don’t hear the click, realign and try again rather than forcing the connection.
Final Security Check
After lowering the head, give the beater a gentle manual wiggle to confirm secure attachment. Any movement indicates improper installation that could cause the beater to dislodge during mixing. The click sound is your safety signal—never operate the mixer without hearing it. This verification step takes seconds but prevents messy accidents and potential damage to your appliance.
Speed Settings Decoded for Perfect Textures
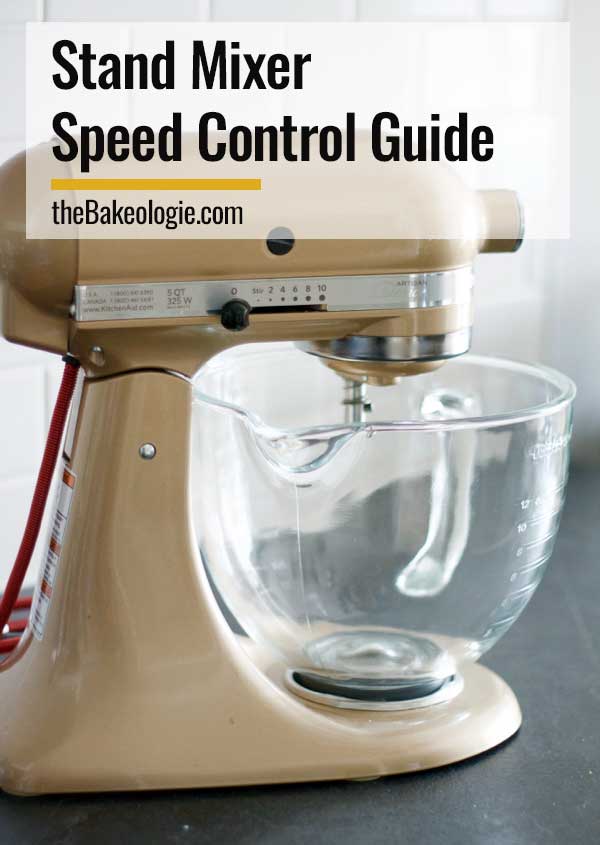
Low Speeds (1-2): Gentle Ingredient Integration
Use these settings when incorporating dry ingredients into wet mixtures or starting bread dough. The slow rotation prevents flour clouds while ensuring even distribution without overworking gluten. This speed range is essential for delicate batters like soufflés where excessive air incorporation causes collapse.
Medium Speeds (3-4): Creaming and Combining Mastery
These speeds create the ideal conditions for creaming butter and sugar—generating the microscopic air pockets that give cakes their light texture. The paddle attachment works most effectively here, developing proper structure without separating ingredients. Most cookie and cake batters reach perfect consistency at speed 4, taking approximately 2-3 minutes for optimal results.
High Speeds (5-6): Whipping and Aeration
Whip cream to stiff peaks, beat egg whites for meringues, or prepare frosting at these speeds. The whisk attachment shines here, incorporating maximum air while maintaining stability. Stop frequently to check consistency—over-whipping happens quickly at these speeds and ruins delicate textures. For egg whites, begin at speed 4 and gradually increase to 6 as they stabilize.
Highest Speeds (7-10): Heavy-Duty Applications Only
Reserve these settings for dense bread doughs or extremely thick mixtures. The dough hook attachment works best here, developing gluten structure efficiently. Never use top speeds for extended periods—limit to 2-minute intervals with 3-minute rest periods between to prevent motor strain. These speeds generate significant heat that can cook ingredients if left running too long.
Bowl Positioning Essentials for Optimal Mixing
Secure Locking Mechanism
Rotate the bowl clockwise until it clicks into the base—this locking action prevents dangerous wobbling during operation. Test stability by gently pushing the bowl; any movement indicates improper seating that causes uneven mixing and potential spills. Bowl-lift models require different positioning than tilt-head versions, so consult your manual for model-specific requirements.
Optimal Clearance Adjustment
With the head lowered, the beater should clear the bowl bottom by approximately 1/16 inch. Proper clearance ensures ingredients reach the beater without scraping the bowl. Adjust the bowl height screw if beaters consistently miss ingredients or create excessive noise from scraping. Test clearance with a folded paper towel—there should be slight resistance but no tearing.
Tilt-Head vs Bowl-Lift Positioning Differences
Tilt-head mixers require bowl removal for certain tasks like adding ingredients mid-mix. Bowl-lift models raise and lower the entire bowl assembly—never attempt to tilt these models as it damages the mechanism. Understanding your mixer type prevents improper handling that leads to accidents or equipment failure.
Prevent These 4 Costly Mixer Mistakes
Overfilling Disaster Prevention
Fill bowls no more than two-thirds full to prevent messy overflows. Dense batters expand significantly during mixing, creating dangerous splatters and potential motor strain. For large batches, divide ingredients and mix in stages—this produces better texture and protects your appliance.
Ingredient Temperature Troubleshooting
Room temperature ingredients incorporate more evenly, preventing common texture problems. Cold butter causes lumpy batters that never smooth out, while hot liquids can scramble eggs when added too quickly. Plan ahead by bringing ingredients to room temperature for 30-60 minutes before mixing.
Speed Escalation Protocol
Always start at low speed when adding ingredients, especially dry components. Gradually increase speed to prevent flour explosions or liquid splashing. When adding mix-ins like chocolate chips, reduce to speed 2 to distribute evenly without damaging ingredients.
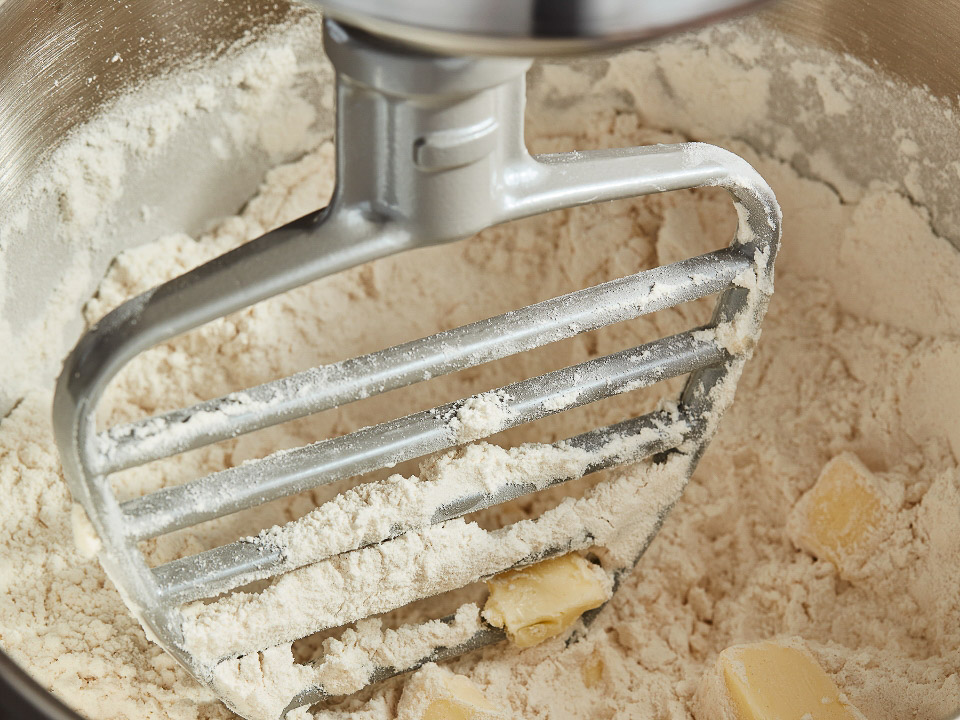
Attachment Selection Guide
Use the paddle for cookies and cakes, whisk for whipping, and dough hook for bread. Wrong attachments create poor textures and strain your mixer. The flat beater works best for dense mixtures, while the wire whip incorporates air efficiently—matching attachment to task ensures perfect results.
Troubleshoot Common Problems Fast

Beater Won’t Attach Solutions
Check for bent pins or debris in the shaft slot—clean both components with a damp cloth. If the pin is bent, replace the beater rather than attempting straightening, which compromises safety. Proper alignment requires matching the beater’s pin with the shaft slot at a 45-degree angle before applying firm pressure.
Violent Shaking Fixes
Verify the bowl is properly locked and the mixer sits level on your counter. Uneven surfaces cause dangerous wobbling during operation. Place a rubber mat underneath if your counter has slight imperfections. If shaking persists, check for unbalanced ingredients or excessive load.
Burning Smell Emergency Protocol
Immediately stop mixing—the motor is overheating. Remove half the contents and continue at lower speed. Persistent burning smells require professional service; continuing use risks permanent motor damage. Large bread batches often need multiple smaller mixes to prevent this issue.
Attachment Scraping Solutions
Adjust the bowl height screw counterclockwise to increase clearance between beater and bowl. Test with a paper towel—there should be slight contact but no tearing. Proper clearance ensures ingredients reach the beater without damaging the bowl coating.
Extend Your Mixer’s Lifespan Dramatically
Load Management Strategy
Never exceed manufacturer weight limits—most standard mixers handle up to 8 cups of flour for bread dough. Large batches require multiple smaller mixes to prevent motor burnout. For heavy doughs, start at speed 2 and gradually increase as the mixture combines.
Essential Rest Periods
Allow 2-3 minute rests between heavy mixing sessions, especially when making multiple batches. Motors need cooling time during extended use—ignoring this causes premature wear. Set a timer to ensure proper rest intervals during marathon baking sessions.
Optimal Storage Position
Store with head lowered and attachments removed to reduce spring tension in tilt-head models. This simple habit prevents accidental damage and maintains the head mechanism’s smooth operation. Keep beaters in designated storage to prevent warping and maintain hygiene standards.
Professional Maintenance Schedule
Annual maintenance by authorized technicians catches wear before failure. This investment prevents costly repairs and extends usability for decades. Between professional services, wipe down the mixer body weekly and clean under the head monthly to remove flour buildup.
Mastering how to use a kitchen mixer properly transforms your baking from frustrating to flawless. By following these specific techniques for attachment, speed selection, and maintenance, you’ll consistently achieve professional results while protecting your investment. Start with simple recipes to build confidence with speed control, then gradually tackle more complex projects as your skills develop. The time spent learning proper mixer usage pays exponential dividends in perfect textures, consistent results, and years of reliable service—turning your mixer from intimidating appliance into your most trusted kitchen partner.

