
That flickering fluorescent box above your sink? The beige-rimmed “pod” lights casting sickly shadows on your countertops? They’re not just dated—they’re actively sabotaging your cooking experience. But here’s the liberating truth: modernizing your kitchen lighting doesn’t require drywall demolition or draining your savings. This guide delivers battle-tested strategies to transform tired fixtures in hours, not weeks. You’ll learn how to swap fluorescent tubes in 20 minutes, retrofit recessed pods for under $15 each, and even revive old pendants with spray paint. By the end, your kitchen will glow with the crisp, functional brilliance it deserves—no electrician required.
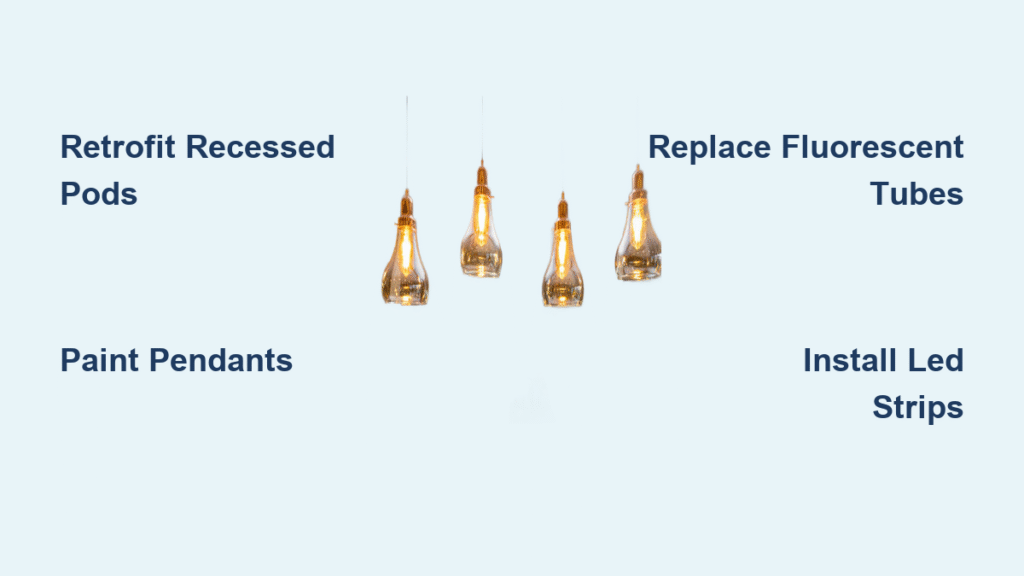
Swap Beige Recessed Pods for Flush LED Retrofits in 5 Minutes

Beige-rimmed can lights instantly date your kitchen. The fix? A purpose-built LED retrofit that snaps inside your existing housing, delivering a clean, modern look without new wiring. Unlike bulky bulbs, these modules lock into your current can brackets and sit perfectly flush with the ceiling.
Gather These Tools Before Starting
- LED retrofit modules (match your can size: 4″, 5″, or 6″)
- Wire nuts or push-in connectors
- Paintable silicone caulk
- Non-contact voltage tester (critical for safety)
- Step ladder
Execute This Foolproof Retrofit Sequence
- Shut off the main breaker—not just the wall switch. Verify wires are dead using your voltage tester. One zap could end your DIY dream.
- Remove the old trim ring and bulb. Keep the socket assembly intact—it’s your retrofit’s anchor point.
- Plug the retrofit’s pig-tail socket into the existing bulb socket. Twist gently until it clicks; forcing it cracks the housing.
- Hook the spring brackets into your can’s inner metal tabs. Press firmly until the module snaps flush against the ceiling.
- Seal gaps with silicone caulk if the retrofit isn’t perfectly smooth. Let it cure 60 minutes before powering on.
Pro Tip: Choose 3000K LED modules for warm, inviting light that makes wood cabinets and food look vibrant. Avoid harsh 5000K “daylight” bulbs—they turn avocado toast into radioactive sludge.
Revive Dated Chrome Pendants with Metallic Spray Paint
Don’t replace those cheap chrome pendants—transform them. A single evening of painting can make them look like $200 designer fixtures. The secret? Full disassembly and strategic masking to protect electrical parts.
Critical Prep Steps for Flawless Results
- Unscrew the canopy and lower the fixture to access sockets. Remove all glass shades.
- Sand scuffed areas lightly with 220-grit paper. Wipe clean with alcohol to remove grease.
- Mask sockets by placing disposable cups upside-down over them. Poke tiny holes for wire access.
Spray Like a Pro: Avoid Drips and Streaks
- Apply bonding primer in two mist coats, 10 minutes apart. This prevents peeling on metal.
- Spray metallic paint (matte black, brushed nickel, or gold) in three ultra-light passes. Hold 10 inches away—thick coats drip.
- Let cure overnight while wearing gloves. Touching fresh metallic paint leaves permanent fingerprints.
You’ll spend $12 versus $200+ for new pendants. The result? Custom fixtures that match your new backsplash or hardware.
Bypass Fluorescent Ballasts with Type-B LED Tubes
That annoying hum from your kitchen’s fluorescent fixture? It’s the ballast failing. Type-B LED tubes eliminate it by cutting the ballast entirely—halving energy use while doubling bulb life.
Safety First: Avoid This Deadly Mistake
Never work on fluorescents with only the wall switch off. Fluorescent fixtures often have live wires even when switched off. Shut off the main breaker and confirm zero voltage with your tester.
Complete the Ballast Bypass in 4 Steps
- Remove tubes and diffuser cover. Set tubes aside for proper recycling (they contain mercury!).
- Cut ballast wires (usually red/blue). Cap each with wire nuts—never leave exposed ends.
- Connect line (black) and neutral (white) wires directly to the tombstone sockets per your tube’s diagram.
- Insert LED tubes and restore power. If one tube stays dark, swap its ends—it’s polarity-sensitive.
Color Temperature Cheat Sheet: 3000K for cozy dinner prep, 4000K for precise chopping. Mix both: warm pendants over the island, cool task lighting under cabinets.
Install Under-Cabinet LED Strips Before Dinner
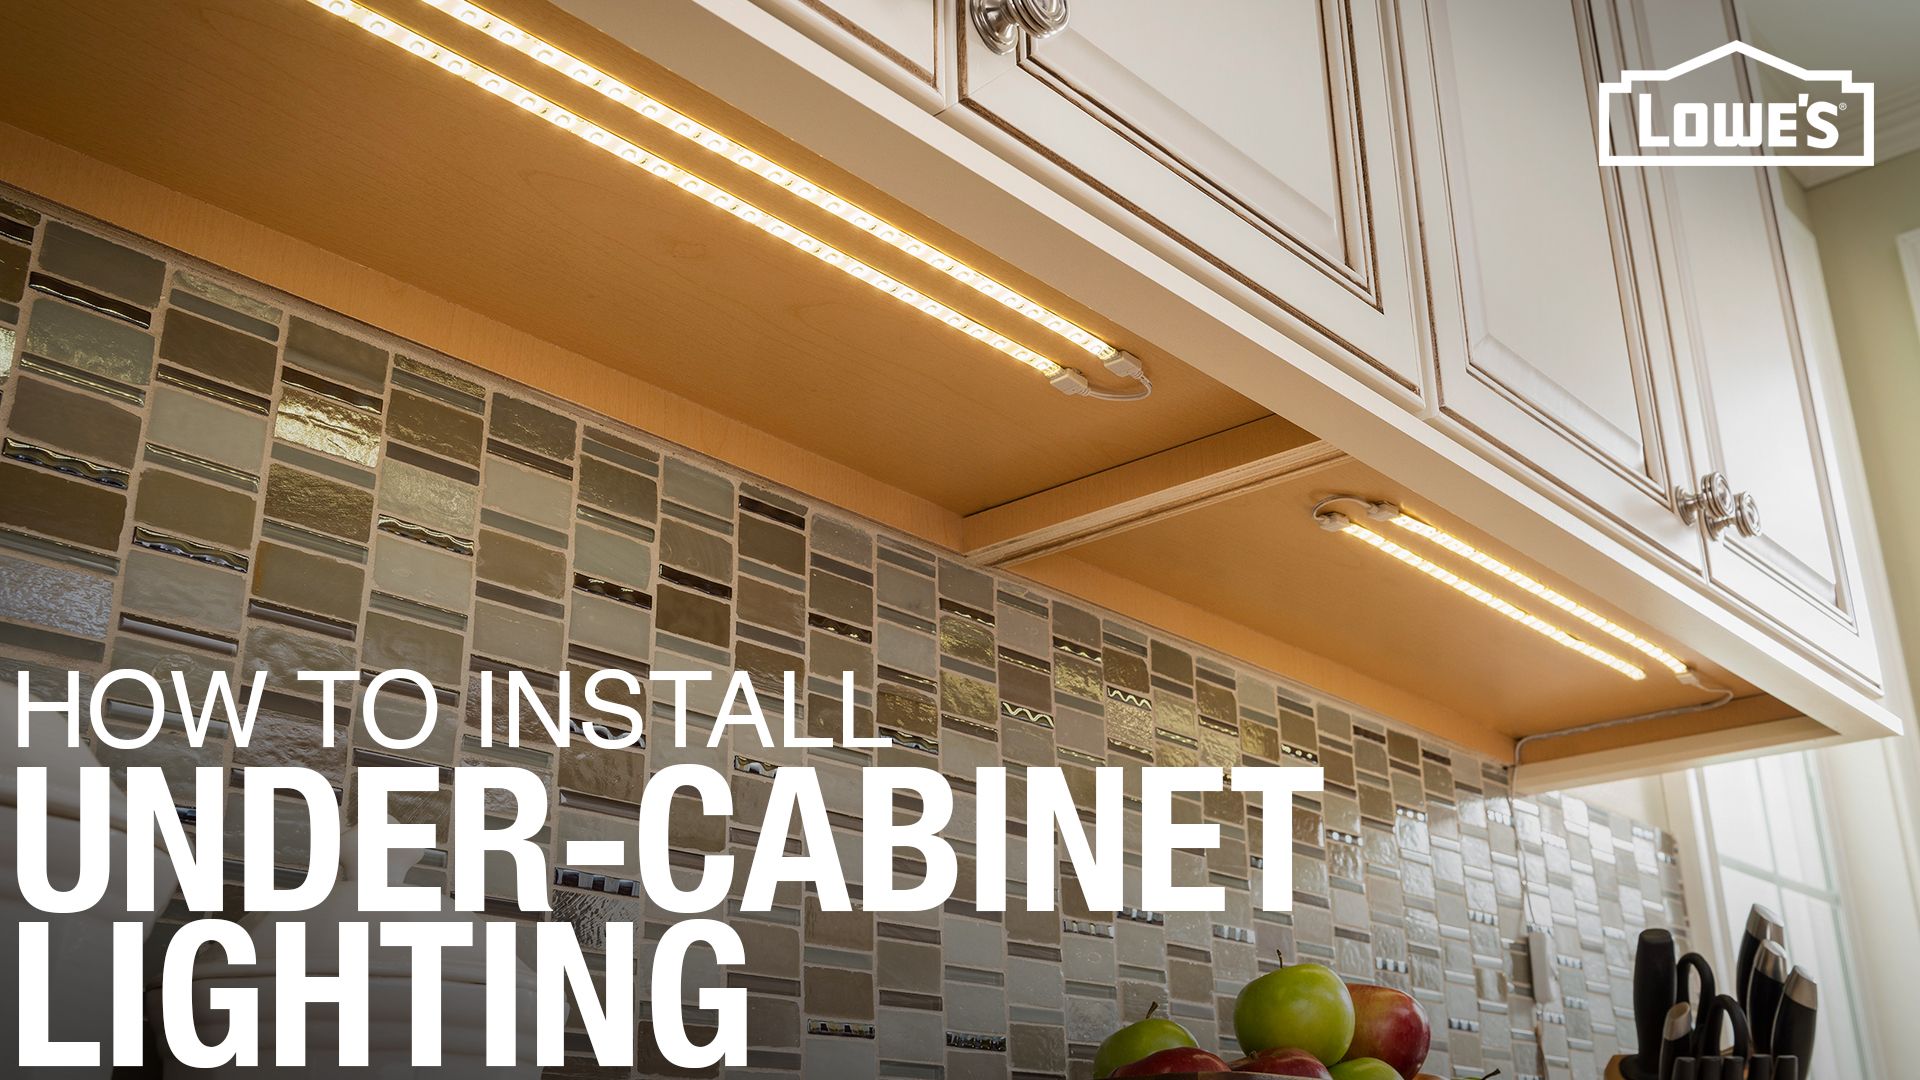
Countertop shadows make chopping onions a hazard. Stick-on LED strips solve this in 30 minutes—no rewiring needed.
Choose Your Power Setup Wisely
- Plug-in kits ($20–$40): Ideal for renters. Includes 8-ft strip, dimmer, and adhesive backing.
- Hard-wired ($50+): Cleaner look but requires a junction box above cabinets (hire an electrician if unsure).
Peel-and-Stick Without Failures
- Clean cabinet undersides with rubbing alcohol—grease prevents adhesion.
- Peel backing slowly while pressing the strip 1 inch back from the cabinet front edge.
- Plug into an outlet or wire to your existing switch. For pro results, add a $10 aluminum diffuser channel.
Lumen Guide: 300 lumens/ft banishes shadows; 500 lumens/ft mimics natural daylight. For a 10-ft countertop, use two 8-ft strips.
Avoid These 3 Costly Retrofit Mistakes

Mistake #1: Skipping the Breaker Shutdown
Wall switches don’t always kill all wires. One homeowner fried his tester (and nearly himself) assuming the switch was sufficient. Always kill power at the main panel.
Mistake #2: Forcing Retrofit Modules
If your LED pod won’t snap flush, bend its spring brackets inward slightly with pliers. Forcing it cracks the housing—requiring drywall repair.
Mistake #3: Ignoring Insulation Contact (IC) Ratings
Attic insulation touching non-IC rated housings causes overheating. Check your can’s label—IC-rated units have “IC” stamped inside.
Budget Snapshot: March 2025 Prices
| Upgrade | Cost per Unit | Time Required |
|---|---|---|
| Recessed LED retrofit | $8–$15 | 5 minutes |
| Spray-painted pendants | $12–$18 | 1 evening |
| Type-B LED tube (4 ft) | $6–$10 | 20 minutes |
| Under-cabinet LED kit | $20–$40 | 30 minutes |
| LED flush-mount fixture | $25–$60 | 45 minutes |
Troubleshoot Like an Electrician
- Breaker trips after LED install? The ballast is still connected. Cut and cap its wires.
- Retrofit module won’t latch? Bend spring brackets inward for tighter grip.
- Uneven island lighting? Add a second pendant or angle gimbal LEDs 30° inward.
- Paint peeling off pendants? Re-prime with bonding primer; wait 24 hours between coats.
Future-Proof Your Kitchen Lighting Now
- Choose TRIAC-dimmable LEDs—they work with smart switches like Lutron Caséta for voice control.
- Install color-tunable tubes (2700K–5000K) to shift from warm winter light to crisp summer clarity.
- Pre-wire fan braces over your island. This lets you swap pendants for ceiling fans later without new wiring.
Final Takeaway: Stop letting outdated lighting ruin your kitchen moments. Start with the fastest win—retrofit one recessed pod tonight. Tomorrow, add under-cabinet strips. In a weekend, you’ll have banished every yellowed fluorescent and beige-rimmed relic. These micro-upgrades compound: warmer light on your countertops, crisper task lighting over the sink, and pendants that finally match your style. Your kitchen isn’t just brighter—it’s transformed. And you did it without touching a single stud or blowing your budget. Ready for the next upgrade? Swap that builder-grade faucet while the tools are out.

