
Tired of ending up with mushy, undercooked, or unevenly steamed rice? The Breville BRC200 Set and Serve transforms perfect rice from a frustrating gamble into a guaranteed kitchen win. This compact powerhouse handles everything from delicate basmati to hearty brown rice while simultaneously steaming proteins and vegetables above—no more juggling multiple pots. Whether you’re meal-prepping lunches or hosting dinner parties, learning how to use Breville rice cooker properly unlocks consistent results with zero guesswork. In just minutes, you’ll master the simple system that turns average grains into restaurant-quality sides.
Your journey to flawless rice starts with understanding this appliance’s unique design. Unlike basic rice cookers, the BRC200’s precision heating and dual-layer system automatically adjusts for different rice varieties while freeing your stovetop for other tasks. But skip the critical setup steps, and you’ll face burnt bases, overflowed water, or unevenly cooked grains. The good news? With the right techniques—many overlooked in the manual—you’ll achieve fluffy, separated rice on your very first try. This guide cuts through the confusion to deliver exactly what you need: actionable steps verified by Breville’s engineering specs.
Essential Safety Setup Before First Use
Skipping these safety steps risks electrical hazards or permanent damage to your Breville rice cooker. Always begin with a full inspection: remove all plastic packaging, promotional labels, and the protective sleeve from the power plug. Position the unit on a completely level, dry countertop with 20cm clearance from walls, curtains, or heat sources—never on a sink drainboard where splashes could cause short circuits.
Critical pre-operation checklist:
– Uncoil the entire power cord to prevent overheating
– Verify the removable bowl seats flush in the housing (a misaligned bowl causes uneven heating)
– Inspect the glass lid for cracks—even hairline fractures compromise steam pressure
– Install a 30mA safety switch on your kitchen circuit (mandatory for warranty coverage in most regions)
Never operate the cooker without the inner bowl properly inserted, and always unplug before moving it—even a slight tilt while hot can spill scalding water. These aren’t just suggestions; they’re non-negotiable requirements straight from Breville’s safety documentation.
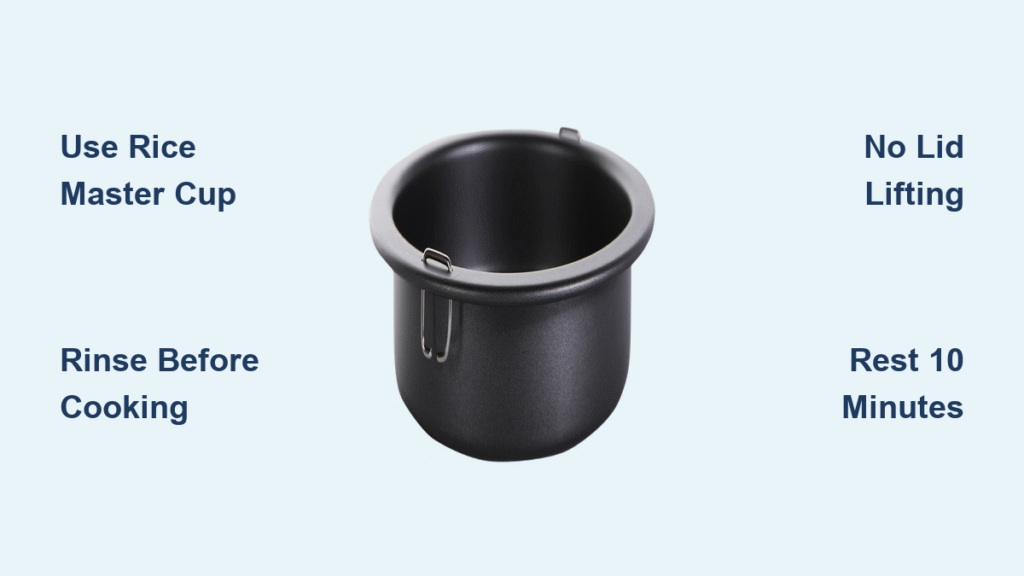
Decode the Rice Master Measuring System

Your Breville includes a specialized 175ml measuring cup labeled “Rice Master”—this is not a standard cup. Using kitchen measuring cups guarantees texture disasters because 1 Rice Master cup = 140g uncooked rice and yields approximately 2 cups cooked rice. Standard metric cups (200ml) hold 30% more rice, throwing off water ratios and causing overflow or undercooking.
Capacity limits you must respect:
– Absolute minimum: 2 Rice Master cups uncooked rice (less won’t trigger sensors)
– White rice maximum: 8 Rice Master cups (exceeding this risks boil-overs)
– Brown rice maximum: 6 Rice Master cups (denser grains expand more)
Always measure rice level—not heaped—in the provided cup, then rinse separately until water runs clear. Skipping rinsing leaves excess starch that turns rice gummy, especially with jasmine or basmati varieties.
Perfect White Rice Formula
Measure and Rinse Correctly
After measuring rice with the Rice Master cup, transfer it to a separate bowl. Rinse under cold running water while swishing grains with your fingers until the water runs completely clear—typically 3-4 rinses. This critical step removes surface starch that causes clumping. Never skip rinsing, even for “no-rinse” labeled rice; commercial coatings still affect texture.
Water Ratios That Work
Breville’s engineered ratios differ from standard advice:
– White rice (jasmine, basmati, sushi): Precisely 1:1 ratio (1 cup water per 1 cup rice)
– Brown rice: 1.5:1 ratio (1.5 cups water per 1 cup rice)
– Arborio (risotto): Follow brown rice ratios despite being white rice
For fluffier results, reduce water by 2 tablespoons; for stickier sushi rice, add 2 tablespoons. Always measure water after rinsing—drained rice retains moisture that affects totals.
Step-by-Step Cooking Process
1. Place the completely dry cooking bowl into the housing (residual water causes sputtering)
2. Add rinsed rice, spreading it evenly with a silicone spatula—no mounding
3. Pour measured water slowly down the side to avoid displacing grains
4. Secure the glass lid with the steam vent fully open (blocked vents cause pressure issues)
5. Plug in—amber “Warm” light confirms power
6. Press the Selector Control—red “Cook” light activates
7. Never lift the lid during cooking (steam loss extends time by 30%)
8. Wait for automatic switch to “Keep Warm” (amber light), then let rice rest 10-15 minutes before serving
This resting period is non-optional—it allows residual steam to finish cooking without burning the bottom layer.
Timing Reference Tables for Foolproof Results

White Rice Guide
| Uncooked Cups | Water Cups | Cooked Yield | Total Time |
|---|---|---|---|
| 2 | 2 | 4 cups | 10-15 min |
| 4 | 4 | 8 cups | 15-20 min |
| 6 | 6 | 12 cups | 20-25 min |
| 8 | 8 | 16 cups | 25-30 min |
Brown Rice Guide
| Uncooked Cups | Water Cups | Cooked Yield | Total Time |
|---|---|---|---|
| 2 | 3 | 5 cups | 25-30 min |
| 4 | 6 | 10 cups | 35-40 min |
| 6 | 9 | 15 cups | 40-45 min |
Pro Tip: Brown rice expands more than white—always reduce quantities by 25% from white rice max capacities to prevent overflow.
Specialty Rice Variations
Flavor-Enhanced Options
Transform basic rice into gourmet sides by swapping liquids:
– Savory boost: Replace all water with low-sodium chicken, beef, or vegetable stock
– Sweet twist: Substitute half the water with apple or pineapple juice (avoid dairy—it scorches)
– Golden saffron: Add ¼ tsp powder per 2 cups water for vibrant color and floral notes
Never exceed 1 cup total liquid additives—extra sugars or salts alter cooking chemistry. For sushi rice, maintain the 1:1 ratio but add 1 tbsp rice vinegar after resting.
Rice Type Adjustments
- Jasmine/Basmati: Use white rice ratios but add 5 minutes resting time for optimal fluffiness
- Arborio: Treat as brown rice (1.5:1 ratio) despite being white—absorbs more liquid
- Wild rice: Blend with white rice (max 25% wild rice) using brown rice ratios
- Sushi rice: Stick strictly to 1:1 ratio; excess water makes it gluey
Master the Steaming Function
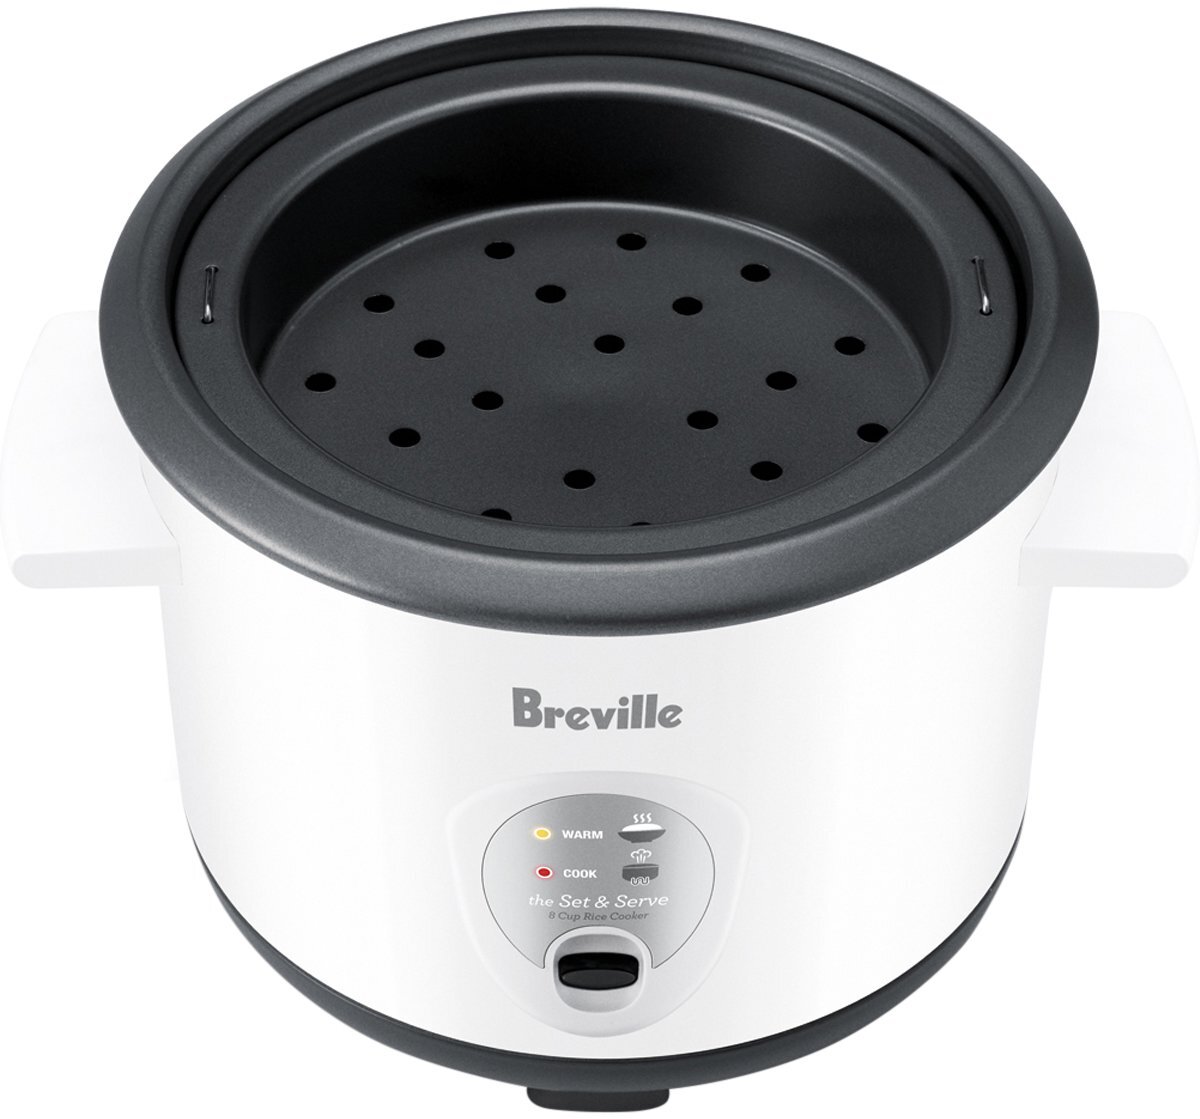
Quick Setup Guide
- Add 3-6 cups water (not stock) to the cooking bowl—never let liquid touch the steaming tray
- Arrange food in a single layer on the tray (overcrowding causes uneven cooking)
- Line the tray with parchment paper for sticky items like dumplings or fish
- Place the tray in the bowl, insert the bowl into the housing, and secure the lid
- Start cooking as usual; the unit switches to “Keep Warm” when water evaporates
Critical: Always add hot water between steaming batches—cold water shocks the heating element.
Steaming Times That Deliver Perfect Proteins
Seafood:
– Prawns (8-10 min): Turn pink throughout
– Scallops (4-6 min): Opaque centers, firm texture
– Fish fillets (8-10 min): Flakes easily with fork
Vegetables:
– Broccoli florets (8-10 min): Bright green, tender-crisp
– Carrot strips (14-16 min): Pencil-thin for even cooking
– Asparagus (12-14 min): Spears no thicker than 1cm
Protein Pairing: Steam chicken breasts (20-25 min) over rice cooking during the final 20 minutes for complete one-pot meals.
Prevent Common Mistakes
Texture Troubleshooting
- Too wet?: Reduce water by ¼ cup next batch (common with humid climates)
- Too dry?: Increase water by ¼ cup (typical for aged rice)
- Burnt bottom?: Always dry the bowl exterior before insertion—water causes scorching
- Mushy rice?: You didn’t rinse thoroughly or lifted the lid mid-cook
Critical Don’ts That Void Warranties
- Never use metal utensils—they scratch the non-stick coating permanently
- Don’t exceed 8-cup capacity for white rice (causes dangerous boil-overs)
- Never add cold water to hot bowl—thermal shock cracks the ceramic coating
- Avoid dishwasher cleaning—harsh detergents degrade the non-stick surface
Maintenance Made Simple
Daily Cleaning Routine
- Unplug and let cool completely (1 hour minimum)
- Remove bowl and tray using potholders—residual heat causes burns
- Hand-wash all removable parts in hot, soapy water with non-abrasive sponge
- Wipe housing with damp cloth only—never immerse in water
- Dry all components thoroughly before storage to prevent mold
Stain Removal Secrets
- Stubborn rice residue: Soak bowl in 50°C water + 2 tbsp vinegar for 10 minutes
- Exterior marks: Damp cloth with baking soda paste (never on hot surfaces)
- Steam vent clogs: Use a toothpick to clear food particles weekly
Pro Tips for Perfect Results
Multi-Task Like a Chef
Start rice first, then add faster-cooking vegetables (broccoli, asparagus) to the steaming tray during the final 10 minutes. The steam from cooking rice perfectly times the veggies—no guesswork. For chicken and rice meals, add poultry to the steamer when the rice switches to “Keep Warm.”
Texture Control Secret
After cooking, fluff rice with the plastic spoon, then cover and rest off the base unit. This prevents residual heat from the housing from overcooking the bottom layer—a trick even professional chefs miss.
Batch Cooking Strategy
Rice stays perfect on “Keep Warm” for up to 5 hours. Cook 8 cups Sunday night, portion into containers, and refrigerate for flawless work lunches. Reheat with 1 tbsp water per cup to restore freshness.
Mastering how to use Breville rice cooker eliminates kitchen stress while delivering restaurant-quality results daily. Start with basic white rice to calibrate your technique, then experiment with steamed proteins and flavor-infused grains. Remember: perfect rice hinges on precise measurements, no-lid-lifting discipline, and that non-negotiable 10-minute rest. Within a week, you’ll wonder how you ever cooked rice any other way. Your Breville isn’t just an appliance—it’s your ticket to consistently delicious meals with zero effort.

