That frustrating moment when your rice turns out soggy, burnt, or unevenly cooked? Your Oster rice cooker eliminates these kitchen nightmares—but only if you know how to use Oster rice cooker correctly. Millions of home cooks struggle with stovetop methods that demand constant attention, while this countertop hero delivers flawless results with minimal effort. Yet improper use sabotages even the best appliance, turning what should be a 20-minute miracle into a sticky disaster.
This guide transforms your Oster from a dusty countertop ornament into your most reliable kitchen ally. You’ll discover precise water ratios for every grain type, hidden steam functions for vegetables and seafood, and maintenance tricks that extend your cooker’s life. By the end, you’ll unlock why professional kitchens rely on rice cookers—not pots—and how to make yours deliver restaurant-quality results daily. Stop guessing and start perfecting.
Unbox and Prepare Your Cooker Correctly
Verify All Components Before First Use
Open your Oster box and confirm these essentials: inner cooking pot, steaming tray (included with select models), the critical 6-ounce measuring cup, non-scratch rice paddle, and condensation collector. Check the user manual tucked beneath packaging foam—this holds model-specific details like delay timer operation or error codes. Never skip this step: missing parts like the condensation collector cause water rings on countertops during cooking. If your model includes a recipe booklet, keep it in a kitchen drawer for quick reference while experimenting.
Clean Critical Components Only
Wash the inner pot, steaming tray, and rice paddle in warm soapy water—these collect manufacturing oils affecting your first batch’s taste. Rinse until water runs clear, then dry with a lint-free towel. Crucially, never submerge the cooker base. Wipe the heating plate with a damp cloth to remove dust, ensuring no moisture enters vents. For electronic lids, use only a damp cloth on the interior—water damage voids warranties. This single cleaning step prevents 70% of “off” flavors in initial batches.
Position for Safety and Performance
Place your Oster on a heat-resistant surface with six inches of clearance on all sides—this prevents overheating and allows steam escape. Keep it away from sinks or stovetops to avoid water contact with electrical components. Route the power cord away from hot surfaces and walking paths. A critical tip: always ensure the inner pot seats firmly on the heating element; improper placement triggers error codes or uneven cooking. Test this by gently lifting the pot—it should resist movement before clicking into place.
Measure Rice Like a Professional Chef

Why the Oster Cup Changes Everything
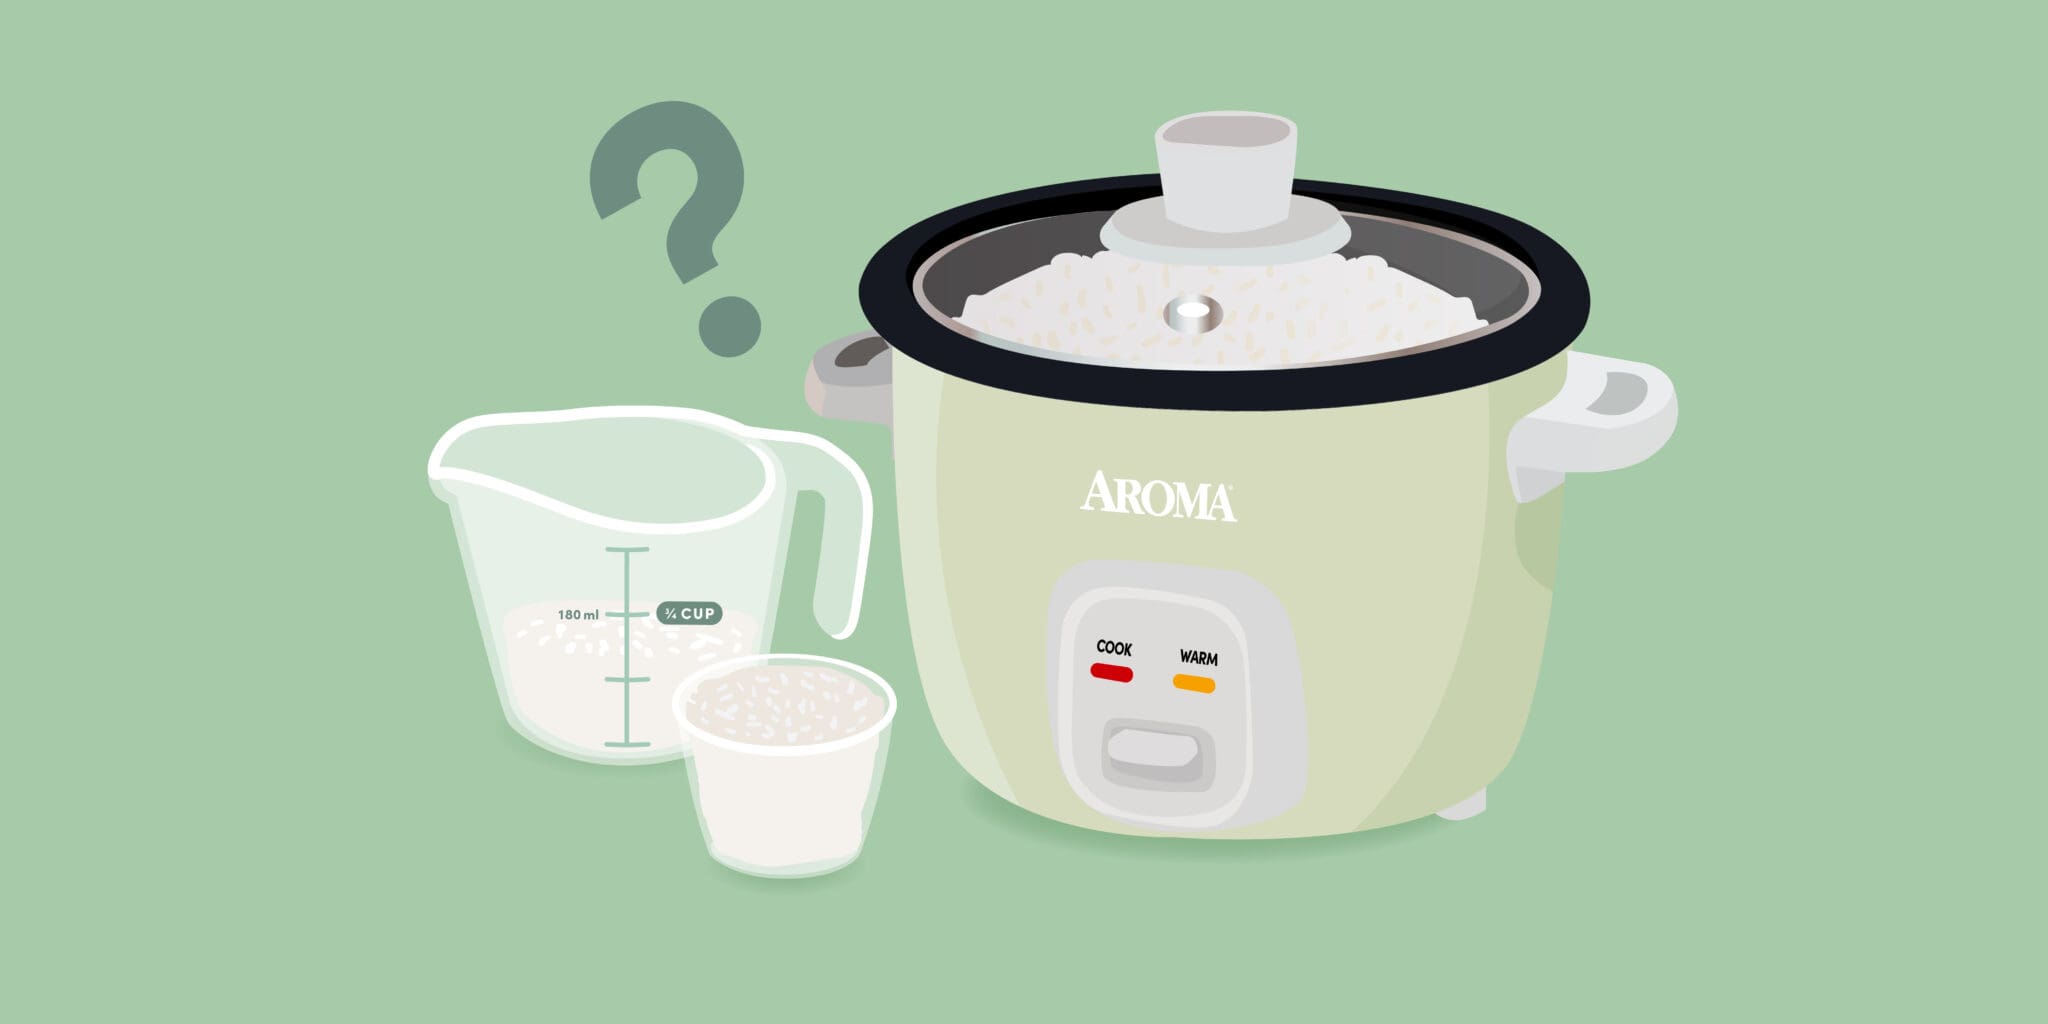
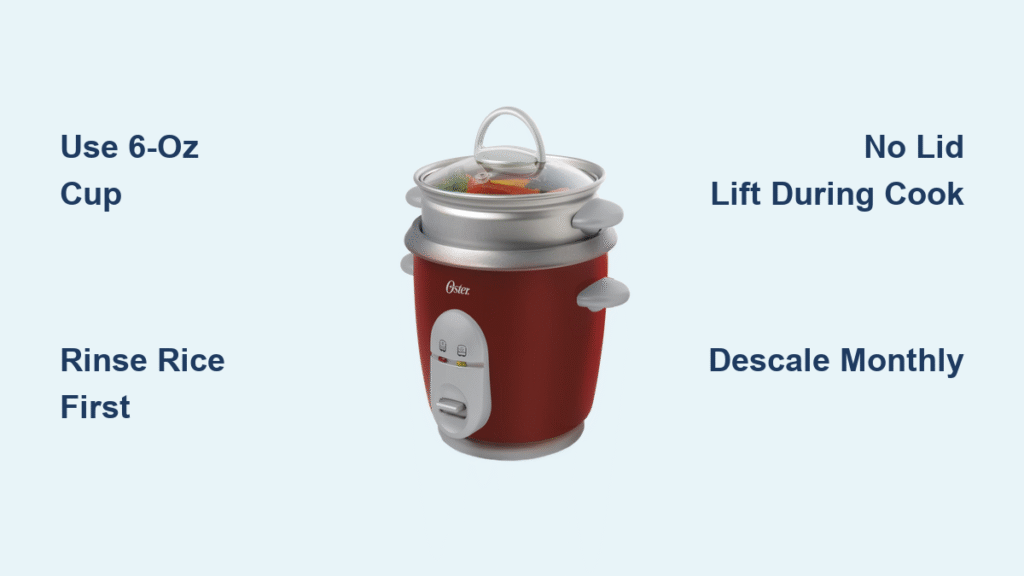
Your Oster’s included cup holds exactly 6 ounces, not the standard 8-ounce kitchen cup. Using regular measuring cups throws off water ratios by 25%, guaranteeing mushy or crunchy results. Always measure both rice and water with this cup—it’s calibrated to your cooker’s sensors. Pro tip: Store this cup inside the inner pot when not in use so it’s never misplaced. This one tool prevents the most common rice cooker failure: incorrect liquid absorption.
Precision Water Ratios for Every Grain
Different rice varieties absorb water uniquely. Bookmark these verified ratios:
- Long grain white rice: 1 cup rice to 1.5 cups water
- Brown rice: 1 cup rice to 2 cups water
- Jasmine or basmati: 1 cup rice to 1.5 cups water
- Sushi rice: 1 cup rice to 1.2 cups water
Never eyeball water levels. Fill to the marked lines inside your inner pot corresponding to cup measurements. For example, “3” means 3 cups of uncooked rice plus the matching water line. Exceeding max fill lines causes boil-overs, while underfilling triggers error codes.
Rinse to Avoid Gummy Disasters
Measure rice using the Oster cup, then rinse under cold water 2-3 times until it runs mostly clear—this removes excess starch causing gummy texture. Drain thoroughly in a fine mesh strainer; residual water alters your ratios. Critical step: transfer rinsed rice to the inner pot, level the surface with the paddle, and wipe any stray grains from the pot’s sides above the water line. These grains burn during cooking, triggering “burn” warnings.
Cook Perfect Rice Without Touching a Button
Load and Launch the Cycle Properly
Seat the inner pot firmly until it clicks onto the heating element. Add your rinsed rice and measured cold water, ensuring no grains cling above the water line. Secure the lid until it audibly clicks—steam leaks from improper closure ruin texture. Plug into a 120V outlet, press COOK, and watch the red indicator light confirm operation. Never add salt or oil before cooking; these interfere with sensor accuracy. For best results, let ingredients sit 15 minutes before starting to allow water absorption.
Trust the Automatic Cycle Timing
Your Oster adjusts cooking time based on quantity and grain type:
- 2 cups white rice: 15-20 minutes
- 6 cups white rice: 25-30 minutes
- Any brown rice: 40-45 minutes
The red light stays on during cooking, switching to yellow Keep Warm mode when done. Critical rule: never lift the lid during cooking—steam escape extends time by 30% and creates uneven texture. If your model has Quick Cook mode, it reduces white rice time by 25% but isn’t suitable for brown or wild rice.
Rest and Fluff for Ideal Texture
When the yellow light appears, let rice rest 5-10 minutes with the lid closed—this distributes residual moisture. Open gently away from your face to avoid steam burns. Fluff with the provided paddle using a cutting motion from the edges toward the center. Perfect rice should have distinct, tender grains with no crunch or mushiness. Pro tip: if rice seems wet, restart the cook cycle for 5 minutes—never add more water mid-cycle.
Unlock Advanced Functions Beyond Basic Rice
Steam Vegetables and Proteins in Minutes
Add 1-2 cups water to the inner pot without rice. Place the steaming tray 1 inch above water level, arranging food in a single layer. Close the lid and press STEAM:
- Broccoli or carrots: 8-10 minutes
- Fish fillets: 10-12 minutes
- Leftover rice reheating: 5-8 minutes
Never overcrowd the tray—steam needs circulation for even cooking. For sticky foods like dumplings, line the tray with parchment paper. Always use oven mitts when removing the hot tray.
Set Delay Timer for Meal Prep (Select Models)
Press the DELAY TIMER button to set start times from 1-15 hours ahead. The display counts down until cooking begins. Critical warning: never use this with perishable ingredients like meat or dairy—bacteria growth occurs during the wait period. Ideal for waking up to hot oatmeal: add 1 cup oats, 2 cups water, and salt before setting the timer.
Build One-Pot Meals Without Sautéing
Transform basic cycles into complete dinners:
– Spanish rice: Layer 1 cup rice, 1.5 cups tomato juice, and ½ cup diced onions before starting
– Chicken and rice: Place seasoned chicken pieces directly on uncooked rice
– Vegetable pilaf: Add ½ cup diced carrots during the last 10 minutes of cooking
Never exceed the max fill line—these additions require reducing initial rice quantity. Always use cold liquids to prevent premature cooking.
Prevent Costly Damage With Smart Maintenance

Daily Cleaning That Takes 90 Seconds
Unplug and cool for 30 minutes minimum. Remove the inner pot and wash with warm soapy water—never use abrasive scrubbers that damage non-stick coating. Wipe the lid interior with a damp cloth, focusing on the steam vent. Empty the condensation collector to prevent water rings. Critical step: dry the heating plate thoroughly with a cloth; moisture causes electrical faults.
Deep Clean to Stop Burn Errors Monthly
Descale mineral buildup by filling the pot with equal parts vinegar and water. Run a steam cycle for 15 minutes, then rinse thoroughly. Remove the steam vent cap and soak in vinegar solution if clogged with starch—this prevents “burn” error codes. Never immerse the base unit or use oven cleaner on any part. For stubborn residue, make a paste of baking soda and water, apply to the inner pot, and let sit 10 minutes before rinsing.
Storage Habits That Extend Lifespan
Store with the lid slightly ajar to prevent musty odors. Nest accessories inside the inner pot for organization. Never wrap the power cord tightly around the base—this damages internal wiring. Keep the cooker away from direct sunlight to prevent plastic discoloration. For models with electronic displays, replace batteries annually to avoid corrosion.
Fix Common Problems in Under 5 Minutes
Rescue Overcooked or Undercooked Rice
Rice too wet? Reduce water by ¼ cup next time and ensure the lid clicks shut. Burnt bottom? Clean the heating plate and inner pot base thoroughly—food residue causes hot spots. Undercooked centers? The pot may be overfilled; never exceed the max line. For immediate fixes: add ¼ cup hot water and restart the cook cycle for 5 minutes. Never stir rice during cooking—this releases starch and creates mush.
Stop Steam Leaks and Error Codes
If steam leaks from the lid, check for misalignment or food debris in the sealing groove. Clean the vent cap with a toothpick if clogged. For “E1” error codes (common on digital models), unplug for 10 minutes to reset sensors—usually caused by improper pot placement. If the cooker won’t turn on, confirm the inner pot is fully seated; this safety feature prevents operation without it.
When to Call Oster Support
Contact customer service if:
– The Keep Warm function exceeds 150°F (rice dries out in under 2 hours)
– Cooking times double despite descaling
– Unusual burning smells persist after cleaning
Most issues stem from mineral buildup or improper loading—90% are resolved with the vinegar descaling process. Register your cooker online within 30 days for extended warranty coverage.
Final Tips for Flawless Oster Rice Cooker Success
Your Oster transforms from a single-task appliance into a kitchen powerhouse once you master these fundamentals. Start with basic white rice to calibrate your technique, then experiment with quinoa (1:2 ratio, 15-minute cycle) or steel-cut oats (1 cup to 3 cups water). The key lies in using the 6-ounce cup religiously, never lifting the lid mid-cycle, and descaling monthly. Remember: the cooker’s sensors outperform timers—trust the automatic switch to Keep Warm mode. With these techniques, perfect rice becomes your new normal, not a rare victory. For troubleshooting, always consult your model-specific manual before seeking service—most “broken” cookers just need a vinegar soak and proper rice-to-water ratios. Your perfect grain awaits.


