
That stubborn pot of rice you’ve struggled with for years? Your National rice cooker is about to make it obsolete. This countertop powerhouse transforms unevenly cooked, sticky, or burnt grains into consistently perfect rice with minimal effort. Whether you’re a college student needing reliable meals or a busy parent seeking kitchen efficiency, how to use a National rice cooker correctly unlocks restaurant-quality results every time you press “Cook.”
Stop guessing water ratios or hovering over a stovetop—this guide cuts through the confusion using only your appliance’s built-in features. You’ll discover why that included measuring cup matters more than your kitchen scale, when to absolutely not lift the lid, and how to rescue common cooking disasters. By the end, you’ll wield your National rice cooker like a seasoned chef, not just for fluffy white rice but for steamed veggies, hearty soups, and even breakfast porridge.
Unbox and Prep Your Cooker
Skip this step, and you’ll battle burnt smells and uneven cooking from day one. National rice cookers require precise initial setup to function safely and effectively. Always begin by handling components correctly to avoid damaging your investment.
Remove Packaging Safely
Unpack every component: main base unit, non-stick inner pot, steamer basket (if included), measuring cup, spatula, and lid. Peel all stickers, especially those inside the lid and on the heating plate—these will smoke or burn during first use. Check for shipping labels on the pot’s bottom that could interfere with heat distribution.
Clean Before First Use
Wash the inner pot, lid, steamer basket, measuring cup, and spatula in warm, soapy water. Rinse thoroughly and dry completely with a soft towel. Never submerge the main base unit—wipe the interior heating plate with a dry microfiber cloth to remove manufacturing oils. Using the cooker without this step causes unpleasant odors and inconsistent cooking.
Initial Assembly
Place the clean inner pot into the base, rotating it gently until it clicks into position against the heating plate. You should feel it settle firmly; if it wobbles, realign it. This direct metal-to-metal contact ensures even heat transfer. Always verify this seating before adding ingredients—loose placement causes burnt spots and undercooked rice.
Measure Rice Like a Pro
Your National rice cooker’s magic starts long before pressing “Cook.” Precise measurements and preparation prevent 90% of common rice failures. Forget standard cups—your appliance has its own system.
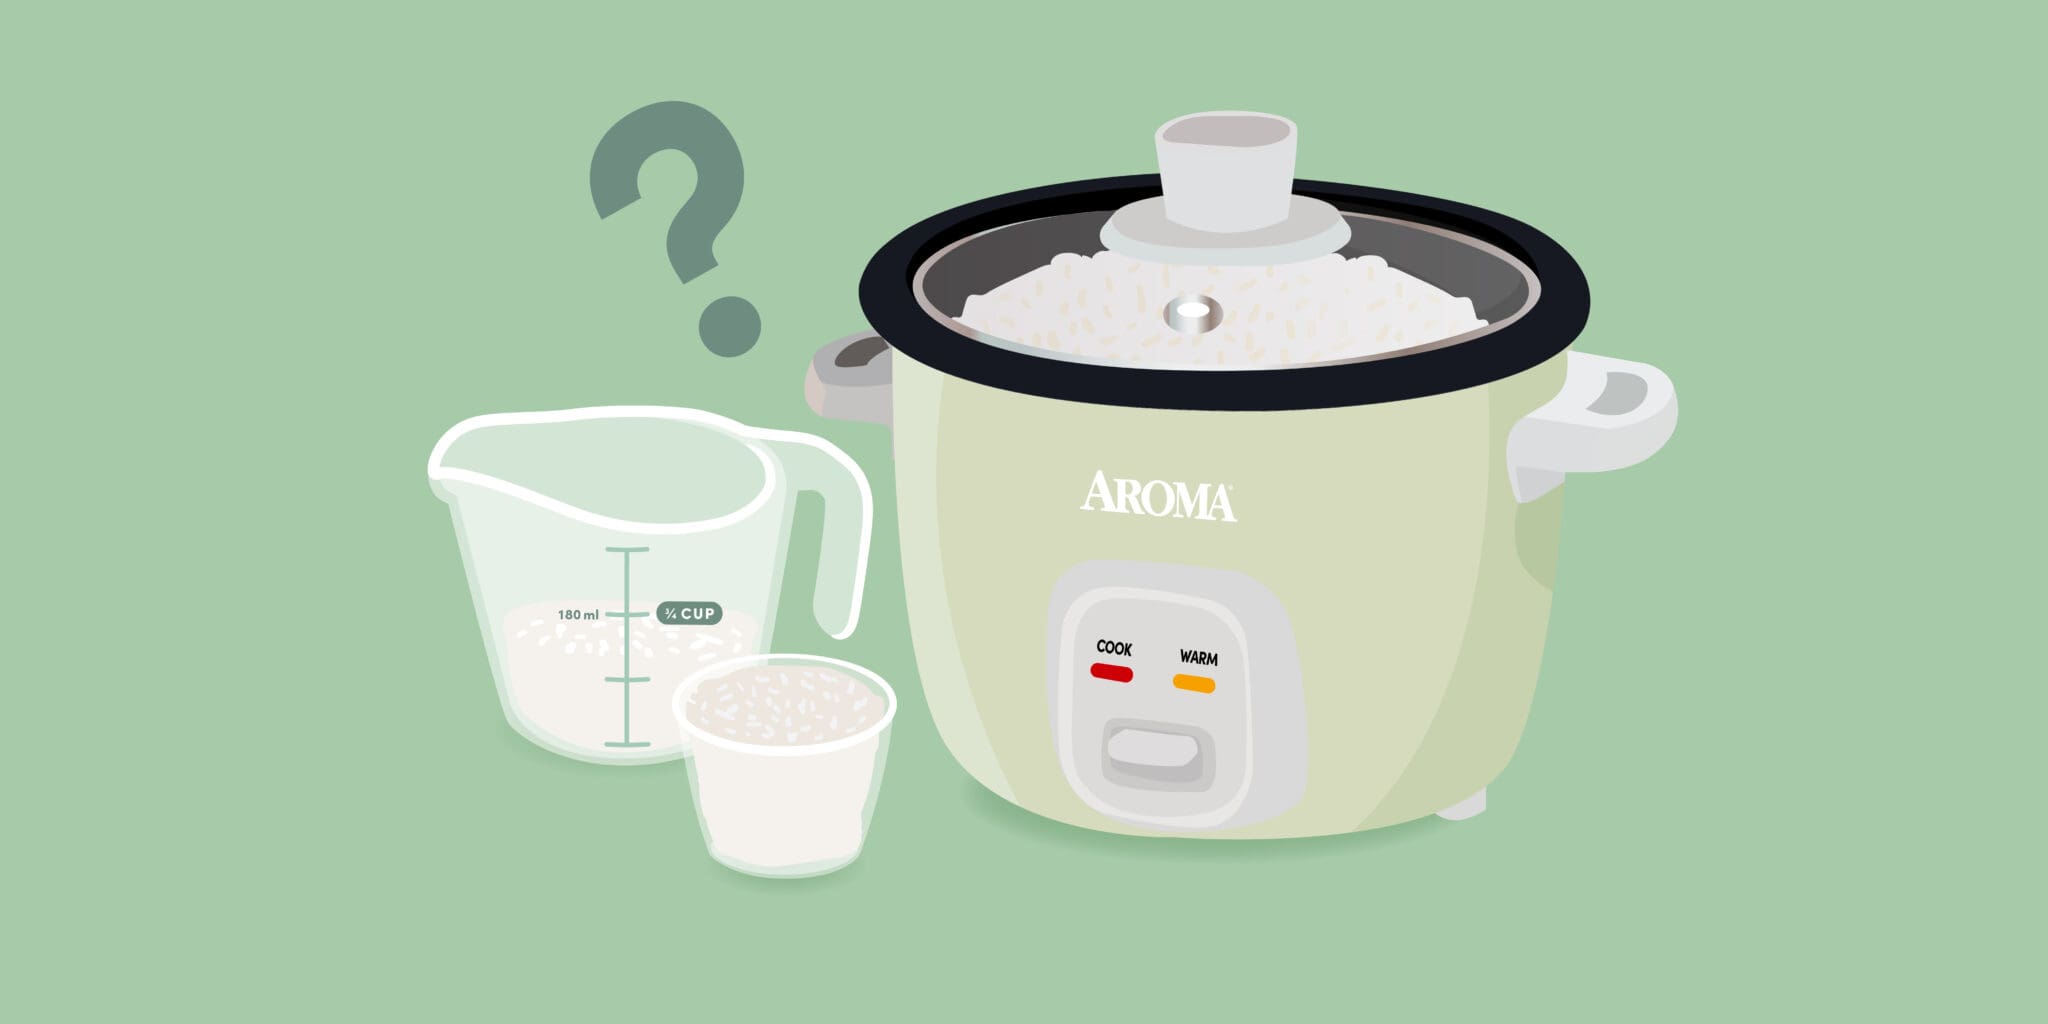
Use the Right Cup
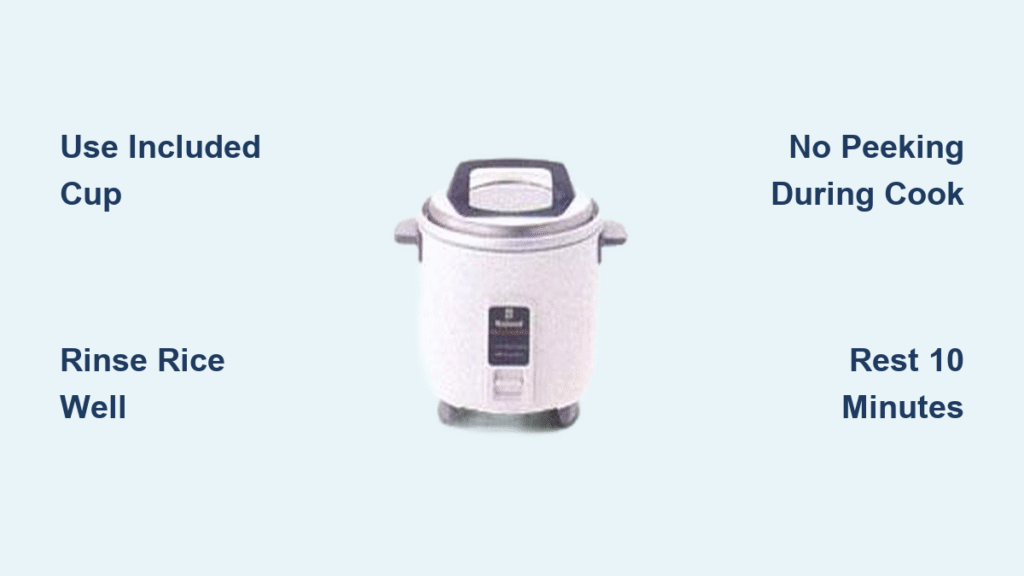
Only use the measuring cup included with your National rice cooker. It holds 6 ounces (180ml), not the standard 8-ounce cup. Substituting regular cups throws off water ratios—1 National cup equals ¾ standard cup. For accuracy: 1 cup uncooked rice fills the measuring cup to the brim, no packing.
Rinse for Perfect Texture
Measure rice directly into the inner pot. Rinse 1-2 times with cold water, swirling gently with your fingertips until the water turns from cloudy to mostly clear. Drain through the pot’s handle holes or a fine-mesh strainer. Never skip rinsing—it removes excess starch that causes gummy rice. Stop when water is lightly milky; over-rinsing washes away nutrients in enriched rice.
Water Ratios That Work
National rice cookers have indicator lines etched inside the pot—your foolproof guide. Match the line to your rice cup count:
– White rice: Fill to line matching cup count (1 cup rice = line 1)
– Brown rice: Add ½ cup extra water per cup of rice
– Sushi rice: Use line 1.2 for every cup of rice
– Emergency fix: When ratios fail, default to 1:1 (1 cup rice to 1 cup water)
Pro tip: For sticky sushi rice, reduce water by 2 tablespoons per cup after rinsing.
Cook Perfect Rice Every Time
Timing and technique separate edible rice from culinary disasters. National’s automatic settings do the heavy lifting, but you control the critical variables.
Load the Cooker
After rinsing, add measured water directly to the inner pot with rice. Place the pot into the base, ensuring it’s seated flush. Close the lid until it clicks—this seals the steam chamber. If your model has an inner lid (like SR-W06N), attach it to the outer lid before closing.
Select Your Settings
For basic models (SR-W06N): Press “Cook” once. The red light illuminates, starting the cycle.
Advanced models: Press “Menu Select” to choose rice type (white/brown/quick), then “Start.” The display shows estimated time—white rice takes 20-25 minutes, brown 40-45.
The Cooking Process
The cooker automatically switches to “Keep Warm” mode after beeping. Never open the lid during cooking—releasing steam extends cooking time and creates hard grains. Steam venting from the lid is normal; excessive leakage means the lid isn’t sealed.
Critical Rest Period
After the beep, wait 10-15 minutes before opening. This rest period lets residual steam finish cooking the rice evenly. Skipping it guarantees mushy bottoms and crunchy tops. Fluff with the included spatula only after resting—metal forks scratch the non-stick coating.
Fix Common Rice Problems

Rescue failed batches before tossing them. Most issues stem from water ratio errors or skipping critical steps.
Rice Too Dry or Crunchy
Sprinkle 1-2 tablespoons water over rice, close the lid, and leave on “Keep Warm” for 5-10 minutes. The trapped steam rehydrates grains. Prevent this by using the exact indicator line—low water levels are the #1 cause.
Rice Too Wet or Mushy
Unfortunately, overcooked rice can’t be saved. Discard and restart with ¼ cup less water next time. For the current batch, spread grains on a baking sheet and refrigerate—they’ll firm up for fried rice within 2 hours.
Rice Stuck to Pot
Soak the inner pot in warm water for 10 minutes to loosen residue. Never scrape with metal—it destroys the non-stick surface. Prevent sticking by always rinsing rice thoroughly and never exceeding the max fill line.
Cooker Won’t Start
Verify three things: power cord is fully plugged in, inner pot is seated correctly, and lid clicks shut. If issues persist, unplug for 30 seconds, then restart. Persistent failures indicate internal sensor errors—contact National support.
Clean and Maintain for Longevity
Proper care prevents 80% of malfunctions. National rice cookers last years with simple maintenance routines.
Post-Cooking Cleanup
Unplug and cool completely before handling. Wash the inner pot, lid, and accessories in warm, soapy water. Wipe the base’s interior with a damp cloth—never immerse the main unit. Clean the steam vent weekly with a toothpick to avoid clogs that cause error codes.
Storage Best Practices
Always press “Keep Warm/Off” before unplugging. This prevents accidental activation next use. Store with the lid slightly ajar to stop moisture buildup and musty odors. Keep the power cord loosely coiled—sharp bends damage internal wiring.
Monthly Deep Clean
Remove and wash all parts, including the lid seal. Wipe the heating plate with a vinegar-dampened cloth to dissolve starch residue. Inspect the cord for fraying; if found, stop use immediately and contact National.
Beyond Rice: Creative Uses
Your National rice cooker isn’t just for grains—it’s a multi-functional kitchen MVP.
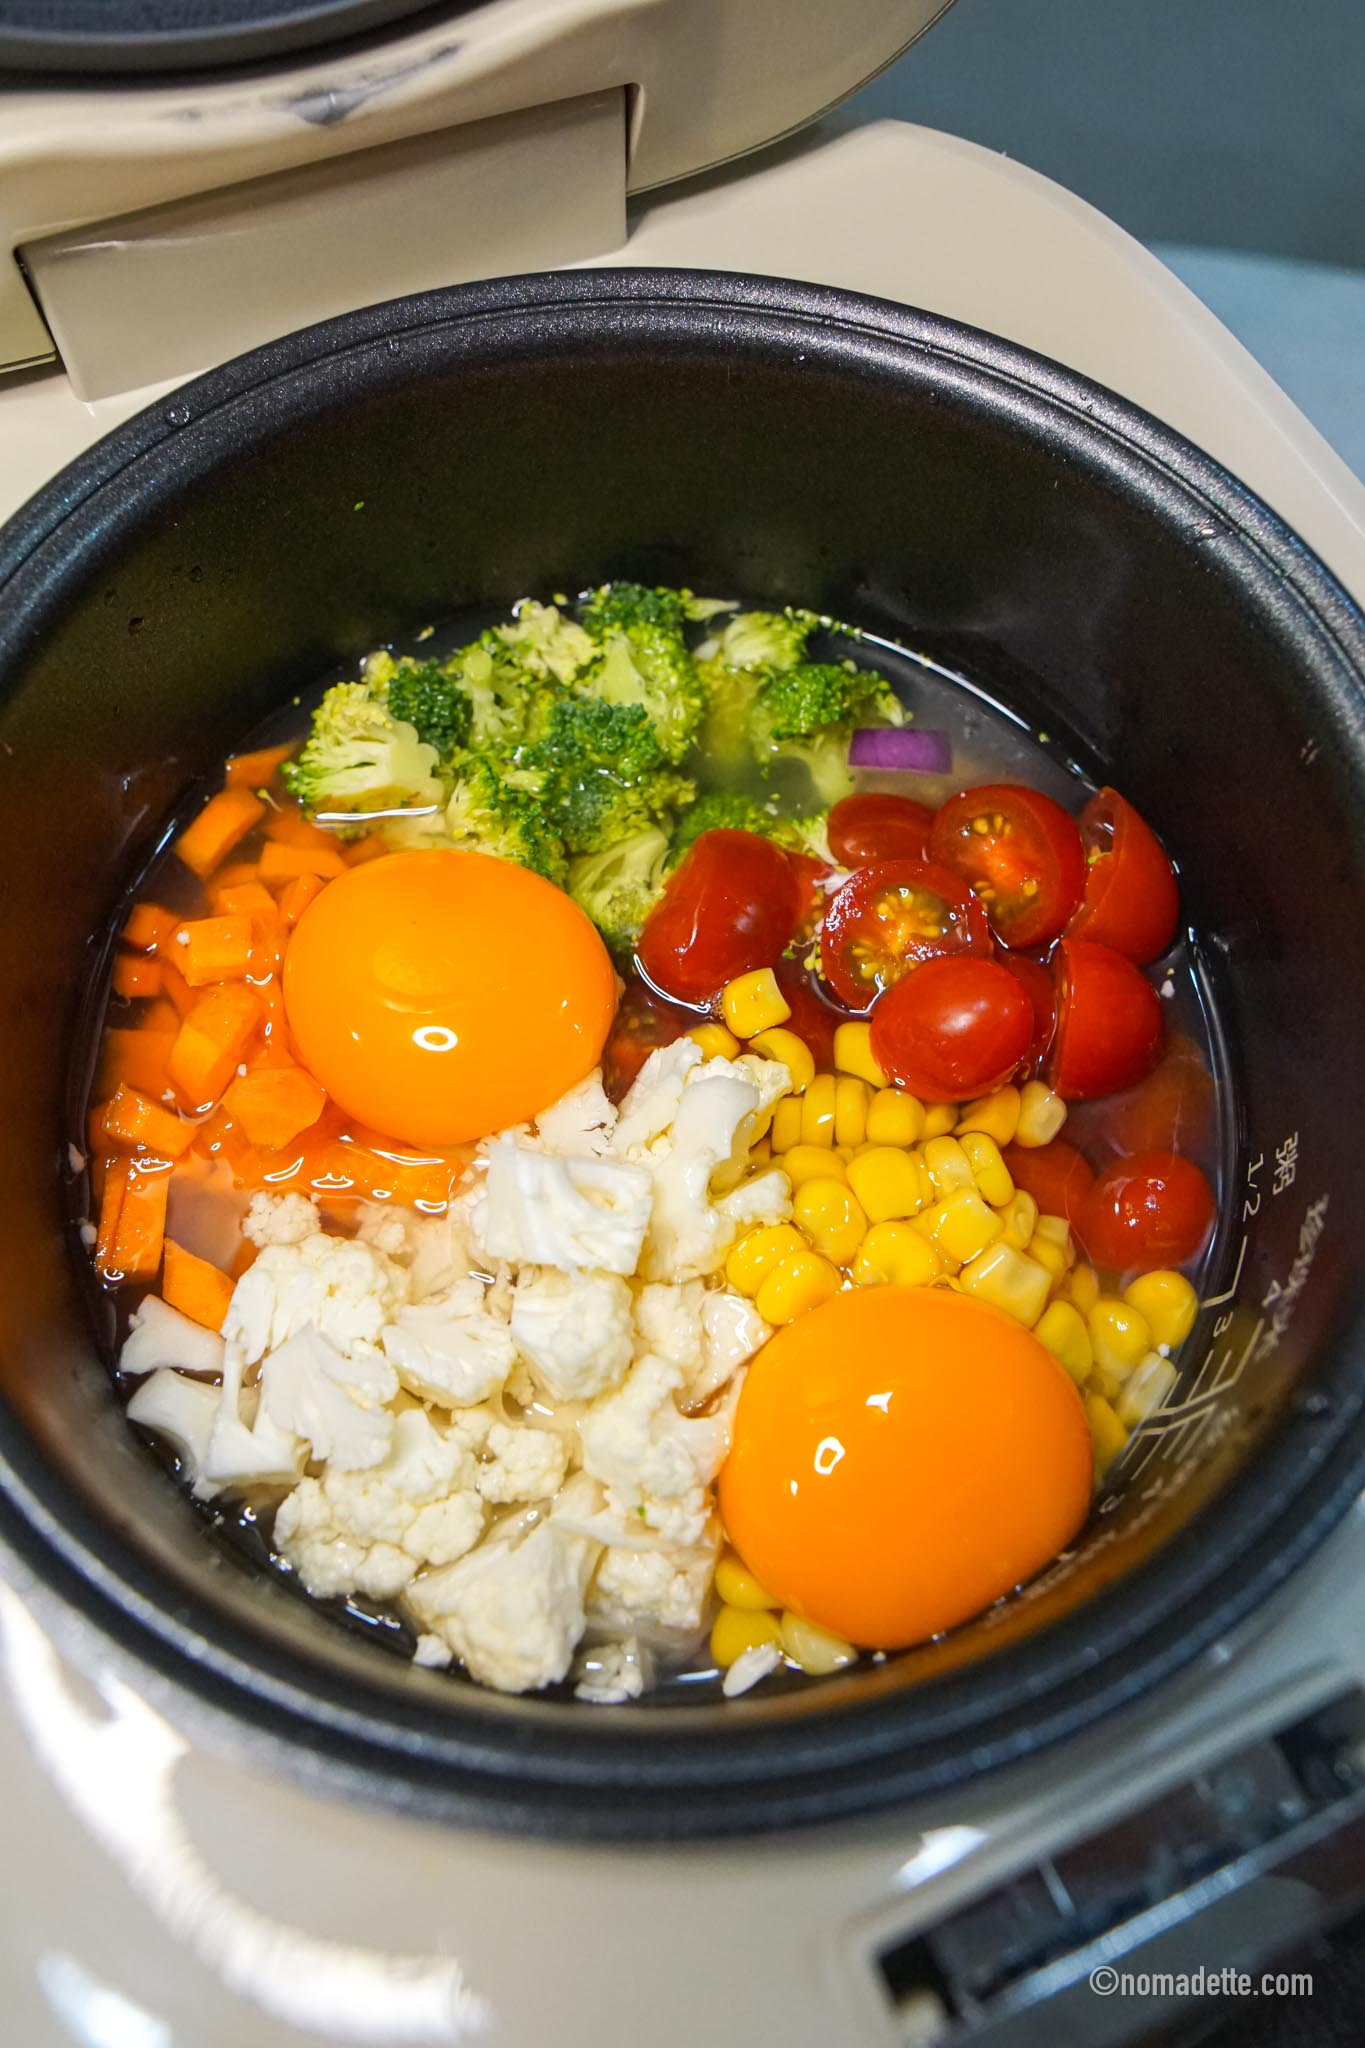
Steam Vegetables Perfectly
Add 1 cup water to the inner pot. Place veggies in the steamer basket over water. Broccoli cooks in 8-10 minutes, carrots in 12-15. The automatic shut-off prevents overcooking.
One-Pot Meals
Create soups using a 1:4 rice-to-liquid ratio. Add broth, veggies, and rice, then cook on regular cycle. Stir once at 15 minutes, then continue until rice is tender. Perfect for chicken and vegetable stew.
Breakfast Porridge
Use a 1:6 ratio for creamy oatmeal or rice porridge. Add cinnamon during cooking, and the “Keep Warm” function holds it ready for 2+ hours. Ideal for busy mornings.
Troubleshooting Quick Reference
| Symptom | Quick Fix |
|---|---|
| Rice burns on bottom | Add ¼ cup more water next time; ensure pot sits level |
| Lid won’t close | Clean food debris from rim; realign inner pot |
| Error codes appear | Unplug 30 seconds; restart with pot properly seated |
| Steam leaks excessively | Wipe lid seal; close lid firmly until it clicks |
Master Ratio Adjustments
Fine-tune for specialty grains using National’s indicator lines as your baseline:
- Basmati: 1:1.25 ratio (light, separate grains)
- Arborio: 1:2 ratio (stir once for risotto creaminess)
- Wild rice blend: 1:2.5 ratio (cook 50+ minutes)
- Quinoa: 1:2 ratio (use white rice setting)
Altitude adjustment: Add 1 tablespoon extra water per cup of rice for every 1,000 feet above sea level. Test with small batches before cooking full portions.
Your National rice cooker is now a precision kitchen tool, not just an appliance. Remember the holy trinity of perfect rice: use the included measuring cup, rinse thoroughly, and never skip the 10-minute rest. Start with white rice to master these fundamentals, then experiment with brown rice or steamed veggies. For persistent issues, consult National’s 1-year warranty covering defects—but with proper care, your cooker will deliver flawless meals for years. Unplug it after cleaning, store it dry, and you’ve unlocked a lifetime of stress-free cooking.

