
Your rice cooker gathers dust while you wrestle with stovetop pots that burn rice or leave it crunchy. Maybe you’ve wasted expensive sushi rice or ruined dinner for guests. But mastering how to use a rice cooker takes just minutes—and unlocks perfectly fluffy grains with zero babysitting. Unlike stove-top methods where steam escapes or heat fluctuates, rice cookers automatically switch to “warm” mode when water’s absorbed, eliminating guesswork.
This guide cuts through confusing instructions to give you actionable steps for flawless results—whether you’re cooking basic white rice or experimenting with quinoa. You’ll learn why rinsing matters, how to fix mushy disasters, and even cook steamed veggies simultaneously. No more soggy grains or burnt pans—just press-start confidence.
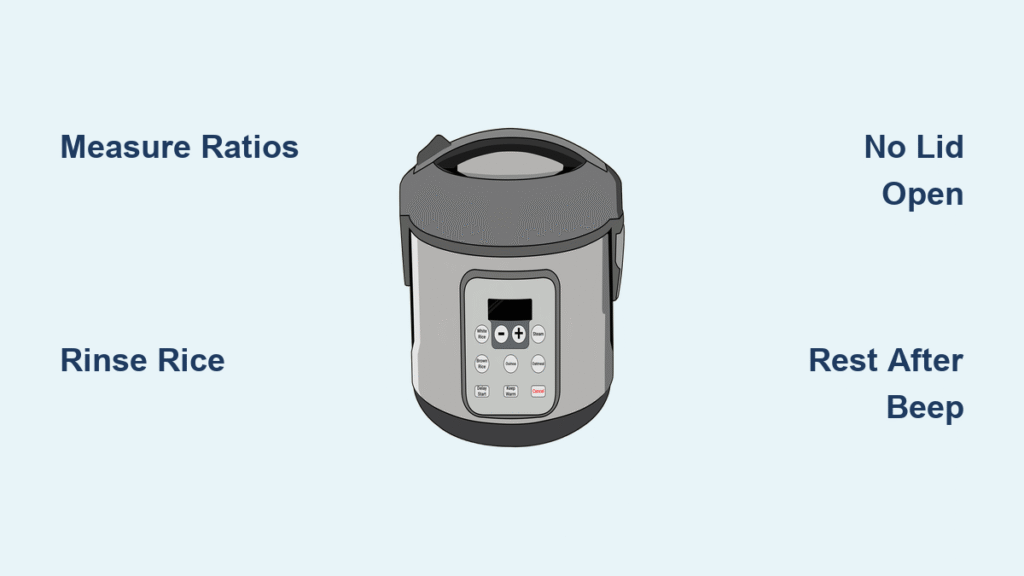
Measure Rice and Water Using the Right Ratios

Match Water to Your Rice Type
Short-grain rice (like sushi varieties) needs less water due to higher starch content, while brown rice requires extra liquid to soften its bran layer. Always measure both rice and water with the same cup—your rice cooker’s included cup is typically ¾ US cup, so consistency is critical.
Critical ratio guide:
– White rice: 1:1 ratio (1 cup rice to 1 cup water)
– Brown rice: 1 cup rice to 1¾ cups water for tender-but-chewy results
– Wild rice: 1 cup rice to 2 cups water (cook 45+ minutes)
Pro warning: Never use the “knuckle method” (submerging rice to finger level). Water depth varies wildly based on pot size and finger length—stick to measured cups.
Rinse Rice Properly Without Washing Away Nutrients
The 30-Second Rinse Technique
Pour measured rice into the inner pot, cover with cold water, and gently swirl with your fingertips for 10 seconds. Drain the cloudy water through the lid’s steam vent—this removes surface starch that causes gummy rice. Repeat until water runs mostly clear (2-3 rinses).
Key insight: If you’re using enriched white rice (common in the US), cloudy water after rinsing is normal. The coating of iron and folic acid dissolves slightly—but nutrient loss is minimal compared to the texture payoff of rinsing.
Load Your Cooker and Start Cooking Correctly

Avoid These Setup Mistakes
Before pressing start, verify these steps:
– ✅ Inner pot wiped dry on the bottom (prevents electrical issues)
– ✅ Lid sealed tightly (steam escape causes undercooked rice)
– ✅ Optional ½ tsp salt per cup of dry rice added only after water
Critical rule: Never open the lid during cooking. Steam loss disrupts the temperature sensor, leading to crunchy centers. Modern cookers beep when done—trust the signal, not curiosity.
Wait Through the Essential Rest Period
That “beep” means cooking stopped—not that rice is ready. Leaving the lid closed for 5-10 minutes lets residual heat finish the job. This redistributes moisture so the top layer isn’t soggy while the bottom stays tender.
Pro move: Unplug the cooker after resting if you won’t serve immediately. The “keep warm” function dries out smaller batches (under 2 cups cooked), making grains brittle.
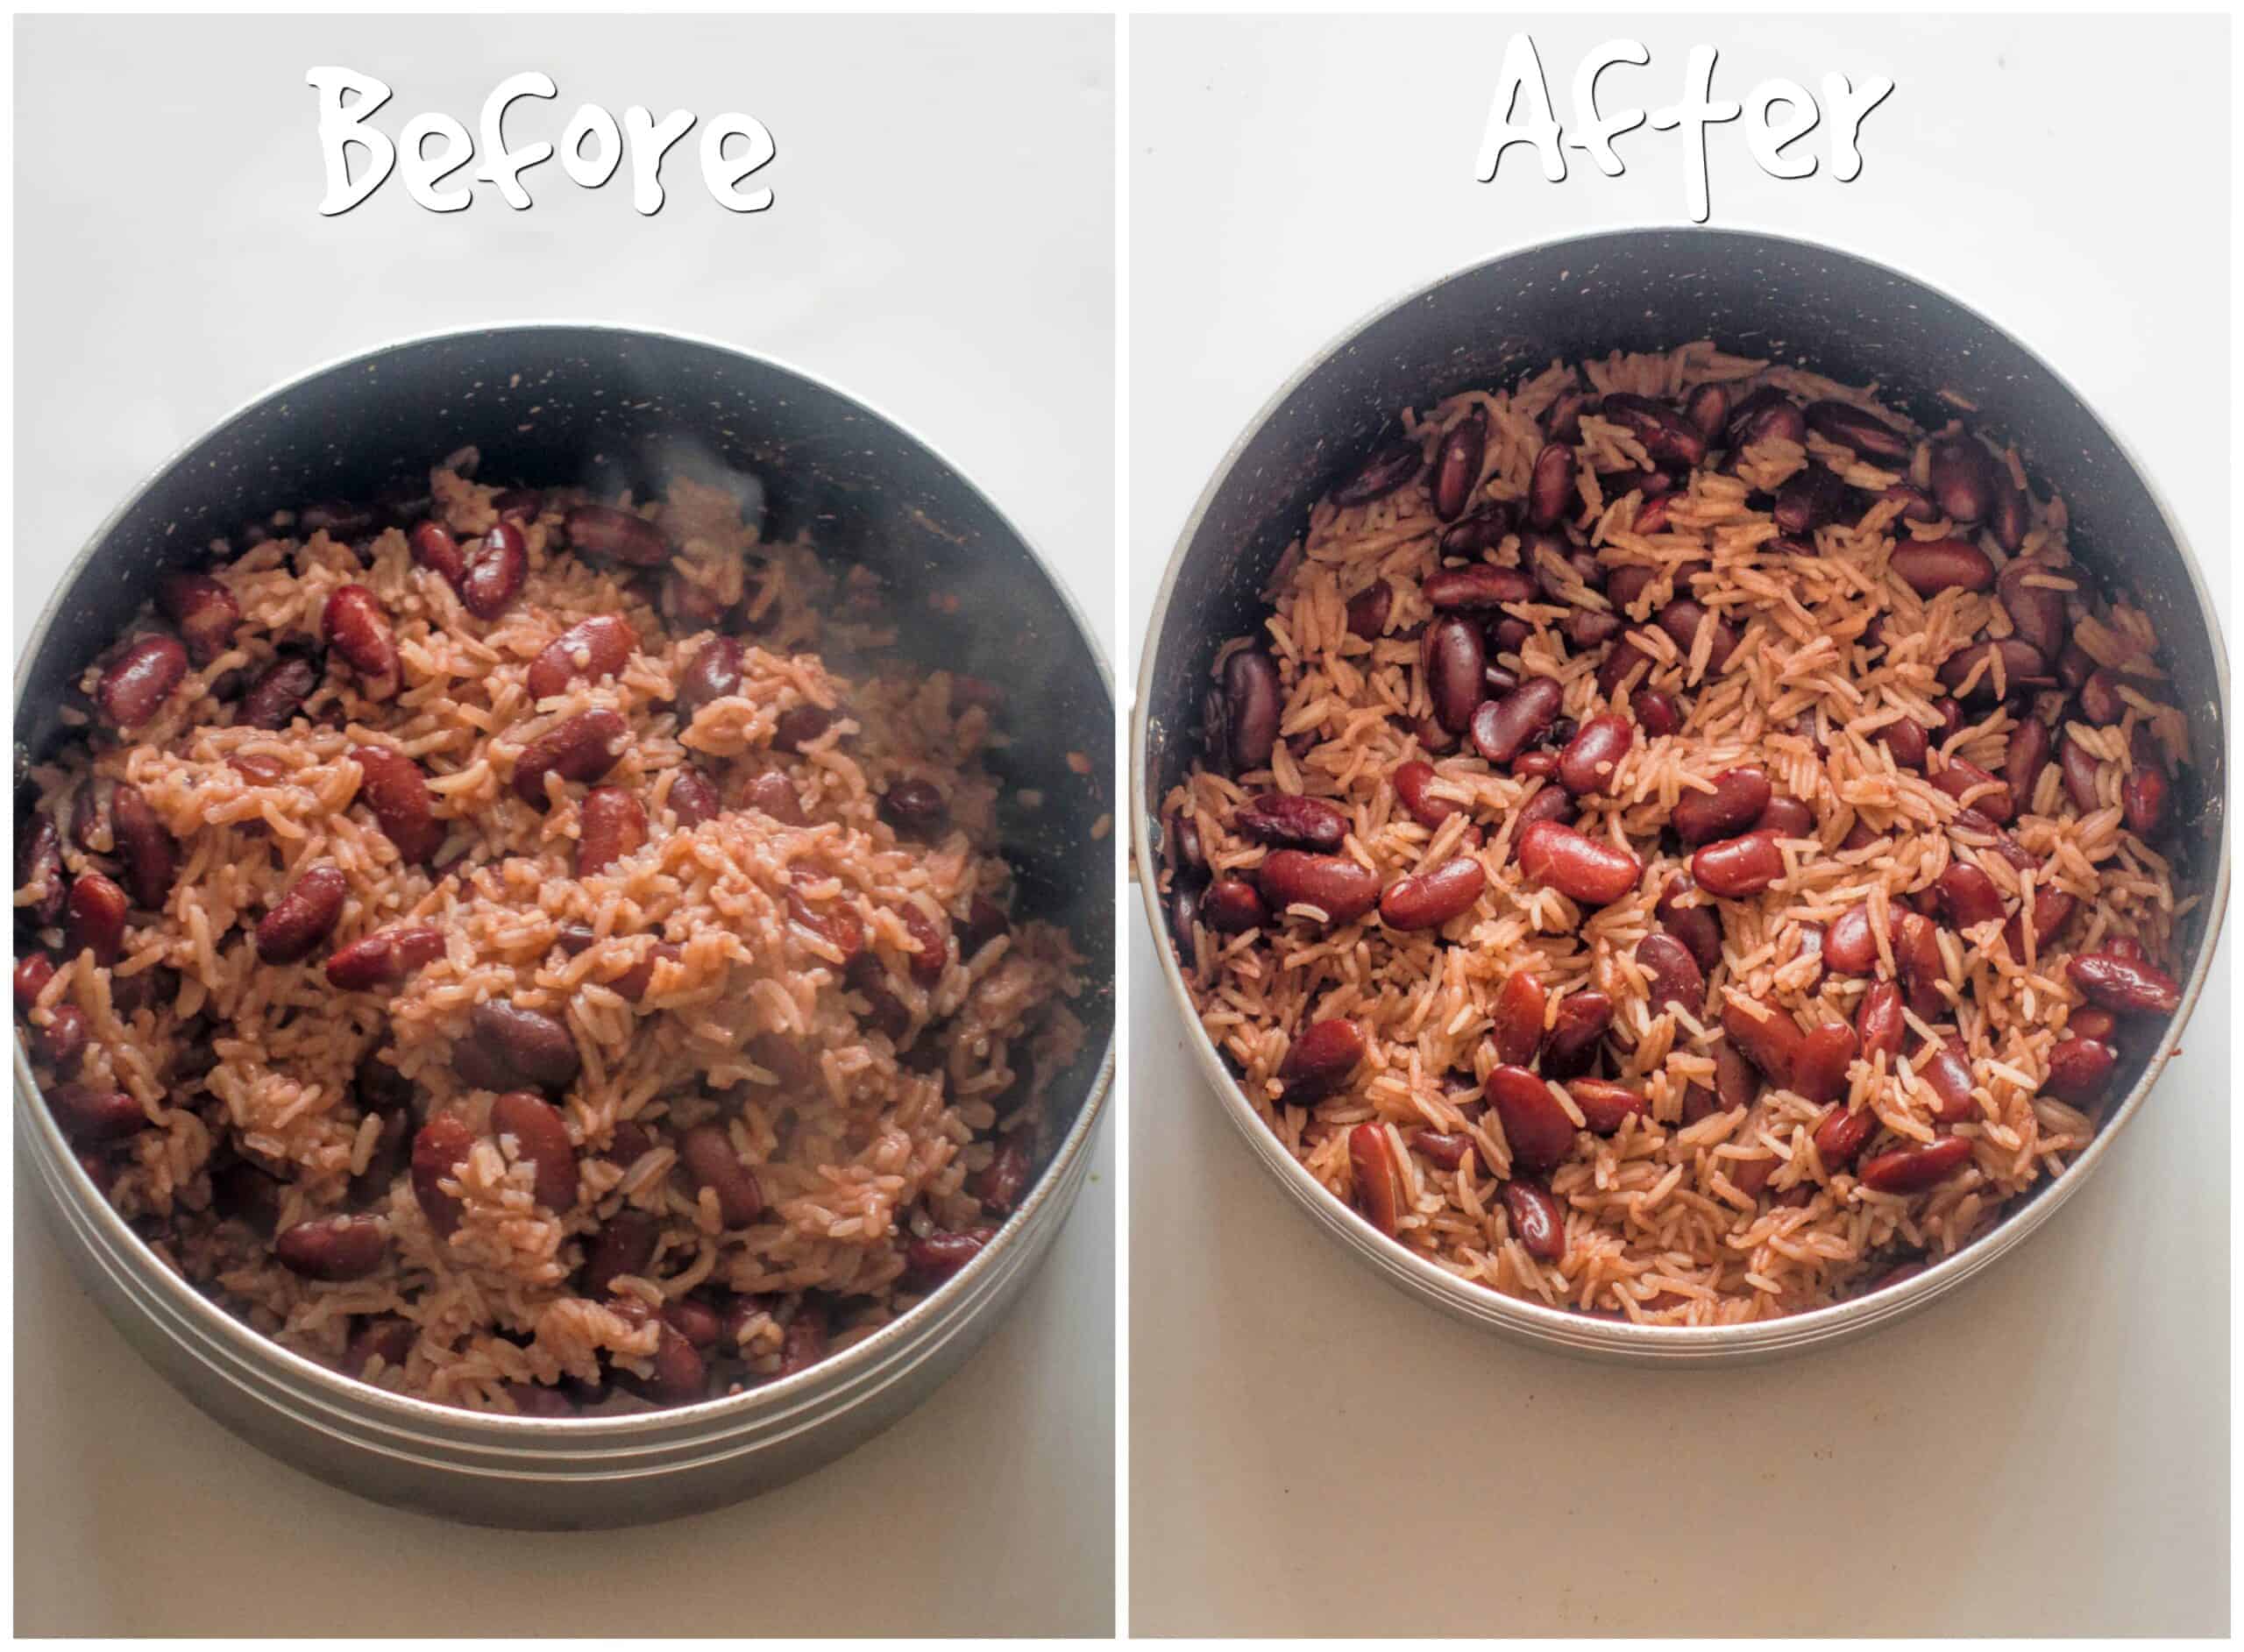
Fluff Rice Without Mashing the Grains
The Vertical Slice Method
Use only the included rice paddle or a wooden spatula—metal scratches nonstick coatings. Insert it straight down to the pot’s base, then slice horizontally like cutting a cake. Gently lift and fold sections toward the center 3-4 times.
Serving tip: One cup dry rice yields 3 cups cooked (enough for 2-3 servings). Always serve from the top layer first to avoid compacting the rest.
Fix Common Rice Disasters in Minutes
Undercooked Rice? Try This
If grains are hard at the center, add 2-3 tbsp water, close the lid, and keep on “warm” for 5-10 minutes. The trapped steam finishes cooking without over-saturating.
Prevention: Next time, increase water by ¼ cup—but never add extra water during cooking (it restarts the cycle and causes mush).
Mushy Rice Salvage Attempt
Spread rice on a baking sheet and microwave for 2 minutes to evaporate excess moisture. But honestly? Overcooked rice is rarely fully recoverable. Prevention is key: reduce water by ¼ cup next time and skip rinsing for sticky sushi rice.
Clean Your Cooker to Prevent Burnt Smells
Post-Meal Routine
Unplug and cool completely before cleaning. Soak the inner pot in warm soapy water if rice sticks, then wipe with a soft sponge (never steel wool—it ruins nonstick coatings). Dry thoroughly with a towel, then air-dry the lid ajar for 2 hours to prevent musty odors.
Critical error: Never immerse the base unit in water. Wipe only with a damp cloth.
Cook Brown Rice Without Hard Centers
Soaking for Perfect Texture
Soak brown rice 20 minutes before cooking to soften the bran. This cuts cooking time by 10 minutes and ensures even tenderness—without changing the 1:1¾ water ratio.
Texture test: Properly cooked brown rice should have a slight chew, not crunch. If centers stay hard, add 2 tbsp water next time and extend resting to 15 minutes.
Steam Vegetables While Cooking Rice
Layered Cooking Hack
Place firm veggies (carrots, broccoli) in a steamer basket above the rice 10 minutes before cooking ends. Delicate items (fish, spinach) go in during the last 5 minutes. No extra pots—just one appliance.
Ratio adjustment: Reduce rice water by 2 tbsp when steaming to compensate for extra moisture.
Reheat Leftovers Without Drying Them Out
Microwave Method That Works
Place rice in a microwave-safe bowl, add 1 tbsp water per cup, and cover with a damp paper towel. Heat 60 seconds, stir, then 30 more seconds. The steam revives texture—unlike dry, crumbly leftovers.
Freezer trick: Portion cooked rice into zip-top bags, flatten, and freeze. Microwave frozen blocks 2 minutes with 2 tbsp water—no thawing needed.
Troubleshoot Instantly With This Reference Table
| Problem | Why It Happens | Quick Fix |
|---|---|---|
| Rice sticks to pot | Insufficient water or skipped rest | Let rest 10+ minutes before serving |
| Burnt smell | No water left (usually from inaccurate ratios) | Unplug immediately; rice is unsalvageable |
| Overflowing | Too much starch or water | Rinse rice thoroughly; reduce water by ¼ cup |
| Uneven texture | Pot not seated flat | Ensure pot clicks into base before starting |
Mastering how to use a rice cooker transforms it from a counter ornament into your most reliable kitchen ally. Start with basic white rice using the 1:1 ratio, always rinse, and never skip the rest period. Within weeks, you’ll confidently cook quinoa, steam dumplings, and even bake cake—proving this humble appliance deserves prime counter space. Remember: Perfect rice isn’t about fancy gear—it’s about precise measurements and respecting the cooker’s automatic intelligence. Press start, walk away, and serve restaurant-quality grains every single time.

