
Your rice cooker lid won’t close properly, traps steam like a pressure cooker, or refuses to open after cooking—leaving you staring at a pot of half-cooked rice and a growing dinner disaster. When you’re searching how to fix rice cooker lid issues, know this: 90% of these problems can be resolved in under 30 minutes with tools you already own. Whether you’re battling a leaking Zojirushi or a stuck Aroma lid, these field-tested repairs will get your appliance working like new without costly service calls.
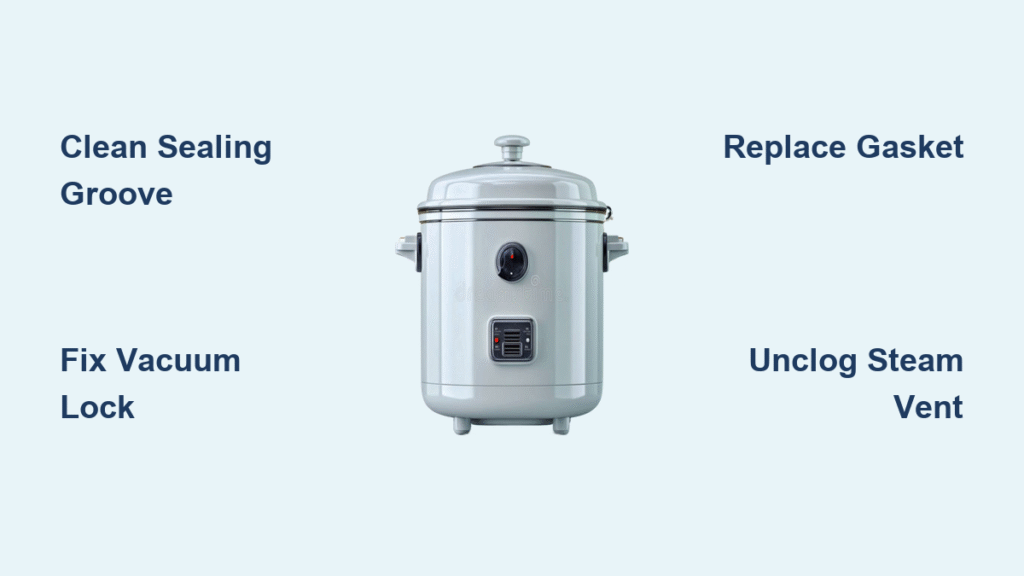
Most rice cooker lid failures stem from preventable wear points: hardened gaskets, mineral-clogged vents, or misaligned hinges. The good news? Cleaning the sealing groove takes just five minutes and solves half of all closure issues. This guide delivers step-by-step fixes verified by appliance repair technicians, so you can troubleshoot like a pro and keep your cooker running smoothly for years.
Diagnose Your Lid Issue Before Fixing
Spot Problem Areas in 60 Seconds
Grab a flashlight and inspect three critical zones before attempting repairs. First, examine the sealing groove where the gasket sits—this narrow channel collects hardened rice starch and mineral deposits that prevent proper closure. Run your finger along the groove; if you feel grit or see white crusty buildup, that’s your primary culprit. Next, check hinge screws for looseness; even a 1/16-inch shift creates gaps that leak steam. Finally, inspect the steam vent cap for rice grains blocking the escape path—this forces pressure through weak points in the seal.
Critical inspection points:
– Gasket seating surface: Look for rice crust or calcium deposits creating microscopic gaps
– Hinge alignment: Place lid on flat counter; if it wobbles, hinges need adjustment
– Vent functionality: Blow air through the vent—resistance indicates blockage
– Handle stability: Wobble here stresses the entire lid assembly
Functional Testing That Reveals Hidden Problems
Run this water-only test to pinpoint issues safely. Fill your cooker with 2 cups of water and start a normal cycle. Watch for steam escaping around the lid perimeter—this reveals exactly where the seal fails. After the cycle completes, unplug immediately and wait exactly 5 minutes before attempting to open. If it sticks, you’ve confirmed vacuum lock. Now repeat the test but open after 15 minutes; if it releases easily, vacuum lock is your sole issue. During closure tests, listen for faint clicking sounds—that indicates hinge misalignment straining the mechanism.
Testing red flags:
– Steam escaping near the handle = gasket misalignment
– Lid sticking only when hot = vacuum lock issue
– Uneven closure resistance = warped lid or hinge problem
– Water pooling around base = severe steam leakage
Fix Lid Closure Problems in Under 15 Minutes
Deep Clean Sealing Surfaces Like a Pro
Mineral deposits and rice starch are the #1 cause of closure failures. This $0 fix works for all models: Unplug the cooker and remove the inner pot. Soak a paper towel in white vinegar and press it into the sealing groove for 10 minutes—this dissolves stubborn calcium buildup. Scrub with an old toothbrush using quarter-sized circles, focusing on corners where debris accumulates. Wipe clean with a microfiber cloth dampened with warm water. For severe cases, dip the brush in baking soda paste and gently scrub before rinsing. Always dry completely with a hairdryer on cool setting before retesting closure.
Avoid these common mistakes:
– Using steel wool that scratches sealing surfaces
– Forgetting to clean the lid’s underside groove
– Skipping the drying step (moisture prevents proper sealing)
– Applying excessive force during cleaning
Correct Warped Lids Without Replacement
Gentle pressure often fixes minor warping from heat exposure or impacts. Place the lid upside-down on a granite countertop (wood may flex). Identify high points by sliding a business card underneath—it should glide smoothly everywhere. Apply downward pressure at high spots using a folded towel, holding for 30 seconds. Check alignment after each adjustment; stop when the card slides evenly. For stainless steel lids, warm the warped area with a hairdryer for 2 minutes first to increase malleability. If gaps exceed 1/8 inch or cracks appear, replacement is necessary—forced correction worsens damage.
Solve Stuck Lid Emergencies Safely
Break Vacuum Lock Without Damage
Never pry open a stuck lid—this tears gaskets and damages hinges. First, unplug and wait 10 minutes for natural pressure equalization. If still stuck, place a wooden spoon handle against the lid’s side and tap firmly with your palm—this vibrates the seal loose. For models with steam release valves, press and hold the valve while lifting the lid. As a last resort, slide a thin silicone spatula at the 3 o’clock position to break the vacuum seal, then immediately stop and test opening. Always wear oven mitts; trapped steam can cause severe burns if released suddenly.
Critical safety rule: If you hear hissing after opening, close immediately and wait another 5 minutes—this indicates residual pressure.
Unstick Release Buttons in 5 Minutes
Sticky rice residue gums up release mechanisms over time. Apply two drops of 90% isopropyl alcohol around the button base using a toothpick. Press the button 20 times to work the alcohol into the mechanism—this dissolves starch buildup. Blow compressed air around the edges to dry, then apply a rice-grain-sized dab of food-grade silicone lubricant. If the button still sticks, remove decorative caps with a flathead screwdriver to access internal springs. Replace weak springs with identical tension models from hardware stores (typically 5mm diameter x 15mm length).
Stop Steam Leaks for Good
Replace Worn Gaskets Correctly
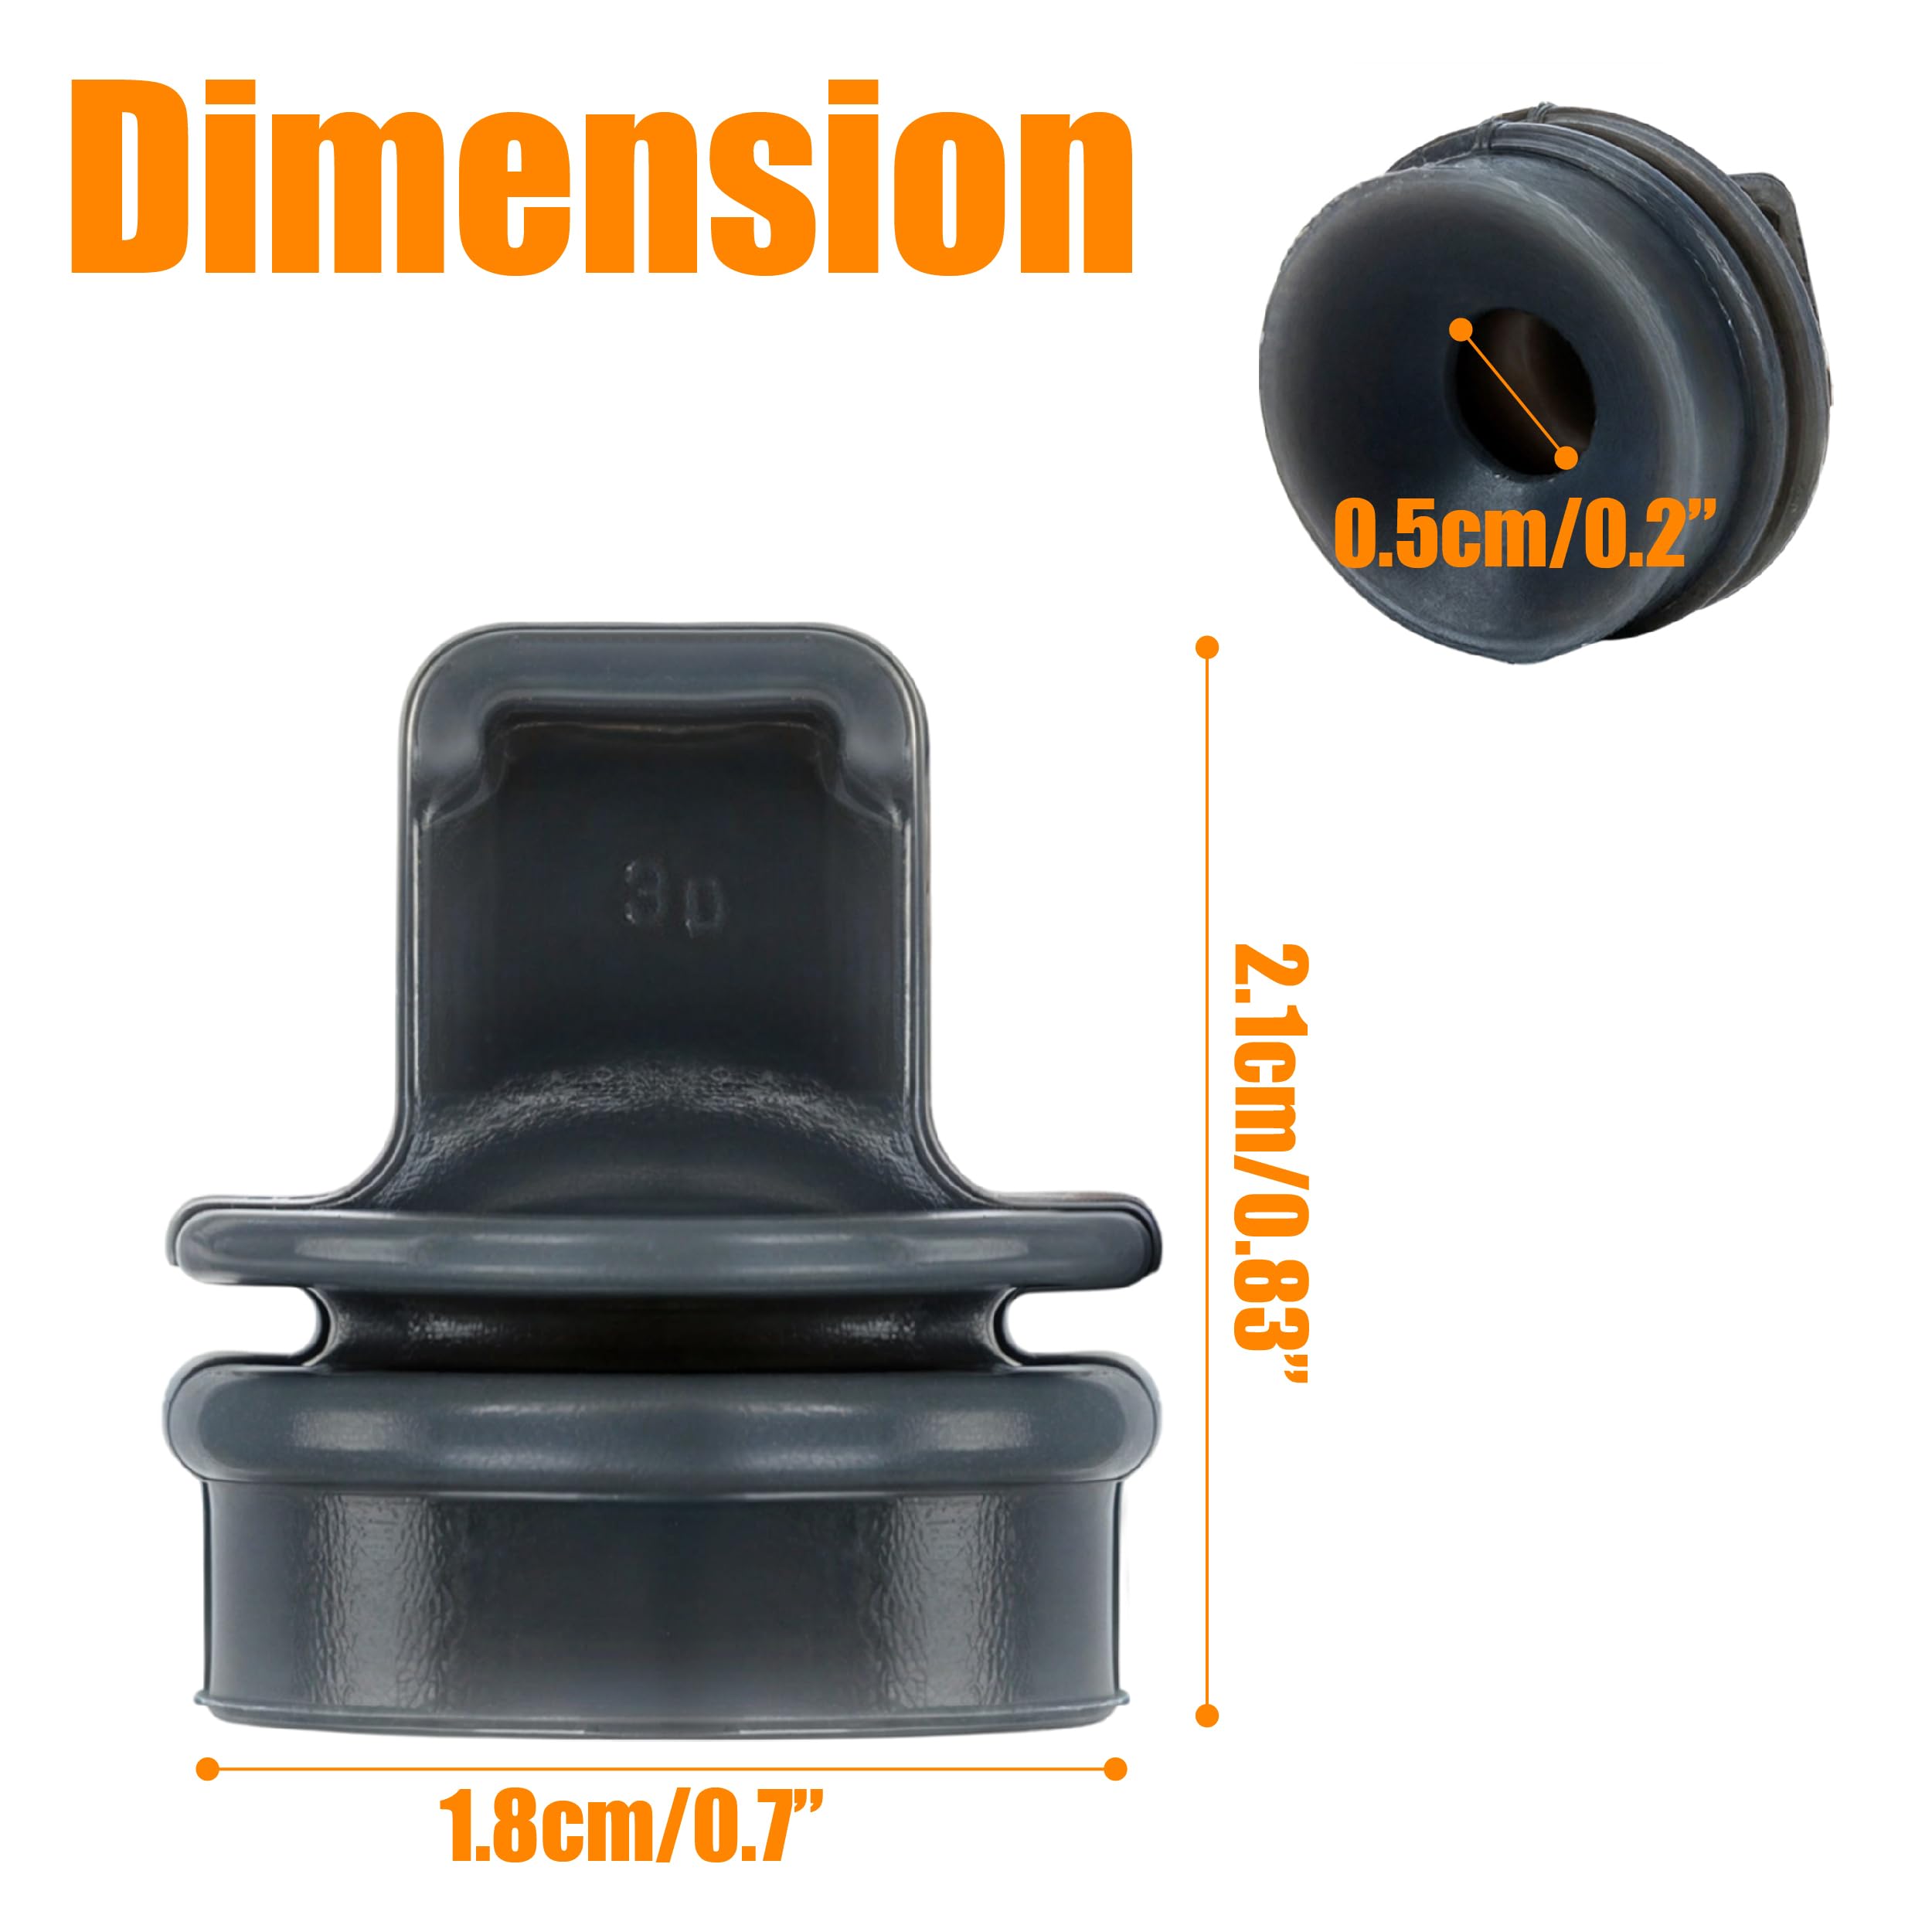
Gaskets lose elasticity after 12-18 months of use. To find the exact replacement: Check your model number (usually on the cooker base), then measure the old gasket’s inner diameter, outer diameter, and thickness with calipers. Order manufacturer-specific silicone gaskets—they last twice as long as rubber versions. Installation is critical: Start at the hinge point, pressing the gasket into the groove with your thumb every inch. Work clockwise, ensuring no twists or pinches. After installation, run a water-only cycle and check for leaks before cooking rice.
Pro tip: Stretch the new gasket gently before installation to reduce initial stiffness.
Unclog Steam Vents Completely
Monthly vent cleaning prevents 70% of steam leaks. Remove the vent cap by twisting counterclockwise (some models require lifting first). Soak in equal parts vinegar and warm water for 15 minutes, then use a pipe cleaner to scrub internal passages. Rinse under running water while blowing air through the vent—water should flow freely. For stubborn clogs, use a straightened paperclip to gently dislodge debris. Reinstall the cap only when completely dry; moisture here causes mineral buildup.
Handle and Hinge Repairs That Last
Secure Loose Handles Permanently
Wobbly handles stress lid alignment. Pop off decorative caps with a plastic spudger (not metal to avoid scratches). Tighten the Phillips screws clockwise in quarter-turn increments, testing handle stability after each adjustment. If screws spin freely, apply a single drop of thread-locker (blue formula) before reinserting. For broken handles, order exact replacements—most manufacturers sell them for $8-15. When installing new handles, clean mounting surfaces with isopropyl alcohol to remove grease, and let thread-locker cure for 24 hours before heavy use.
Replace Broken Hinge Pins in 10 Minutes
Snapped hinge pins cause dangerous lid sagging. Support the lid fully open with a rolled towel. Use a 1/8-inch nail punch to drive the old pin out from the hinge’s inner side. Note spacer positions—most have 1-2 washers per side. Insert the new pin from the same direction, tapping gently with a hammer until flush. Apply food-grade grease to the pin before insertion for smooth operation. Test by opening/closing 10 times; any resistance means the pin isn’t seated fully.
Prevent Future Lid Failures
Daily Habits That Double Lid Lifespan
- Wipe the sealing groove with a damp cloth after every use
- Store the lid slightly ajar (prop with a spoon) to prevent gasket compression
- Never place heavy objects on the lid
- Clean steam vents after every 5 cooking cycles
Monthly Maintenance That Saves Repairs
Spend 12 minutes monthly preventing major issues: Remove the gasket and soak in vinegar solution for 10 minutes. Clean the groove with an old toothbrush, then dry thoroughly. Apply a pea-sized amount of food-grade silicone lubricant to hinge points. Tighten all visible screws to “snug” (not tight)—over-tightening strips threads. Inspect the gasket for cracks; replace if it doesn’t spring back when stretched.
When to Replace Instead of Repair
Professional Help Indicators
Seek expert service when: Electrical components control the lid mechanism (common in fuzzy logic cookers), your model is under warranty, or stainless steel lids have complex multi-layer seals. If replacement parts cost over 50% of a new unit’s price—like $100 gaskets for a $200 Zojirushi—replacement makes sense. High-end models (over $150) often justify professional repair due to specialized sealing systems.
Smart Repair Decision Guide
- Fix immediately: Gasket replacement, hinge tightening, vent cleaning
- Consider repair: Broken hinge pins, handle replacement (if under 5 years old)
- Replace cooker: Cracked lid body, warped stainless steel, electrical issues
Your rice cooker lid problems are temporary setbacks, not appliance death sentences. Start with the five-minute sealing groove cleaning—it solves most issues instantly. For persistent leaks, replace the gasket using the precise measurements outlined here. Remember that regular monthly maintenance prevents 80% of lid failures. Within 30 minutes, you can restore perfect operation and avoid expensive replacements. Keep this guide handy for your next cooking emergency—your perfectly cooked rice depends on it.

