
Your KitchenAid immersion blender sits on the counter, battery drained after a marathon soup-making session. You reach for the charger—but wait, where exactly do you plug it in? Whether you’re unboxing your first cordless model or troubleshooting a stubborn battery, proper charging technique makes the difference between a reliable kitchen companion and a frustrating paperweight.
This guide walks you through every charging scenario for KitchenAid’s cordless immersion blenders, from locating hidden charging ports to maximizing battery lifespan. You’ll learn model-specific steps, troubleshooting tricks, and pro tips that most users discover only after months of trial and error. Stop wondering how to charge KitchenAid immersion blender units correctly—this is your complete roadmap to hassle-free power.
Identify Your KitchenAid Immersion Blender Model First
Before you can charge anything, you need to know which KitchenAid cordless model you own. Each uses a completely different charging system with unique ports, cables, and indicators.
Cordless models that require charging:
– KHBV53 (Variable Speed Cordless): USB-C charging port under rubber flap
– KHB123 (Go Cordless): Removable KG120 battery system
– 5-Speed Cordless: Dedicated charging dock system
Check your model number on the handle or base. If you see any of the corded models—KHB1231, KHB2351, or KHB2561—stop here. These plug directly into wall power and never need charging. Mistaking a corded model for a cordless one is the most common reason people search “how to charge KitchenAid immersion blender” unnecessarily.
KHBV53 USB-C Charging Process
Locate the Hidden USB-C Port on Your Cordless Hand Blender
On the KHBV53, the charging port hides behind a small rubber flap marked “DC IN” on the handle’s rear side. Use the tiny tab to lift this cover—it’s designed to keep food and moisture out during blending. Many users miss this flap entirely, thinking their blender lacks a charging port.
Step-by-Step Charging for KHBV53 Models
- Power off completely (hold the power button until all lights go dark)
- Lift the rubber charging cover using the small tab
- Insert USB-C cable firmly until fully seated
- Connect to power source (wall adapter, computer, or power bank)
- Watch for red LED—this confirms charging has started
- Wait 2 hours for full charge (solid green LED)
Pro tip: The KHBV53 ships with just a USB-C to USB-A cable. You’ll need your own wall adapter—minimum 5V/1A, though 5V/2.4A cuts charging time to 90 minutes. Cheap, uncertified cables often cause slow charging or connection issues.
Decoding the KHBV53 LED Light System
- Solid red: Currently charging (about 2 hours to full)
- Solid green: 100% charged, ready to blend
- Flashing red: Under 20% battery—charge immediately
- No light: Check cable connection and power source
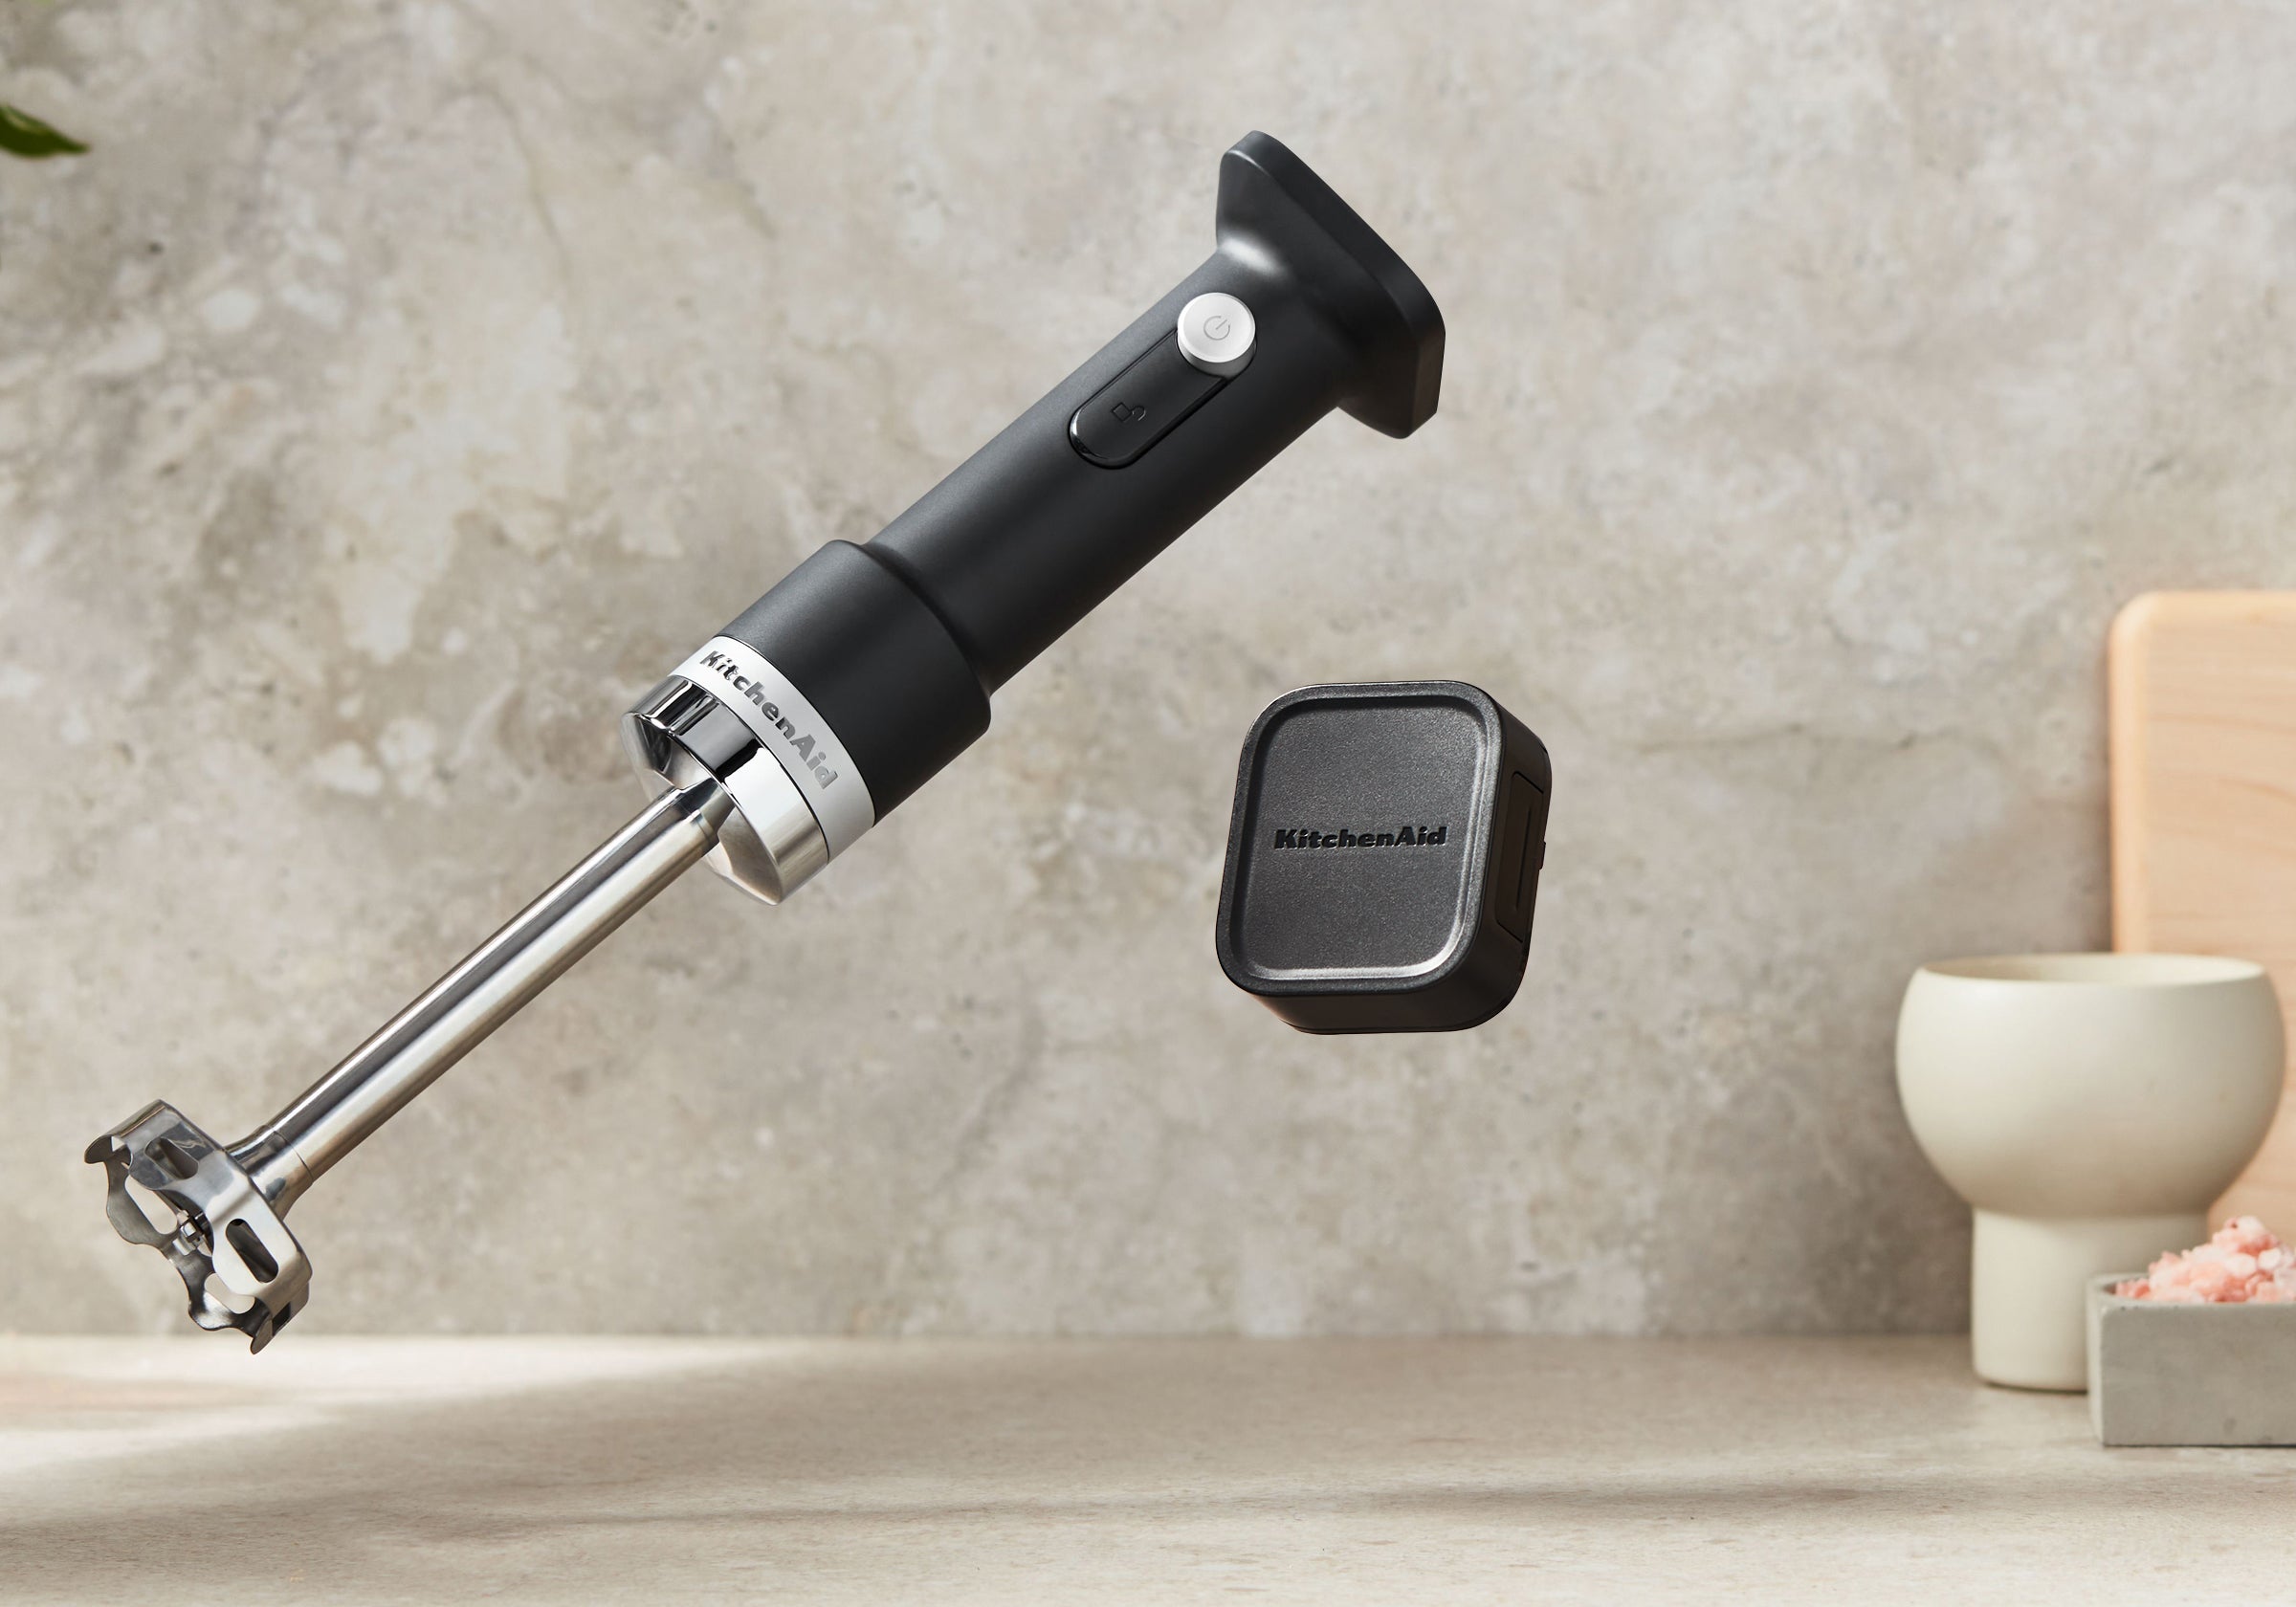
KitchenAid Go System KHB123 Charging

Battery Removal Method for Go Cordless Models
The KHB123 uses KitchenAid’s interchangeable Go battery system. Unlike other models, you’ll charge the battery separately from the blender. This system gives you flexibility across multiple KitchenAid cordless tools.
Quick steps:
1. Press battery release button on blender handle
2. Slide battery straight down to remove
3. Insert into KGCHARGE dock until it clicks
4. Monitor LED progress lights on charger
Reading the Go System Charger LEDs Accurately
The four LEDs on the KGCHARGE dock act like a fuel gauge:
– 1 LED flashing: 0-25% charged
– 2 LEDs flashing: 25-50% charged
– 3 LEDs flashing: 50-75% charged
– 4 LEDs flashing: 75-99% charged
– All LEDs solid: Ready to use (2.5 hours total)
One battery, many tools: If you own other KitchenAid Go cordless appliances, that same KG120 battery powers everything from your hand blender to your food chopper. This is why proper charging technique matters for your entire KitchenAid ecosystem.
5-Speed Cordless Charging Dock System
Proper Docking Technique for Premium Models
The premium 5-Speed Cordless model uses a dedicated charging base. This isn’t just a stand—it’s an active charging system with magnetic alignment.
How to dock correctly:
1. Place base near outlet (needs constant power)
2. Align blender vertically over charging pins
3. Lower slowly until you feel magnetic attraction
4. Check pulsing white LED on handle base
5. Reseat if you see pulsing amber (alignment error)
5-Speed Model LED Ring Indicators Explained
- Pulsing white: Charging in progress (2-3 hours)
- Solid white: Fully charged and ready
- Pulsing amber: Charging error—remove and reseat
Fix Common KitchenAid Immersion Blender Charging Problems

Blender Won’t Start Charging: Quick Solutions
Diagnostic flow when your immersion blender won’t charge:
1. Test your outlet with another device
2. Swap charging cables (especially KHBV53 USB-C cables)
3. Clean charging port with dry cotton swab
4. Reset device (hold power button 10 seconds)
5. Try different power source (wall vs computer USB)
Critical warning: Never force the USB-C cable into the port—these connectors are fragile and expensive to replace. If resistance is felt, check alignment first.
Slow Charging Issues and How to Fix Them
If your 2-hour charge becomes 4+ hours:
– Switch to wall adapter (minimum 5V/1A, ideally 2.4A)
– Avoid USB hubs and computer ports
– Check for port debris—even tiny crumbs block connection
– Charge at room temperature (60-80°F optimal)
Battery Health Warning Signs You Can’t Ignore
- Runtime drops below 15 minutes (from original 25+)
- LED flashes red immediately after charging
- Blender struggles with frozen ingredients it previously handled
- Charging completes in under 30 minutes (battery can’t hold full charge)
When to replace: Most KitchenAid batteries last 2-3 years with regular use. Only Go system batteries are user-replaceable—others require professional service.
Maximize Your Immersion Blender Battery Lifespan
First Charge Setup for Optimal Performance
- Charge fully before first use (ignore the partial charge from factory)
- Complete 3 full cycles (drain to 20%, charge to 100%)
- Register your product for warranty coverage
Daily Best Practices for Long-Lasting Power
- Don’t wait for 0%—charge when you hit 20-30%
- Avoid overcharging—remove when LED shows green
- Store at 50-80% charge if unused for weeks
- Keep dry—never charge with wet hands or near sink
Pro tip: If you’re not using your blender for more than two weeks, store it with about 50% charge. Storing lithium-ion batteries at 100% or 0% significantly reduces their lifespan.
Travel and Emergency Charging Solutions
International Use with Your Cordless Immersion Blender
The KHBV53 shines for travel—USB-C charging works worldwide. Just pack:
– Certified USB-C cable (bring backup)
– Universal wall adapter (100-240V compatible)
– Power bank (10000mAh = 3-4 full charges)
Airport Security Rules for Lithium Batteries
- Carry-on only (lithium batteries can’t be checked)
- Protect battery terminals with original packaging
- Declare if over 100Wh (none of these models exceed this)
Road trip hack: A quality car USB charger (5V/2A minimum) keeps your blender ready for campsite smoothies. Always test your car charger before leaving home.
When Charging Fails: Service Options
Determining Warranty Coverage for Charging Issues
- Standard warranty: 1 year from purchase
- Battery warranty: 1 year or 300 cycles
- Charging accessories: Full 1-year coverage
Pro move: Check your credit card—many extend appliance warranties by an additional year, potentially covering expensive battery replacements.
Service Paths for Charging Problems
- Mail-in service through KitchenAid customer support
- Authorized centers in major cities
- Battery replacement (Go system only—user-replaceable)
- Charging port repair for damaged connections
Key Takeaways for Reliable KitchenAid Immersion Blender Charging
Your KitchenAid immersion blender’s charging needs vary dramatically by model, but the principles remain consistent: use proper cables, maintain clean connections, and follow the LED indicators. The KHBV53 offers maximum flexibility with USB-C, the Go system provides swappable batteries, and the 5-Speed dock delivers effortless charging.
Remember: Never force connections, avoid extreme temperatures, and address charging issues immediately—a $20 cable replacement beats a $100+ service call. With these specific steps for your model, you’ll always have power when inspiration strikes in the kitchen. Proper charging technique isn’t just about convenience—it extends your blender’s life and ensures reliable performance when you need it most.

