

That intimidating red light on your Ninja blender isn’t judging you—it’s trying to communicate. When your morning smoothie attempt turns into a countertop disaster or frozen berries explode like confetti, it’s rarely the machine’s fault. Most Ninja blender failures stem from overlooked safety steps and misunderstood controls. Master these vertical-blade powerhouses by learning exactly how to use Ninja blender components correctly, and transform frustrating blips into silky-smooth results every time. You’ll discover why alignment matters more than speed, how to prevent the dreaded overflow, and why your nut butter keeps stalling mid-blend.
Stop guessing which button does what. This guide cuts through the confusion with actionable steps verified by Ninja’s engineering team. Whether you’re wrestling with a Nutri Ninja Pro or mastering the Foodi Cold & Hot, you’ll gain confidence through precise techniques that leverage the unique stacked-blade technology. No more second-guessing max-fill lines or blinking lights—just reliable results from frozen fruit to hot soup.
Essential Safety Steps Before Blending
Your Ninja blender won’t operate until three critical safety conditions are met—this isn’t arbitrary; it prevents dangerous blade ejection. Ignoring these steps causes 90% of “broken blender” complaints. First, lock the lid until you hear a definitive click—no gentle placement. Press straight down with palm pressure until resistance gives way. Second, align the white arrows on the lid and handle; this tiny visual cue ensures proper torque distribution. Third, seat the pitcher or cup by lowering it straight onto the base, then twisting slightly clockwise until it rotates freely. If it won’t rotate, it’s not locked.
That blinking red light is your blender’s safety guardian. When it pulses steadily, check lid alignment first—90% of issues stem from misaligned arrows. For single-serve cups, invert the sealed cup and lower it straight down; tilting causes uneven seating. Never force components; if resistance occurs, disassemble and restart. These steps aren’t suggestions—they’re non-negotiable requirements built into every Ninja model since 2018 recalls.
Why Your Blender Refuses to Start
The three most common startup failures all relate to safety interlocks. If your Ninja won’t power on despite correct assembly, test these fixes immediately:
- Lid not fully locked: Press down firmly with the heel of your hand until you hear a distinct click. Many users apply insufficient pressure.
- Arrows misaligned: Rotate the lid slowly while watching the arrow markers. They must form a continuous line—no offset allowed.
- Pitcher/cup not seated: Lift the container straight up, realign the base tabs, and lower vertically without twisting. It should rotate 5-10 degrees when properly seated.
Models like the Nutri Ninja Pro have tighter tolerances—leak-prone lids often require two-handed alignment. If problems persist after three attempts, unplug the unit for 30 seconds to reset internal sensors before retrying.
Correct Assembly for Every Ninja Model
Single-Serve Cup Setup Sequence
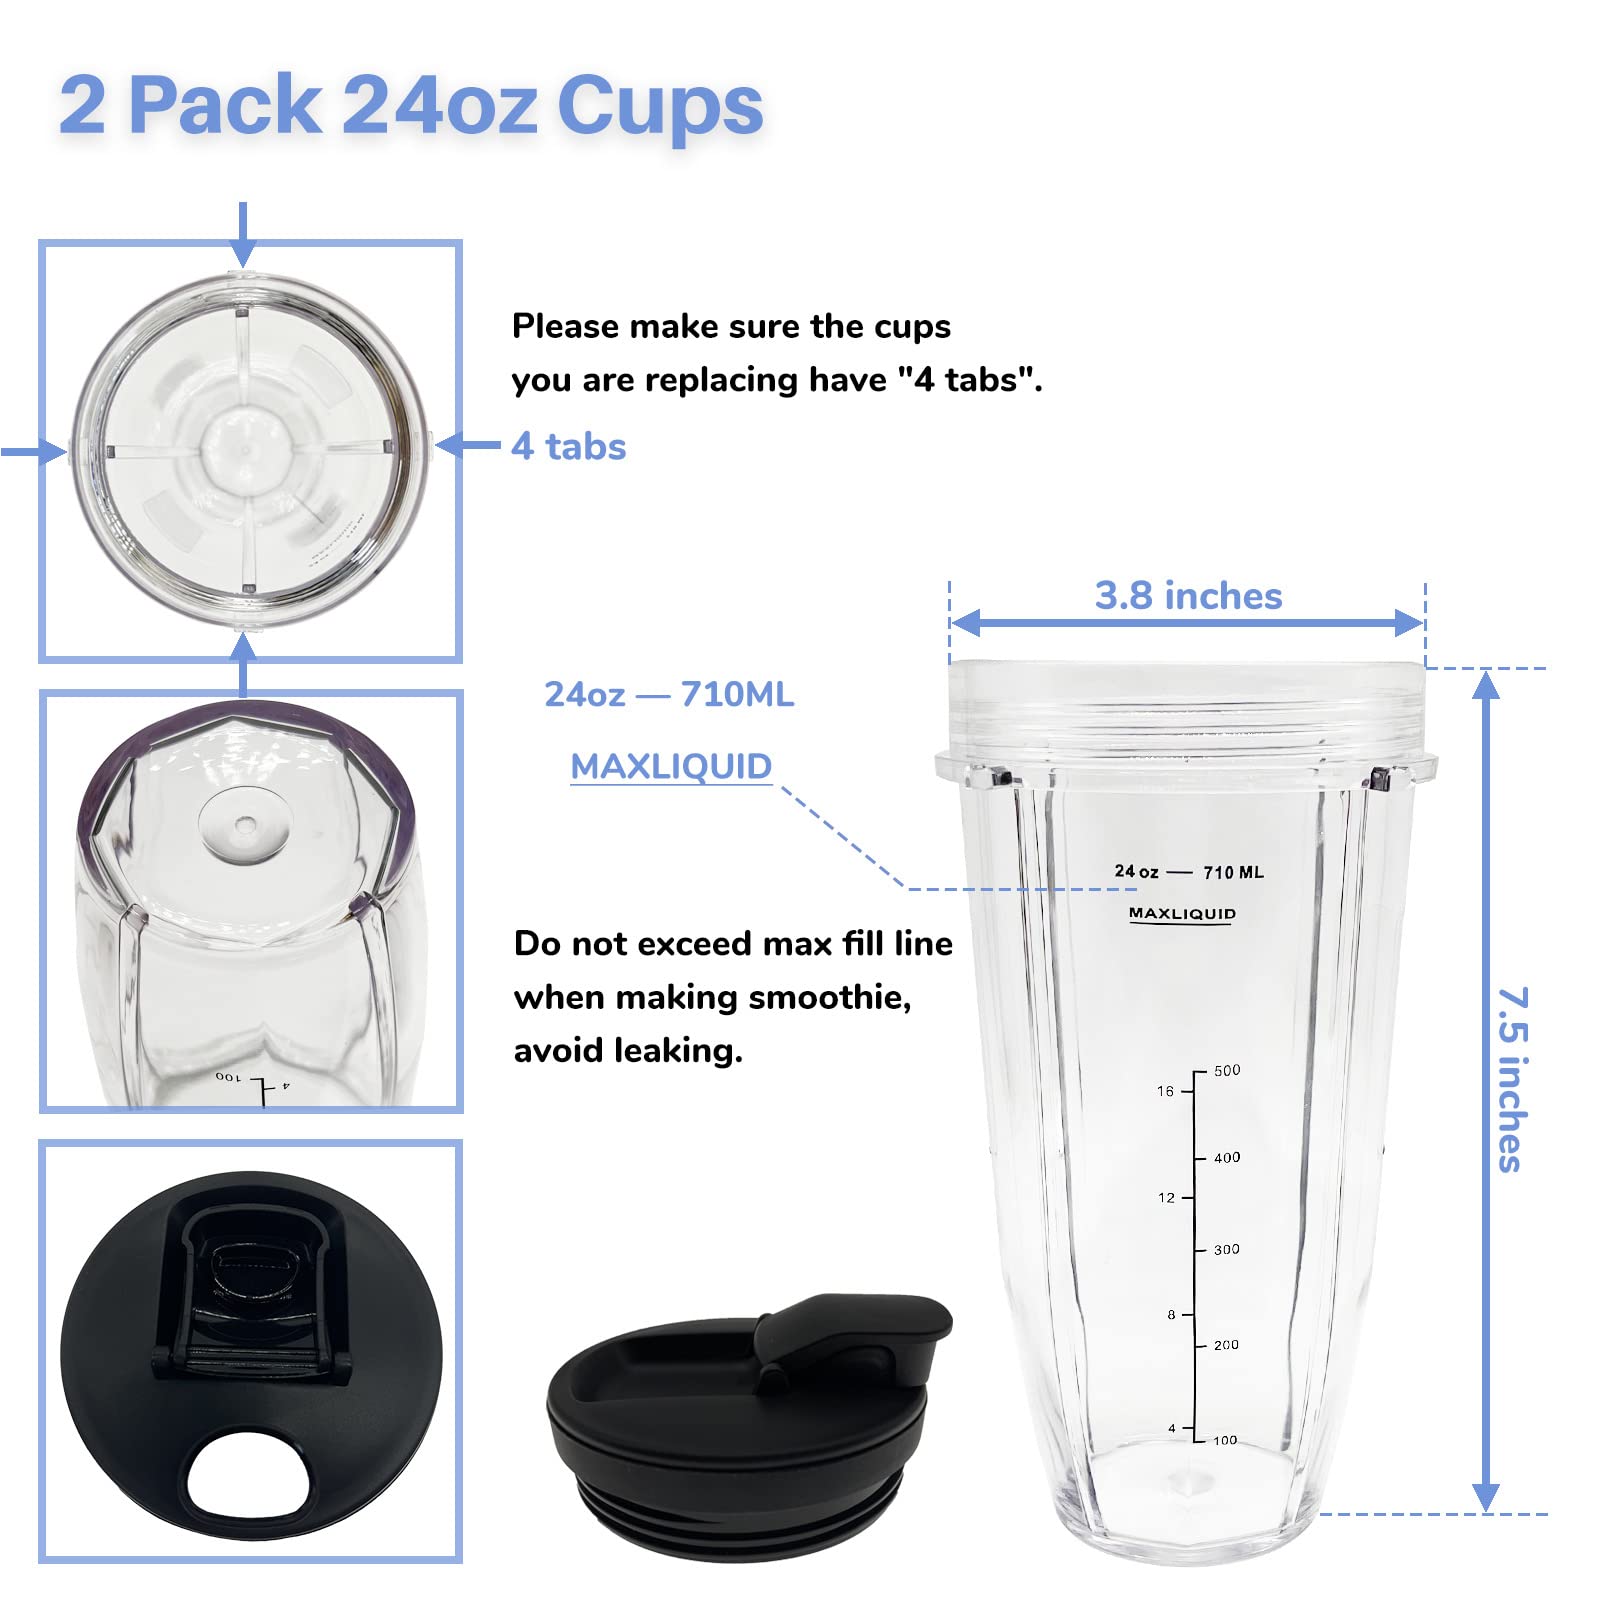
Fill ingredients below the max-fill line—this line is etched into every Ninja cup and marks the absolute capacity limit. Overfilling creates pressure buildup that forces liquid past seals. Screw the blade assembly clockwise until resistance stops; overtightening cracks the cup threads. Hand-tight is sufficient—never use tools. Invert the cup and lower it straight onto the base in one smooth motion. Tilting causes misalignment. You’ll know it’s seated when the cup rotates slightly (about 1/8 turn) when nudged. For Nutri Ninja models, push down firmly on the cup rim to engage blending—short presses create pulses, sustained pressure runs continuously.
Full Pitcher Assembly Technique
Load the stacked blade assembly directly onto the central drive shaft inside the pitcher—never force it sideways. This vertical blade tower is Ninja’s secret weapon for pulverizing frozen ingredients. Place the lid on top and press down along the entire rim until the rectangular release tab clicks audibly. Test alignment by attempting to rotate the pitcher on the base; it should move freely. If stuck, lift the pitcher straight up without twisting and restart the process. The Mega Kitchen System’s 8-cup pitcher requires extra downward pressure on the lid—use both hands to ensure full engagement.
Control Panel Decoded for Perfect Results

Stop guessing which button to press. Each function serves a specific purpose based on ingredient density and desired texture. Speed 1 is exclusively for liquid emulsification like vinaigrettes—never use for solids. Speed 2 handles 80% of daily tasks: smoothies, soups, and sauces. Speed 3 crushes ice but requires 10-second bursts to prevent motor strain. Pulse gives manual control for chunky salsas—use 1-second taps while watching through the lid.
Presets automate complex sequences: Smoothie runs a 60-second cycle with speed ramping, Extract maximizes nutrient release for green smoothies, and Spread handles thick mixtures like hummus. The Foodi Cold & Hot adds Hearty Soup and Smooth Soup programs that heat and blend raw vegetables in 30 minutes—always add broth first to prevent scorching.
Pro Technique for Thick Mixtures
When blending nut butters or hummus, follow this Ninja-approved sequence:
1. Load pre-roasted, cooled nuts below max line
2. Select Spread mode
3. If mixture stalls after 30 seconds, pulse 3 times to redistribute
4. Resume Spread for 60-second intervals until creamy
5. For hummus, drizzle oil through the lid opening during blending
This prevents the common “stall-and-overheat” cycle that triggers blinking red lights. Cashews take ~60 seconds; almonds need 2.5 minutes—patience prevents motor burnout.
Cleaning Protocol That Prevents Damage
Immediate Post-Blend Rinse
Remove the lid and blade assembly within 60 seconds of stopping—residue hardens rapidly on Ninja’s stainless steel blades. Rinse both under hot running water while holding blades sideways (never point up). The blades are surgically sharp; grip the plastic housing only. For stuck-on bits, fill the pitcher halfway with hot water and 1-2 drops of dish soap, then run a 30-second blend cycle to self-clean. Never submerge the motor base—wipe with a damp cloth only.
Dishwasher vs Hand-Washing Reality
While Ninja labels components “dishwasher safe,” hand-washing extends lifespan significantly. Dishwasher heat clouds plastic pitchers within months. If using a dishwasher:
– Place lids and blade assemblies on top rack only
– Position pitchers upright to prevent warping
– Skip the heated dry cycle
Hand-washing preserves clarity: use a soft sponge with soapy water, avoiding abrasive pads that scratch surfaces. Always air-dry components inverted on a rack—never towel-dry near blades.
Blinking Red Light Troubleshooting Flowchart
When that red light starts pulsing, follow this sequence before calling support:
- Steady blink: Press lid down firmly until you hear a click
- Blink after locking: Rotate lid slowly until white arrows align perfectly
- Blink after alignment: Lift pitcher straight up, realign base tabs, and reseat
- Rapid blinking: Unplug for 30 seconds to reset sensors
Persistent rapid blinking indicates internal sensor failure—contact Ninja support immediately. Never bypass safety features by taping lids down; this voids warranties and risks injury.
Model-Specific Operation Secrets

Nutri Ninja Pro Leak Prevention
This popular model’s lids often leak during high-speed blending. Fix this by:
– Filling liquids 10% below max line (not at the line)
– Blending for 45 seconds max before transferring to a travel mug
– Always starting on Speed 1 for 5 seconds before increasing
Foodi Cold & Hot Soup Mastery
This $200+ model’s soup programs require precise layering:
1. Add 1 cup broth first (prevents scorching)
2. Load vegetables below max line
3. Select Smooth Soup for velvety texture
4. Never exceed 500g total ingredients
The heating element cycles on/off automatically—never open during operation. Results rival professional immersion blenders when layered correctly.
Critical Beginner Mistakes That Damage Blenders
Overfilling Past Max Line
This causes immediate overflow and long-term motor strain. The max line accounts for ingredient expansion during blending—exceeding it creates hydraulic pressure that forces liquid past seals. For frozen ingredients, fill to 75% capacity since ice expands. Always leave 1.5 inches of headspace in pitchers.
Starting on High Speed with Thick Mixtures
Beginning with Speed 3 on nut butters or frozen fruit stalls the motor instantly. Always start on Speed 1 for 5 seconds to loosen ingredients, then gradually increase. Thick mixtures require the Spread preset’s specialized ramping sequence—manual speed control often fails.
Ignoring the Rotation Test
If your pitcher doesn’t rotate slightly when seated, it’s not locked. Forcing operation with misaligned components strips internal gears. Lift and reseat until you feel that subtle rotational play—it’s the single most reliable safety indicator.
Maintenance Schedule for 5+ Year Lifespan
Daily Non-Negotiables
- Rinse blade assembly under hot water immediately after use
- Wipe motor base with damp cloth (never spray cleaners directly)
- Store cups/pitchers inverted to prevent dust accumulation
Weekly Deep Clean
- Remove gaskets from lids and wash with warm soapy water
- Soak blade assemblies in vinegar solution to dissolve residue
- Check pitcher drive socket for hairline cracks
Monthly Checks
- Inspect power cord for fraying near the base
- Test lid alignment on all containers
- Verify blade sharpness—replace if nicks appear
Following this routine prevents 75% of premature failures. Store components disassembled—never leave blades screwed into cups. Coil cords loosely around the base’s designated wrap points.
Mastering how to use Ninja blender technology transforms kitchen chaos into culinary confidence. Remember the safety trinity—locked lid, aligned arrows, seated container—and you’ll never battle blinking lights again. Start with simple smoothies using the Extract preset, then graduate to hot soups with the Foodi system. Within weeks, you’ll operate this powerhouse like a pro chef, extracting maximum nutrition from every ingredient while extending your blender’s lifespan. Your Ninja rewards precision but forgives experimentation—just respect those max lines and safety checks. Now unplug that dusty unit and create your first perfect blend today.

