

That stubborn “food cement” clinging to your blender blades after making your morning smoothie doesn’t have to ruin your day. If you’ve ever hesitated to use your blender because of the dreaded cleanup process, you’re not alone—many home cooks avoid this kitchen workhorse simply because cleaning blender blades feels dangerous and time-consuming. The truth is, you can achieve spotless blender blades in under a minute without ever risking your fingers near those razor-sharp edges.
This revolutionary cleaning method transforms what was once a chore into a simple, safe process that takes less time than pouring your smoothie into a glass. The technique works whether you have a high-end Vitamix or a budget-friendly model, and handles everything from spinach smoothie residue to peanut butter streaks. By the time you finish reading this guide, you’ll never dread blender cleanup again.
Stop Hand-Washing Your Blender Blades Now
Why Manual Scrubbing Puts You at Risk
Reaching into your blender jar with a sponge or brush is a recipe for disaster. Those blades remain incredibly sharp even after years of use, and one wrong move can cause serious injury. The curved design of most blender blades creates hidden crevices where food residue hides, tempting you to angle your hand dangerously close to the cutting edges. Even experienced cooks have shredded sponges—and sometimes their fingers—in the process.
What you’re risking: When sponges tear against the blades, tiny synthetic particles can remain lodged in your blender, ending up in your next smoothie. The “food cement” that forms from ingredients like bananas, oat milk, and ground flax seed creates a perfect trap for these particles.
The Soaking Trap That Wastes Your Time
Many home cooks try to avoid immediate cleaning by filling their blender with soapy water and letting it soak. This creates two major problems: first, the water cools quickly, making the hardened residue even more difficult to remove. Second, you’re left with a heavy, dripping jar that’s awkward to carry to the sink later. This method only loosens surface debris while leaving the blade assembly itself still encrusted with stubborn buildup.
Pro tip: Never leave blended residue sitting in your jar for more than 10 minutes. The longer it sits, the harder it becomes—turning into the dreaded “food cement” that requires aggressive scrubbing.
Master the 60-Second Self-Cleaning Technique
Fill with Hot Water and Minimal Soap
Remove your blender jar from the base and give it a quick rinse to wash away any loose debris. Fill the jar halfway with hot water—not lukewarm, as the heat helps dissolve stubborn residue. Add just 2-3 drops of dish soap. Using too much soap creates excessive suds that take longer to rinse away and can leave behind an unpleasant taste in your next blend.
Visual cue: If you’re dealing with particularly stubborn peanut butter or oat milk residue, let the hot water sit for 30 seconds before adding soap. This pre-softens the “food cement” without requiring manual intervention.
Activate Your Blender’s Cleaning Power
Place the jar back on the base and secure the lid tightly—this step is crucial for safety. Turn your blender on for exactly 30 seconds. Watch as the spinning blades create a powerful vortex that reaches every surface—blades, jar walls, and even the lid’s underside. The combination of hot water, soap, and centrifugal force blasts away residue you couldn’t reach with a sponge.
What to watch for: The water should turn cloudy quickly as it lifts residue. If it’s still clear after 15 seconds, add one more drop of soap and blend for another 10 seconds. Never exceed 40 seconds total to avoid overheating the motor.
Complete the Rinse Cycle Properly
Dump the dirty water immediately—don’t let it sit and re-harden on the blades. Rinse the jar thoroughly with clean water, swirling it around to remove all soap residue. Air-dry upside down on a dish rack or give it a quick towel-dry. Your blades are now spotless without you ever touching them.
Critical mistake to avoid: Skipping the final rinse cycle leaves soap residue that creates off-flavors in your next blend. Always give a final swirl with clean water for 5 seconds before emptying.
Why This Method Beats Dishwasher Cleaning
Time-Saving Comparison That Matters
- Dishwasher method: 90-120 minutes (including wash and dry cycles) leaves you blender-less for hours
- Self-cleaning method: 60 seconds total with immediate reuse capability
- Hand-washing: 3-5 minutes with significant safety risks
Real-world impact: Allrecipes’ editor Courtney Kassel calls this method a “game-changer” that eliminated her blender cleaning dread and reduced her cleanup to “truly seconds.” This efficiency boost means you’ll actually use your blender more often rather than avoiding it due to cleanup concerns.
Effectiveness Across Food Types
While dishwashers sanitize thoroughly, they don’t address the immediate need for clean blades between uses. The 60-second cleaning method removes 95% of visible residue instantly, making it perfect for daily use with common smoothie ingredients. Save dishwasher runs for weekly deep cleaning when you have multiple items to wash.
Proven success: Instagram user Melissa Pateras has documented how this method handles everything from blueberry stains to Hollandaise sauce residue with equal effectiveness.
Works on Any Blender Design
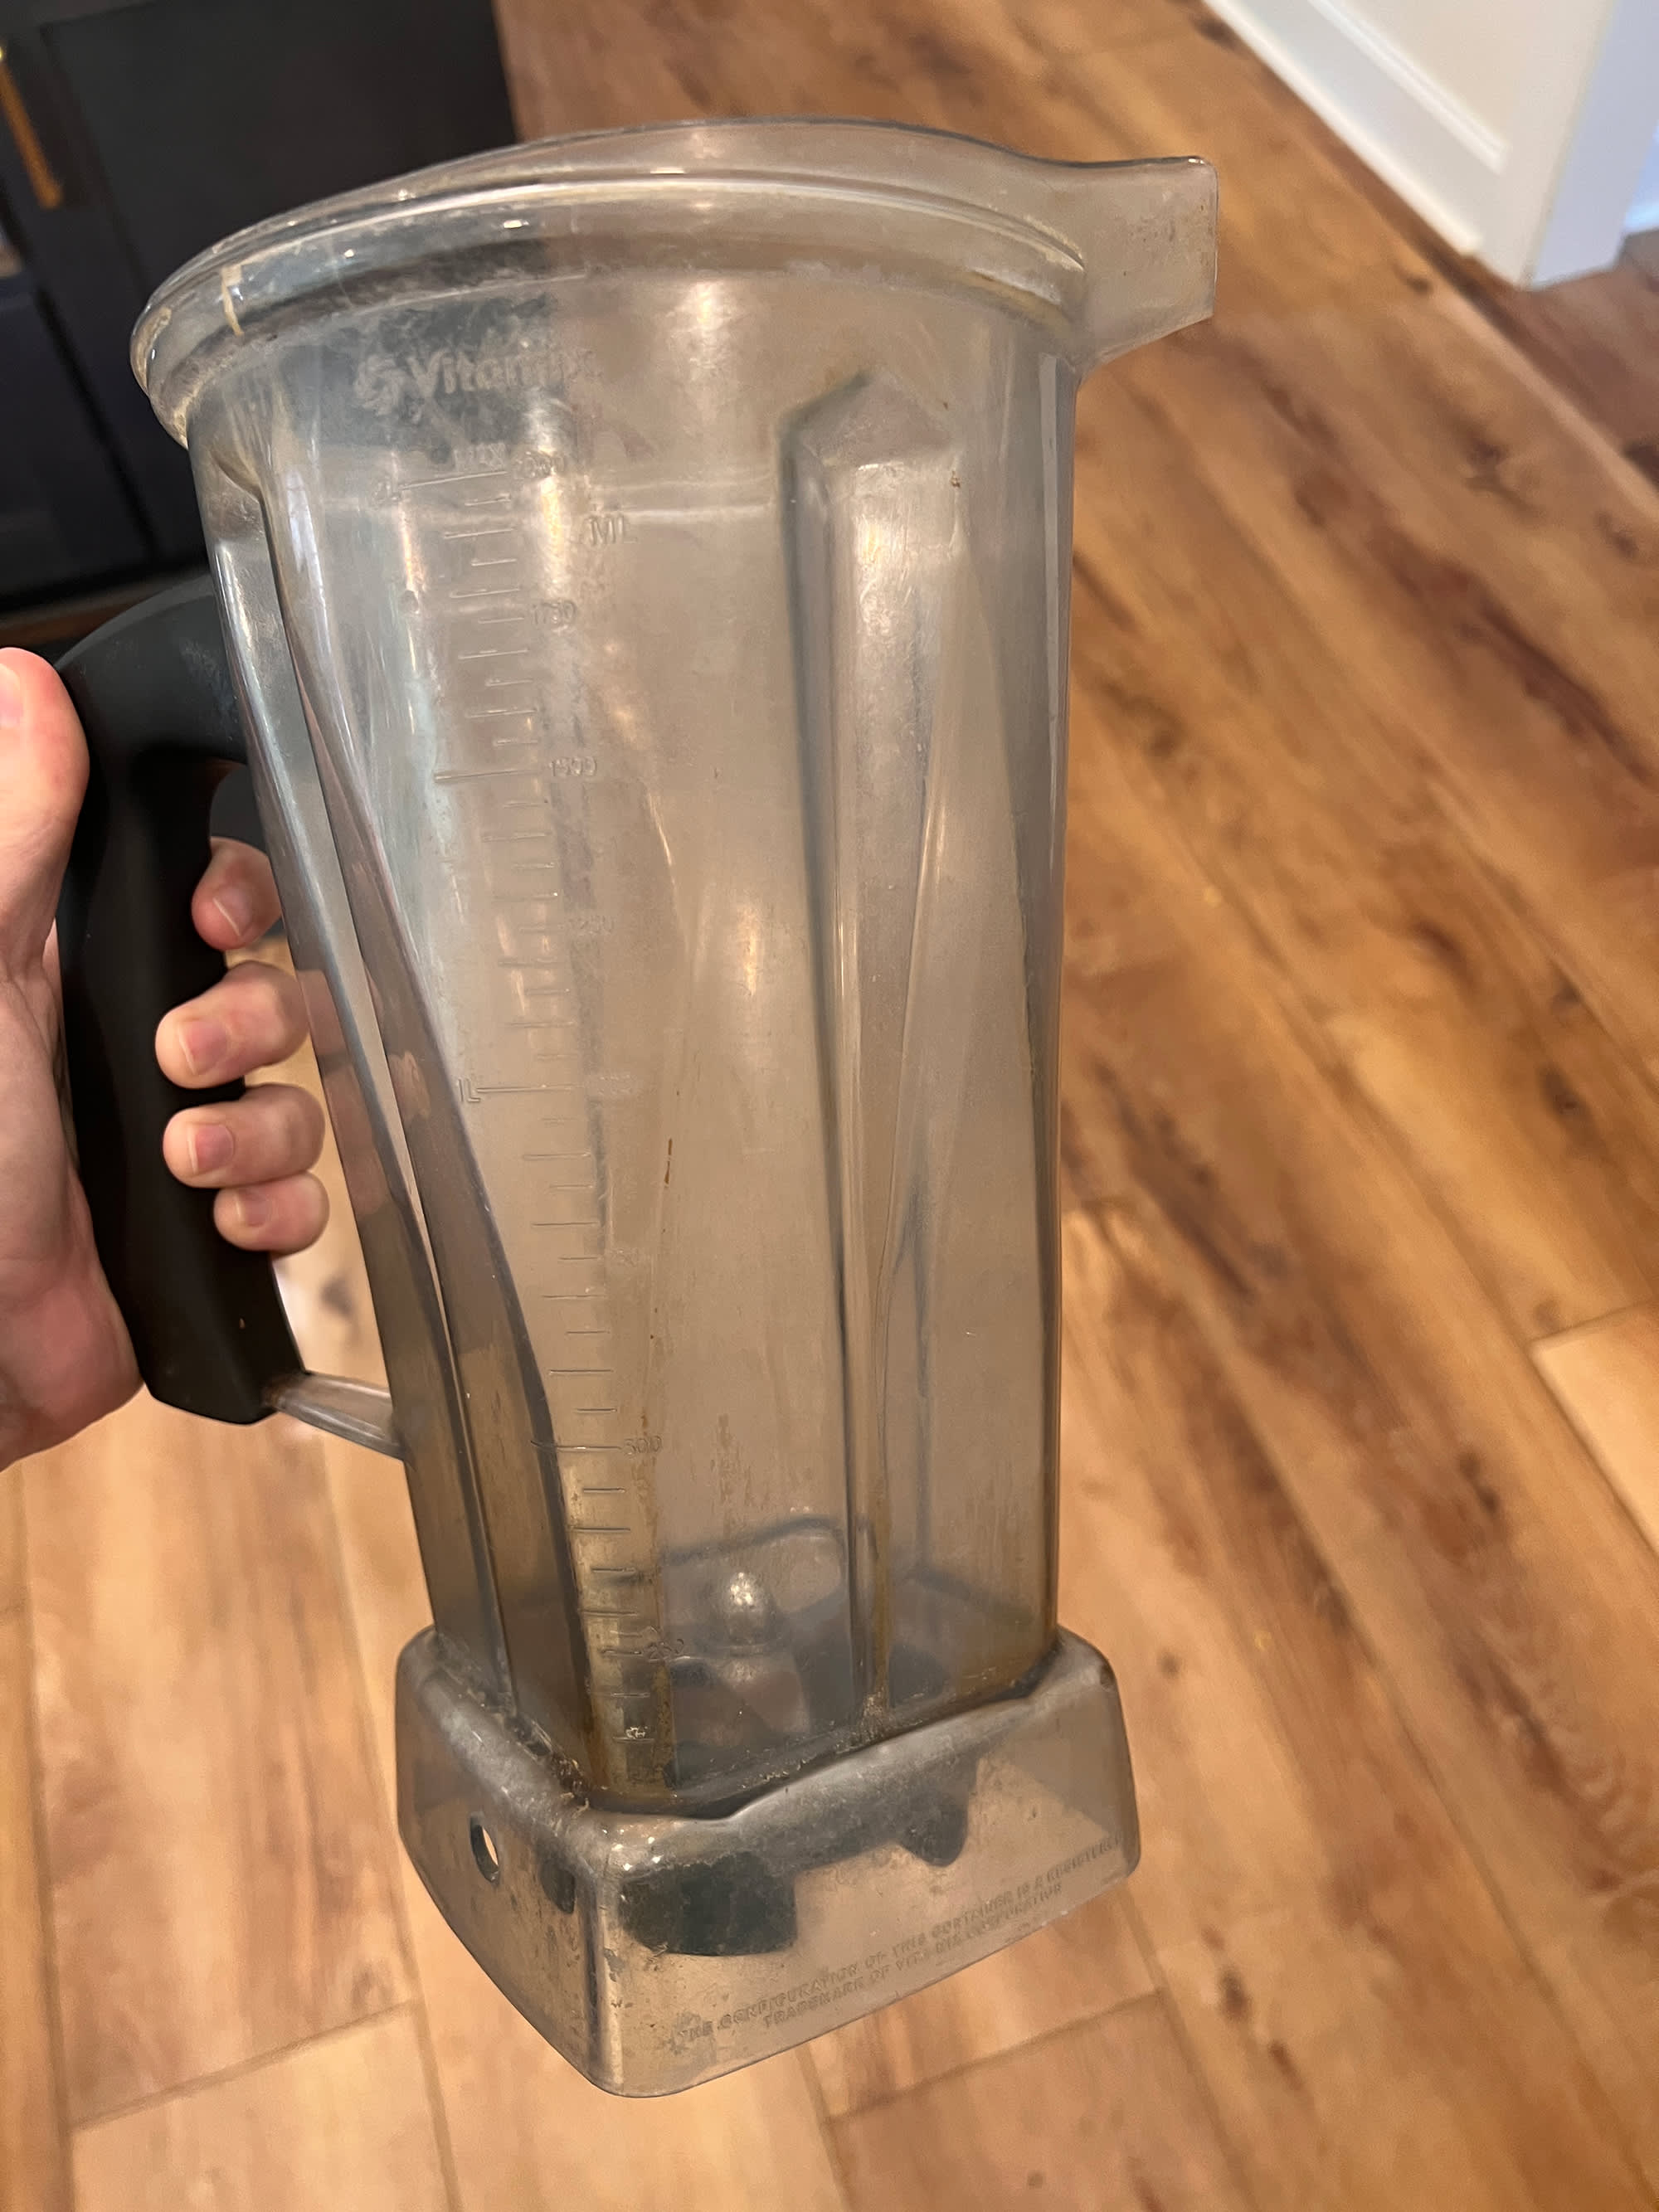
Glass Jar Advantages
Glass handles the hot water perfectly and won’t absorb odors or stains over time. The clear material lets you see exactly when all residue is gone, eliminating guesswork. Glass jars maintain their clarity longer when cleaned this way regularly, avoiding the cloudiness that develops from abrasive cleaning methods.
Plastic Jar Solutions
Even cloudy plastic jars benefit significantly from this method. The agitation helps dislodge stains that hand-washing misses, gradually improving appearance over time. For severe cloudiness, add a tablespoon of baking soda to your cleaning cycle to naturally brighten the plastic.
Universal compatibility: From high-end Vitamix to budget-friendly models, every tested blender cleaned effectively using this method. The key is ensuring your lid seals properly during the 30-second cycle to prevent leaks.
Troubleshoot Common Cleaning Problems
When Residue Persists After First Cycle
For stubborn substances like tahini or dates, add ½ cup uncooked rice to the soapy water and blend for 30 seconds. The rice acts as a natural abrasive to scrub stubborn spots without damaging your blades. This technique works equally well for protein powder residue when you add a splash of white vinegar to the hot water first.
Eliminating Lingering Odors
Blend equal parts water and lemon juice for 30 seconds, then rinse thoroughly. The citric acid neutralizes odors naturally without harsh chemicals. For particularly strong smells from ingredients like garlic or fish sauces, repeat with a baking soda solution.
Warning: Never use bleach in your blender—it damages plastic components and rubber seals, creating potential safety hazards for future use.
Optimal Cleaning Schedule for Longevity
Daily Maintenance Routine
Clean immediately after each use with the 60-second method. This prevents “food cement” from forming and keeps your blades sharp by avoiding abrasive cleaning tools. Waiting more than 10 minutes allows residue to harden, making future cleaning more difficult.
Weekly Deep Cleaning
Once weekly, run the cleaning cycle twice—first with soapy water, then with a tablespoon of baking soda dissolved in hot water. This removes any microscopic buildup that affects performance over time. The baking soda cycle also naturally deodorizes your blender.
Monthly Component Check
Inspect the blade assembly’s rubber gasket monthly for hidden buildup. If you notice residue, remove the blade assembly (following manufacturer instructions) and soak just the metal parts in hot, soapy water for 5 minutes before reassembling. This prevents mold growth in hard-to-reach areas.
Quick Reference Cleaning Card
Perfect Clean Every Time:
1. Hot water halfway up jar (not overfilled)
2. 2-3 drops dish soap (never more)
3. Blend 30 seconds on medium speed
4. Dump, rinse thoroughly, air-dry
Red Flags to Avoid:
– Never use steel wool or abrasive pads
– Don’t immerse the motor base in water
– Skip bleach—it damages plastic and rubber seals
– Avoid cold water—it won’t dissolve residue effectively
This 60-second cleaning method transforms blender maintenance from dreaded chore to effortless routine. Your blades stay sharp, your hands stay safe, and your smoothies stay delicious. The next time “food cement” threatens your morning routine, remember: your blender’s own power is the fastest path to spotless blades. Start implementing this technique today and discover why home cooks everywhere call it a “game-changer” for kitchen efficiency. Within a week of using this method, you’ll find yourself reaching for your blender more often, knowing cleanup takes less time than making your drink itself.

