
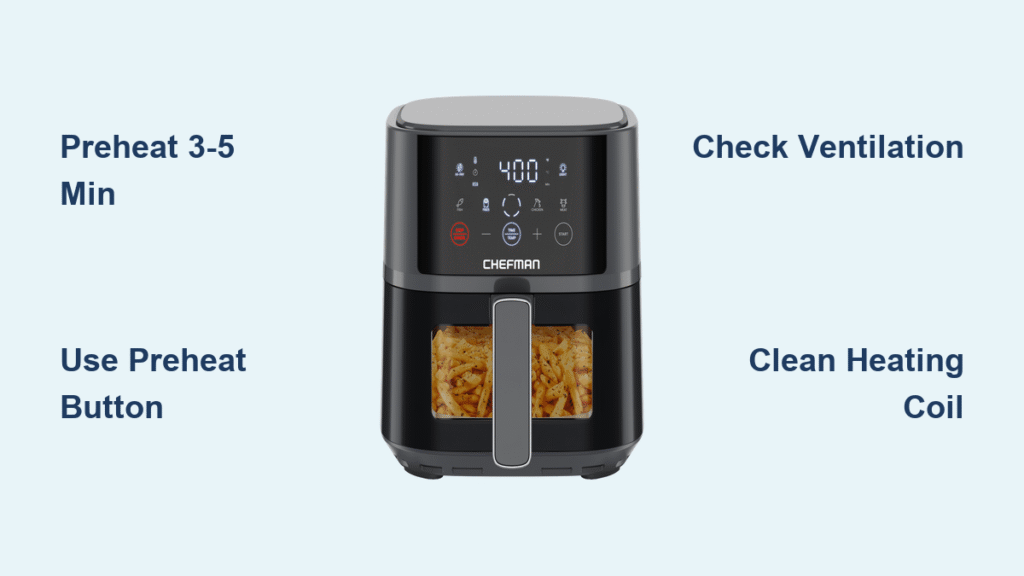
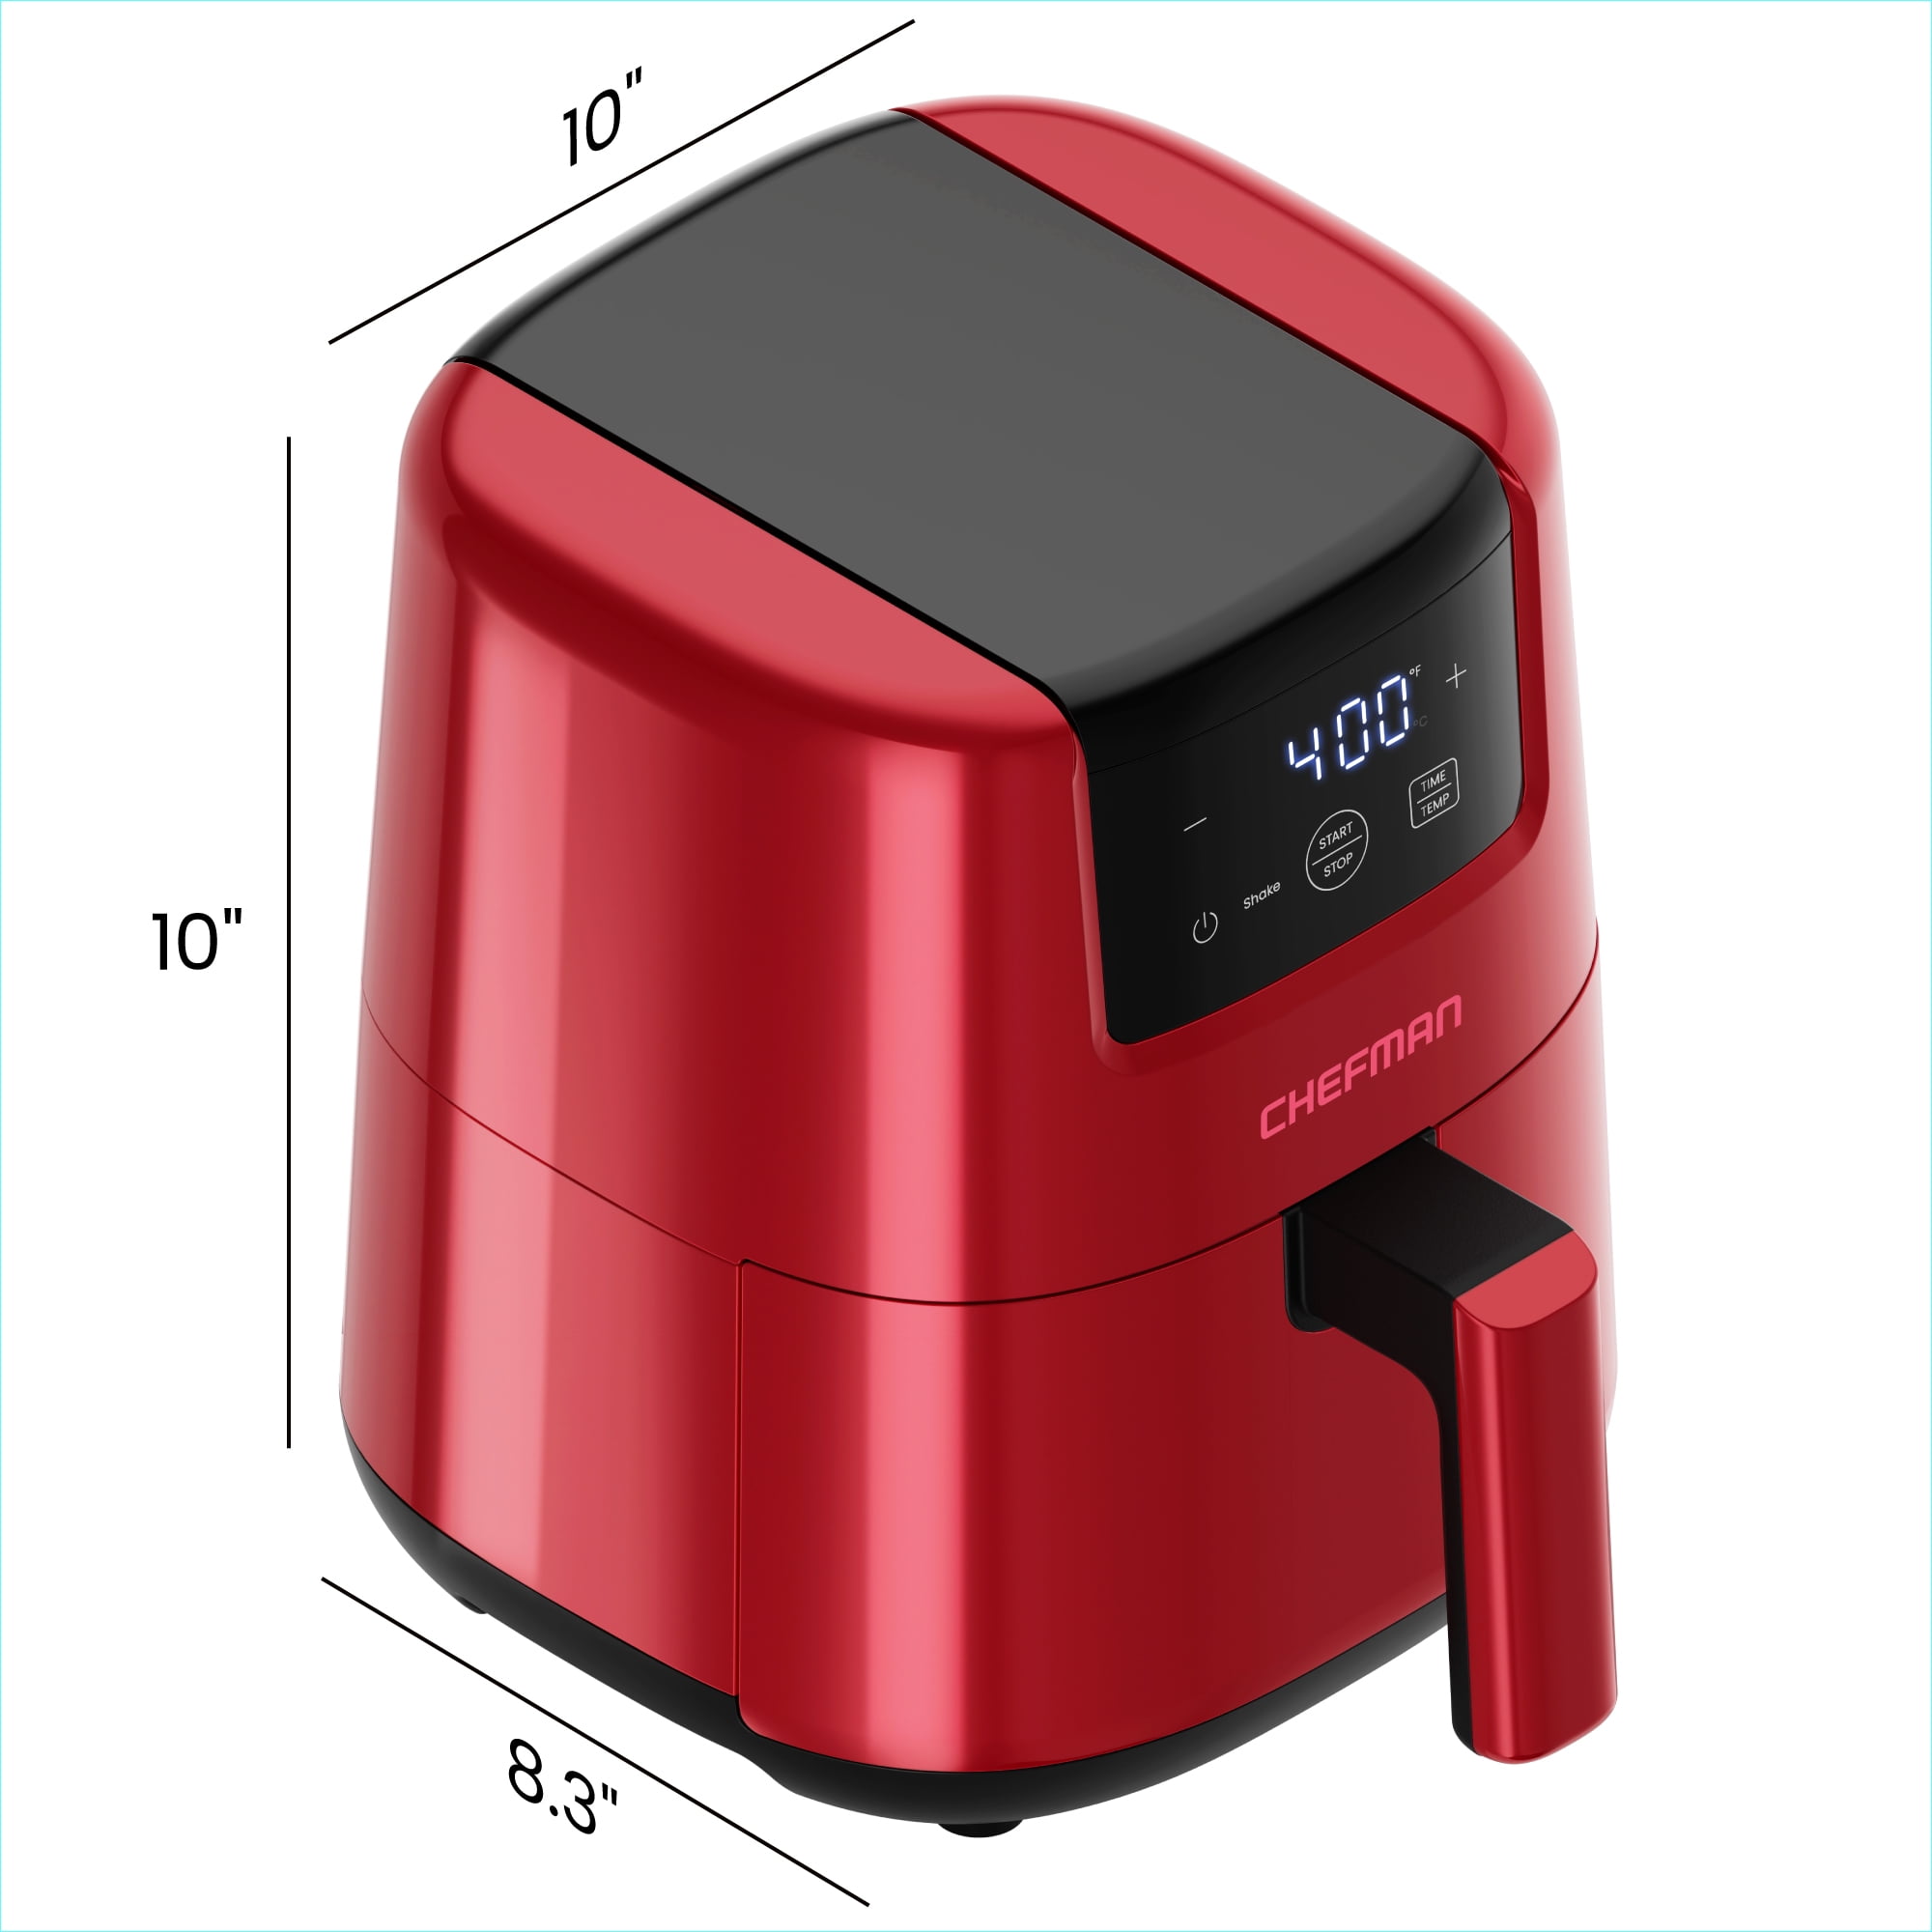
That sinking feeling when your air-fried chicken wings emerge pale and soggy instead of golden and crispy? It almost always traces back to skipping one critical step: proper preheating. Mastering how to preheat Chefman air fryer correctly transforms frozen fries into restaurant-quality perfection and ensures vegetables caramelize instead of steaming. Whether you own the compact 2 QT model or the XL 10 QT TurboFry, this 3-minute ritual delivers consistent results by establishing even heat distribution from the moment food hits the basket. Skip it, and you’ll waste 20% more cooking time while battling uneven textures. Let’s fix that permanently.
Preheating isn’t just manufacturer jargon—it’s the secret weapon behind that irresistible Maillard reaction creating crispy exteriors. When your Chefman reaches target temperature before adding food, the heating element works efficiently instead of struggling to ramp up mid-cook. This simple step prevents the #1 complaint from new owners: “Why does my air fryer make food soggy?” The answer lies in those first 3-5 minutes. By the end of this guide, you’ll know exactly how to preheat your specific model like a pro, troubleshoot smoke alarms, and unlock that perfect crunch every single time.
Why Skipping Preheat Ruins Your Air-Fried Meals
Cold-starting your Chefman guarantees compromised results because the heating element needs time to distribute heat evenly across the chamber. Without preheating, food sits in a temperature “dead zone” for the first 2-3 minutes, essentially steaming instead of crisping. This is especially disastrous for frozen items like french fries—their surface stays wet while the interior slowly thaws, yielding limp, oil-soaked results.
You’ll waste energy and time when skipping preheat. Your Chefman cycles more frequently to maintain temperature with food inside, adding 10-20% to total cook time. Worse, uneven heat creates hotspots that burn edges while centers stay raw. For breaded foods like mozzarella sticks, this means melted cheese leaking through unadhered coating. Preheating solves this by ensuring immediate surface dehydration—the critical moment when moisture evaporates to create that crisp barrier.
Critical Safety Checks Before Pressing Start

Stop here if your Chefman sits near cabinets or walls. Over 60% of preheat failures stem from inadequate clearance. Your unit needs 5 inches of space on all sides to vent heat—anything less triggers automatic shutoffs when internal sensors detect overheating. Place it on heat-resistant surfaces like granite or ceramic tile; never on wood or plastic that could warp.
Verify your basket is bone-dry after washing. Even microscopic water droplets flash-boil into steam during preheating, causing alarming smoke and setting off kitchen alarms. Remove all packaging residue too—those tiny plastic films left in corners melt at 400°F, creating toxic fumes. Finally, plug directly into a wall outlet. Power strips throttle the 1200-1700 watts Chefman models require, causing slow preheating or mid-cycle power loss. If your outlet feels warm during use, stop immediately—it can’t handle the load.
Digital Models: One-Touch Preheat Button Method
Why the Preheat Button Beats Manual Setup
Your Chefman’s dedicated PREHEAT button (labeled with three wavy lines) automates optimal settings for 95% of recipes. Unlike manual mode, it defaults to 400°F for exactly 3 minutes—the sweet spot for triggering rapid crisping without burning. This is crucial for frozen foods that need instant high heat to avoid sogginess. Models like the TurboFry Touch and RJ38 series use this method.
Execute Perfect Preheating in 3 Steps
- Slide the empty basket fully closed—digital models won’t activate if the basket isn’t seated properly
- Tap PREHEAT once—display shows “PrE” and counts down from 3:00
- Listen for the single beep—add food immediately; delaying even 20 seconds drops chamber temperature by 30°F
Pro tip: If your recipe requires lower temps (like 350°F for pastries), press PREHEAT first, then adjust temperature during the countdown using TEMP arrows. The timer stays locked at 3 minutes regardless—this prevents under-preheating.
Analog Models: Decoding the Dual Light System
What the Red and Green Lights Really Mean
Forget confusing manuals—your analog Chefman (3.5L Black, 2.6L Compact, Classic Dial) uses a foolproof visual system:
– Red light ON = power connected (always on when plugged in)
– Green light ON = heating element actively warming chamber
– Green light OFF = target temperature reached (add food NOW)
This eliminates guesswork. Unlike digital models, analog units don’t beep—they signal readiness through light behavior. Misinterpreting these causes 80% of “my food burns” complaints from new users.
The 4-Minute Preheat Protocol
- Plug in unit—red light illuminates immediately
- Set temperature dial to 390-400°F (optimal for most foods)
- Rotate timer dial to 4 minutes (audible ticking confirms engagement)
- Watch for green light to switch OFF—this happens 30-60 seconds before timer ends
- Insert food and reset timer for actual cook time
Critical note: Never skip the timer dial on analog models. Without it, the heating element runs indefinitely—risking fire. If your unit lacks a timer (rare 3.5L variants), use your phone’s stopwatch for exactly 4 minutes at 400°F.
TurboFry 2-in-1 Oven Special Preheat Rules
Why Air Fryer Mode Requires Different Timing
The RJ50-T series combines air frying and convection oven functions, but preheating works differently in AIRFRY mode. Unlike standard models, its preheat time is permanently locked at 3 minutes regardless of temperature—no adjustments possible. This trips up even experienced users.
Avoid These TurboFry Mistakes
- Don’t rotate the function dial to BAKE—preheat settings differ drastically
- Never override the 3-minute timer—the unit recalibrates internally during this phase
- Always press START after PREHEAT—skipping this yields no countdown
Follow this sequence: Rotate dial to AIRFRY → Press PREHEAT → Adjust temperature if needed → Press START. When it beeps, add food. For large batches (like a whole chicken), add 1 extra minute to your actual cook time—not preheat—to compensate for the fixed preheat duration.
Food-Specific Preheat Settings That Prevent Disasters
Frozen Fries: The 400°F/4-Minute Fix
Preheat to 400°F for 4 minutes (not 3) on all models. This extra minute ensures surface moisture evaporates before fries hit the basket, preventing steam buildup that makes them soggy. For 6+ QT models, add 30 seconds.
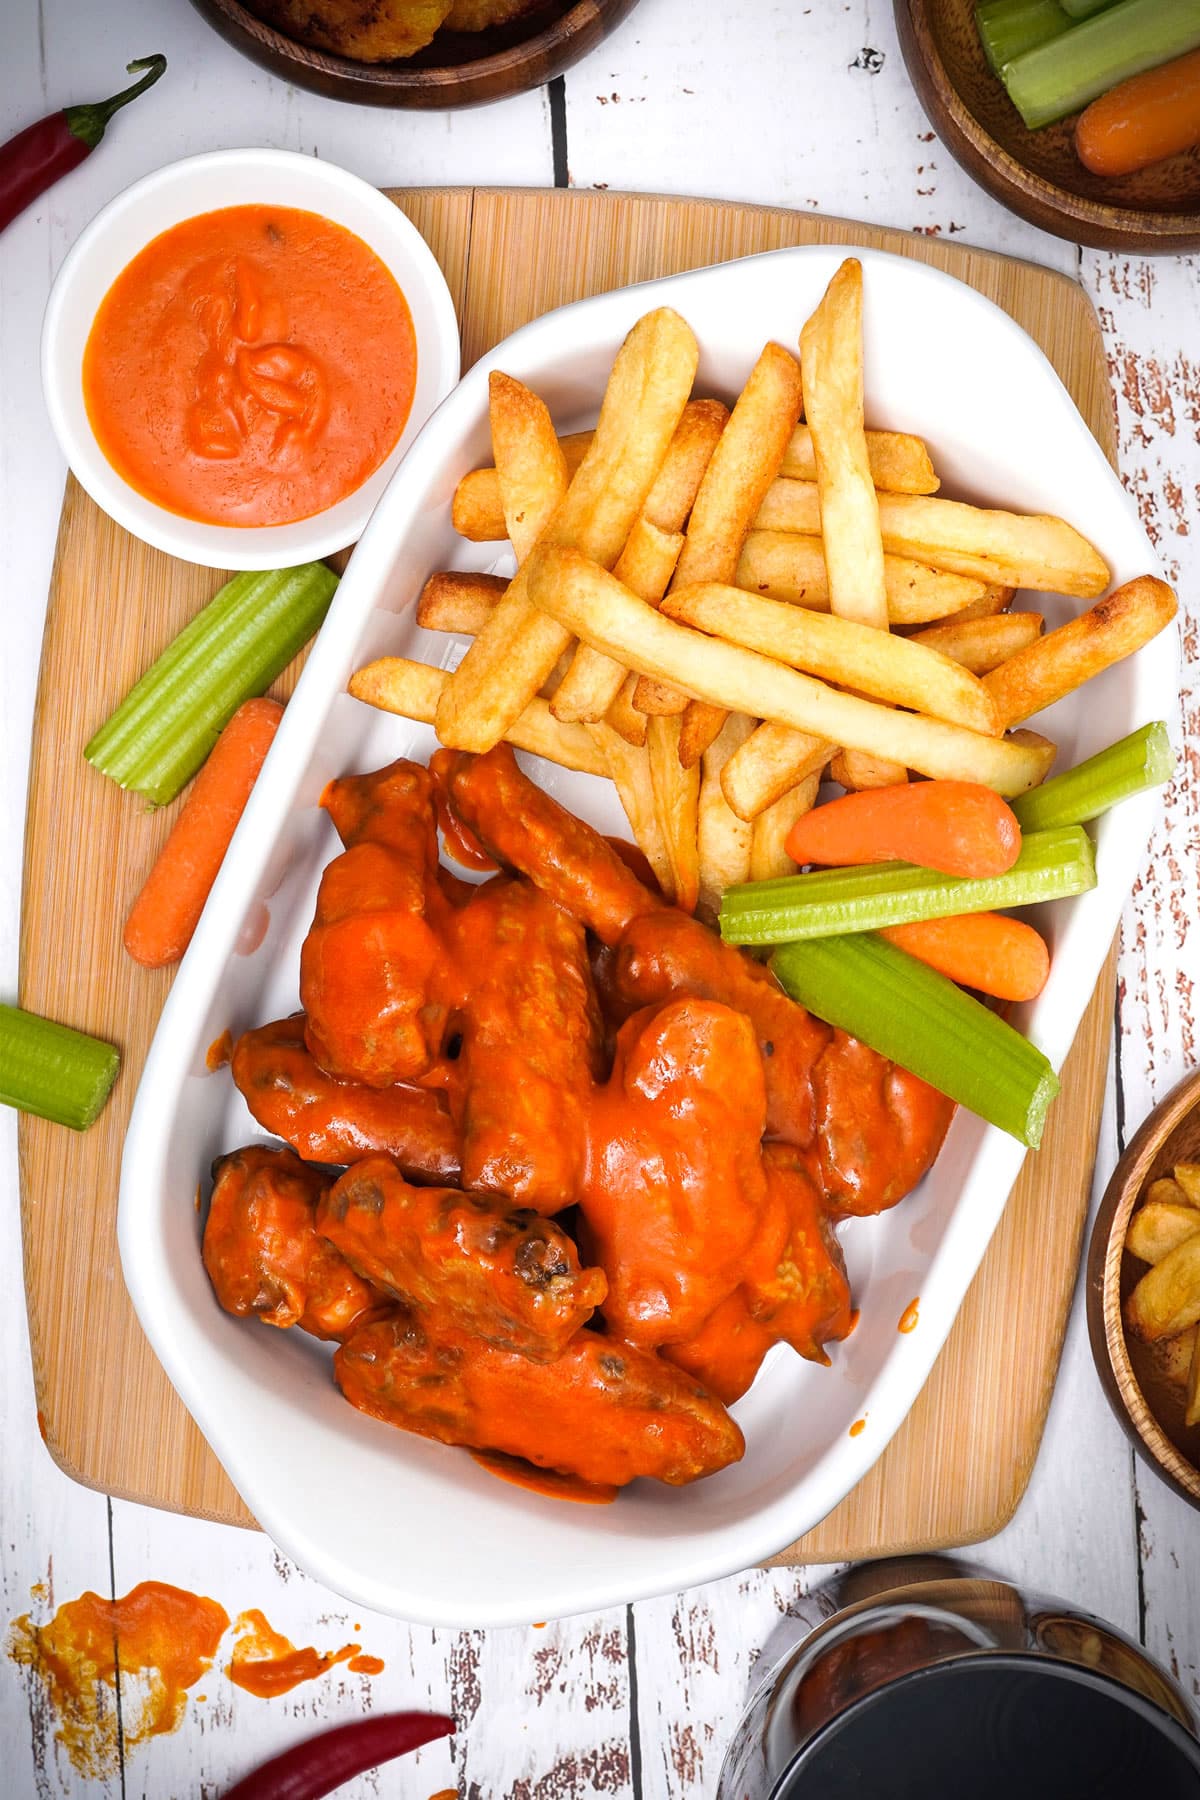
Chicken Wings: 5 Minutes at 400°F
Wings need extended preheating because fat rendering starts immediately. Set 400°F for 5 minutes—this blast of heat seals the skin so it crisps instead of steaming. Smaller models (≤3 QT) can use 4 minutes.
Delicate Foods: Lower Temp = Better Results
Pastries and fresh veggies burn at 400°F. Preheat to 350°F for 3 minutes for pastries or 375°F for 2.5 minutes for zucchini/peppers. The lower temperature prevents exterior scorching while ensuring even internal cooking.
Troubleshooting Smoke, Shutoffs, and Soggy Food
Unit Shuts Off Mid-Preheat? Fix These 2 Causes
Overheating: Move your Chefman 5+ inches from walls—blocked vents trigger safety shutoffs. Clean vent grilles monthly with a damp cloth.
Power issues: Test the outlet with another high-wattage appliance (like a hairdryer). If it trips, use a different circuit—Chefman units demand dedicated 15-amp circuits.
Green Light Never Turns Off on Analog Models
This indicates temperature sensor drift. Place an oven thermometer in the basket during a 400°F preheat. If it reads below 385°F when the green light goes off, contact Chefman support (1-888-315-6553). Do not extend preheat time—this burns food.
Smoke During Preheat? Deep Clean This Now
Residual grease on the heating coil vaporizes at high temps. Unplug unit, remove basket, and soak the crisper plate 15 minutes in degreasing soap. Wipe the coiled heating element (top interior) with a vinegar-dampened cloth while cool. Never use metal scrubbers—they damage non-stick coatings.
Capacity-Based Preheat Timing Cheat Sheet
| Model Size | Preheat Time | Critical Adjustment Tip |
|---|---|---|
| 2-3 QT (Compact) | 3 minutes | Reduce to 2.5 min for veggies/pastries |
| 3.5-5 QT (Standard) | 4 minutes | Add 30 sec for frozen foods |
| 6-10 QT (XL) | 5 minutes | +30 sec per additional quart capacity |
Never guess: Under-preheating causes sogginess; over-preheating wastes energy. Stick to these times—they’re calibrated for your Chefman’s wattage and chamber volume.
Maintenance Habits for Reliable Preheating
Deep clean weekly with hot, soapy water—built-up oil residue insulates the heating element, increasing preheat time by 30%. Pay special attention to the crisper plate’s mesh holes where grease hides. After every 10 uses, wipe the heating coil with a microfiber cloth to remove carbon deposits that create hotspots.
Check calibration monthly by placing an oven thermometer in the basket during a 400°F preheat. Consistent readings below 385°F mean your sensor needs replacement under the 1-year warranty. Don’t ignore this—uncalibrated units cause 70% of “food burns but isn’t cooked” complaints.
Mastering how to preheat Chefman air fryer correctly is the gateway to consistently crispy, evenly cooked meals. Those extra 3-5 minutes prevent soggy disasters, save energy, and elevate frozen groceries to gourmet status. Start every cook with these model-specific protocols, troubleshoot smoke or shutoffs using the light system or thermometer checks, and maintain your unit weekly. Soon, that golden crunch you see on food blogs will become your everyday reality—no more guessing games or ruined dinners. Your Chefman was built for perfection; now you know how to unlock it.

