
Your Cuisinart air fryer delivers crispy fries, juicy chicken, and golden vegetables with minimal oil—but only if you master its specific controls and techniques. Whether you own the compact AFR-25 basket model or the versatile TOA-65 oven-style unit, understanding your exact model’s quirks prevents soggy results and wasted ingredients. This how to use Cuisinart air fryer guide cuts through confusion with model-specific steps you won’t find in the manual. You’ll learn precise preheating protocols, avoid the #1 loading mistake that ruins crispness, and unlock pro-level settings for restaurant-quality meals in minutes.
Stop guessing temperatures or wondering why your wings steam instead of crisp. Within 20 minutes of reading this, you’ll confidently operate any Cuisinart model to transform frozen nuggets into golden perfection and bake flaky salmon with zero guesswork.
Initial Setup & First Cook
Unbox and Inspect Components
Immediately remove all packaging materials, including protective film strips often missed inside the cooking chamber and on the glass door. Verify your contents: Every Cuisinart air fryer includes a perforated basket (stainless steel or non-stick), wire rack, crumb tray, and sometimes a pizza stone. Crucially, check your voltage label—North American units require 120 V, while European models need 220–240 V. Using the wrong voltage causes permanent damage. Place the unit on heat-resistant countertops with 5 inches of clearance on all sides; never operate under cabinets or near flammable materials. The 3-foot power cord must plug directly into a grounded 15-amp outlet—no extension cords.
First-Time Cleaning Protocol
Wash the basket, crumb tray, and racks in hot soapy water or the dishwasher’s top rack. For non-stick models, avoid abrasive scrubbers that scratch coatings. Wipe the interior housing with a damp microfiber cloth—never submerge the main unit in water. Now run a critical 15-minute burn-off cycle at 400°F to eliminate factory oils. Expect light smoke and odor during this step; it’s normal and harmless. Skip this, and your first batch of fries will taste like chemicals.
Master Control Panels Fast

Analog Models (AFR-25, Compact Series)
For the no-frills AFR-25, twist the temperature dial to your target (250–450°F in 25°F jumps). Set cooking time by rotating the mechanical timer to 0–60 minutes; twist past 60 for “Stay-On” mode. Note the orange power LED illuminates when running, but there’s no preheat signal—always add 3 minutes to initial cook times. This model lacks digital precision, so rely on visual cues: golden edges mean food is done.
Digital TOA-60/70 Series
Rotate the function knob to “Air-Fry,” then press up/down buttons to set time (1-minute increments) and temperature (5°F steps). The “Frozen” button is your secret weapon—it automatically adds 3 minutes at 25°F lower for frozen foods like fries. Tap the “Light” button for a 2-minute interior LED boost to check browning without opening the door. Digital models chime at 50% time as a shake reminder—critical for even crispness.
Touch-Screen TOA-65/95 Models
Swipe left/right on the glass panel to select presets like “Fries” or “Wings.” Save custom programs for your go-to recipes (e.g., salmon at 375°F for 11 minutes). Unlike smart fryers, Cuisinart’s touch-screen models have no app connectivity—everything happens on the responsive panel. Pro tip: Swipe vertically to adjust temperature without exiting your preset.
Preheating: When and How
Preheating is non-negotiable for proteins like steak or delicate pastries requiring precise browning. Select “Air-Fry” mode, set your temperature, and press Start. Digital models chime at 3 minutes signaling preheat completion. If a recipe skips preheating (common for veggies), add 3 minutes to the total cook time. Never skip preheating for frozen foods—this causes steaming instead of crisping.
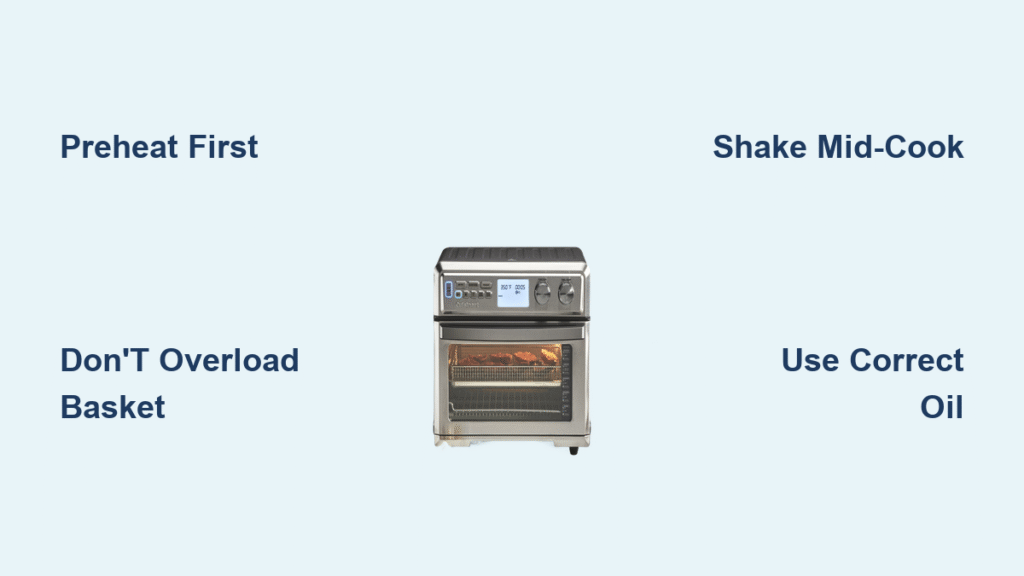
Load Food for Maximum Crisp
Basket Capacity Rules
Overloading is the #1 cause of soggy results. Respect these hard limits:
– AFR-25 (2-qt basket): Max 1.5 lbs fries
– TOA-60 (oven basket): Single-layer spread only
– TOA-65/95: Fill basket ⅔ full maximum
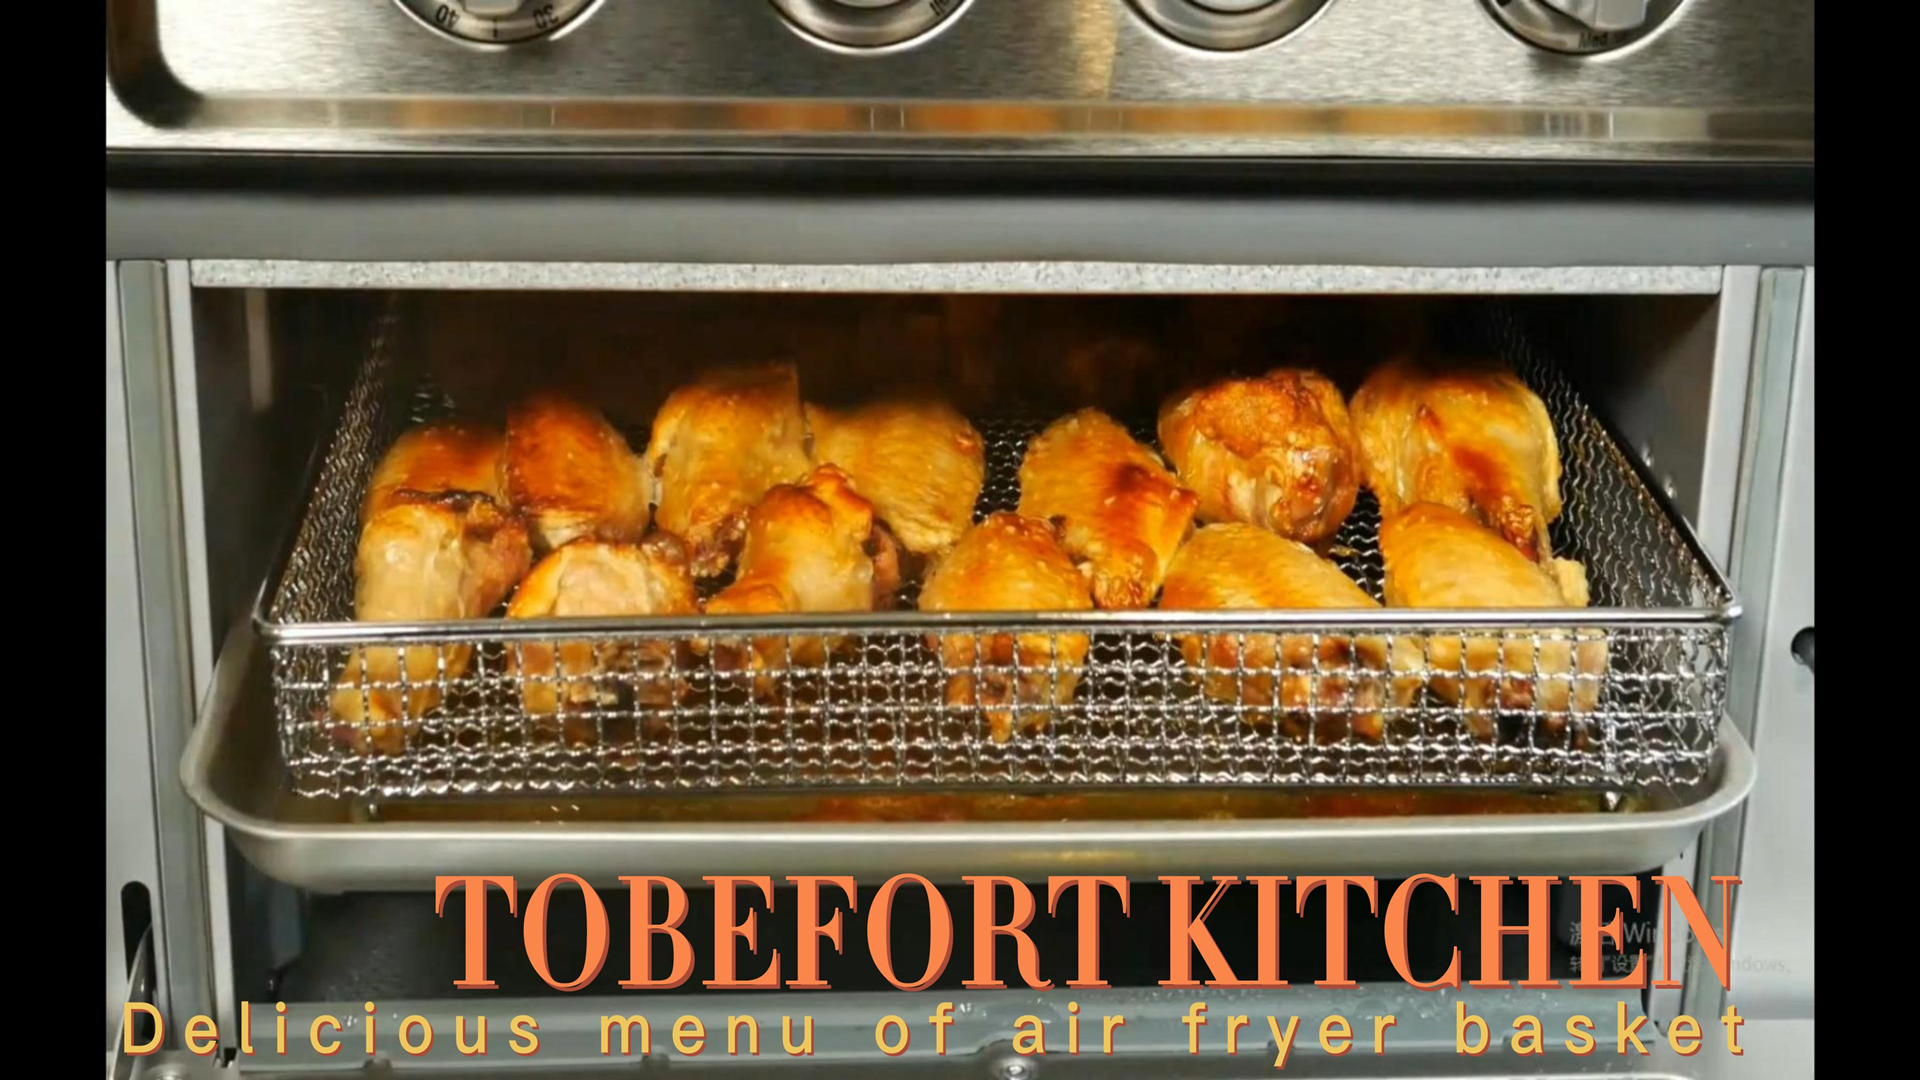
Pile food higher, and airflow blocks—resulting in uneven cooking. For wings, arrange in a single layer with space between pieces. Shake the basket at the halfway point using oven mitts; digital models beep automatically.
Oil Application Tips
Fresh potatoes need 1 tsp–1 Tbsp oil per pound. Toss them in a bowl first—never spray oil directly into the basket, which creates sticky residue on heating elements. Pre-oiled frozen items (like fries) require zero added oil. Excess oil causes smoking; if white smoke appears, empty the crumb tray immediately and rinse the basket.
Set Time & Temperature Like a Pro
Frozen Foods Cheat Sheet
| Food Item | Temp (°F) | Time (min) | Critical Step |
|---|---|---|---|
| French fries | 400 | 15–20 | Shake at 10 minutes |
| Chicken nuggets | 390 | 12–14 | Flip at 7 minutes |
| Onion rings | 380 | 8–10 | Single layer only |
Fresh Proteins Guide
- Chicken breast (6 oz): 375°F for 20–22 minutes (flip at 12 minutes) to 165°F internal temp
- Salmon fillet (skin-on): 375°F for 10–12 minutes—no flip needed
- Pork chops (1-inch): 400°F for 12–15 minutes (flip once)
Always use an instant-read thermometer; visual cues alone are unreliable.
Multi-Stage Cooking Secrets (TOA-65/95)
Program up to 4 cooking stages for complex recipes. For crispy wings:
1. Stage 1: 400°F for 5 minutes (initial sear)
2. Stage 2: 350°F for 10 minutes (finish cooking)
The unit pauses 10 seconds between stages—perfect for shaking the basket. This mimics restaurant techniques where high heat seals juices before finishing at lower temps.
Function Deep Dive

Air-Fry Mode delivers 30–40% faster cooking than conventional ovens thanks to high-speed convection. Use it for breaded items and frozen snacks. Convection Bake requires reducing standard oven temperatures by 25°F—ideal for cakes on rack position 2. Dehydrate Mode (TOA-65/95) works at 90–175°F for up to 72 hours; slice produce 1/8-inch thick and rotate trays every 2 hours. Toast Mode uses a shade dial (1–7)—position 4 gives golden bread in 4 minutes.
Quick Cleaning Routine
Unplug and wait 30 minutes after cooking. Remove the basket and crumb tray—both are dishwasher-safe (top rack only). Wipe interior walls with a vinegar-water solution (1:1) to cut grease without harsh chemicals. For stubborn odors, run 1 cup water + 2 Tbsp lemon juice at 350°F for 20 minutes. Weekly, slide out the crumb tray to discard debris and gently brush heating elements with a pastry brush. Never use aerosol sprays—they permanently damage non-stick coatings.
Fix Common Problems Fast
| Problem | Instant Fix |
|---|---|
| Food not crispy | Reduce quantity by 20%, increase temp 15°F |
| White smoke | Empty crumb tray; rinse basket with hot water |
| Uneven browning | Shake basket halfway; avoid overlapping food |
| Door won’t close | Ensure rack lips face downward (not backward) |
Essential Accessories
Must-haves: A 12-inch pizza stone (preheat 30 minutes at 450°F) and silicone mats trimmed to fit racks prevent sticking. Critical mistakes to avoid: Metal utensils scratch baskets, and foil-lined crumb trays block airflow—causing fires. Never use aerosol sprays; they gunk up heating elements.
Warranty & Next Steps
Register your how to use Cuisinart air fryer unit at cuisinart.com/warranty within 30 days for the 3-year limited warranty (covers defects, not cosmetic damage). Save the service number: 1-800-726-0190. After five cooks, you’ll instinctively know settings for your family’s favorites—crispy fries at 400°F for 18 minutes becomes second nature. Tape the quick-start checklist inside your cabinet, and you’ll never burn a batch again. Your Cuisinart air fryer is now primed for effortless, oil-free perfection.

